HOME
P5 Sketches
RESEARCH JOURNAL

|
|

|
|

  Week 1

|
|
|
|
|
|
|
|
|
|
|
|
|


The first thing I did for this class was to watch some movies, yay! out of the 4 recommended I chose Minority report and Iron man.

Minority Report, based on the Philip K Dick novel of the same name, looked closely at the cultural implications of technology. What institutions are built around technology? Who uses new drugs and how? Are decisions made using only data fair and unbiased?

Iron man has some commentary on the military industrial complex but is more interested in the physical realities of possible technology. How do we touch it? What is it like to wear? How can it improve our physical capabilities?


|
|
|
|
|
|
|
|
|
|
|
|
|


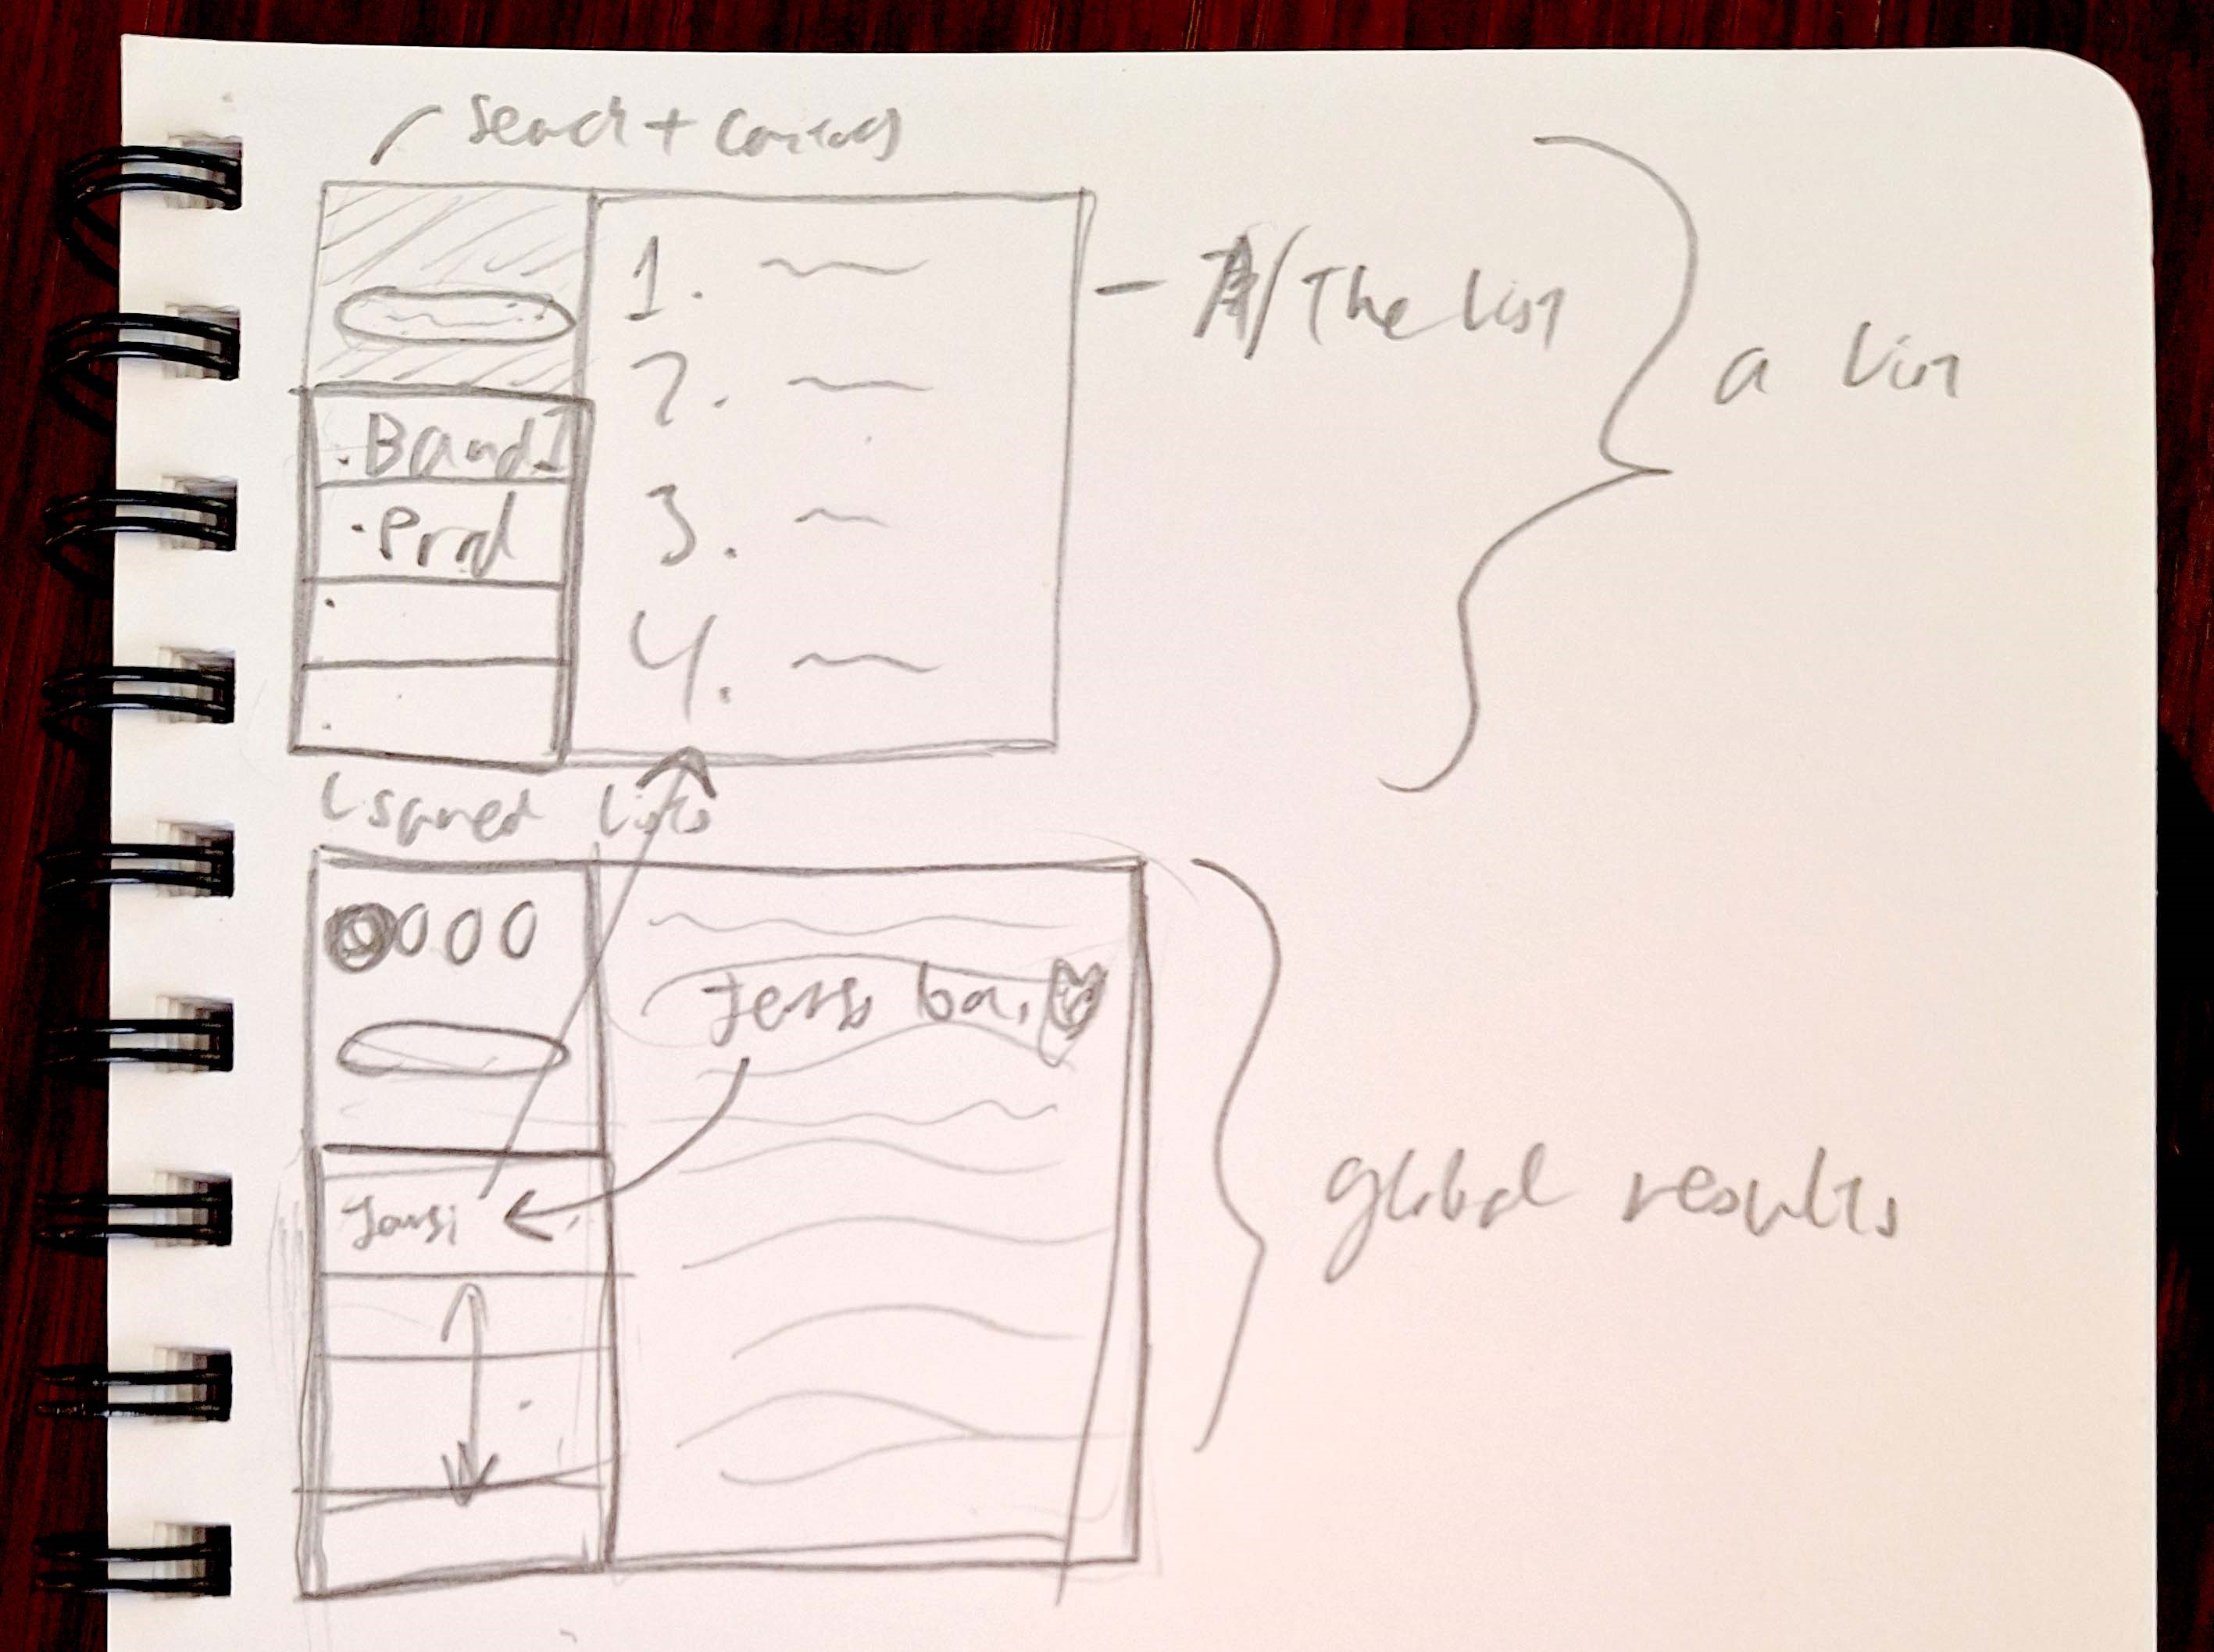
In class that week we started thinking about the web. What do websites currently look like and how do we currently interact with them. To develop this we had an exercise to sketch a site based off a randomly generated prompt.

I can’t remember our prompt exactly but it was something like;

- A cloud based
- To do list
- For musicians


|
|
|
|
|
|
|
|
|
|
|
|
|


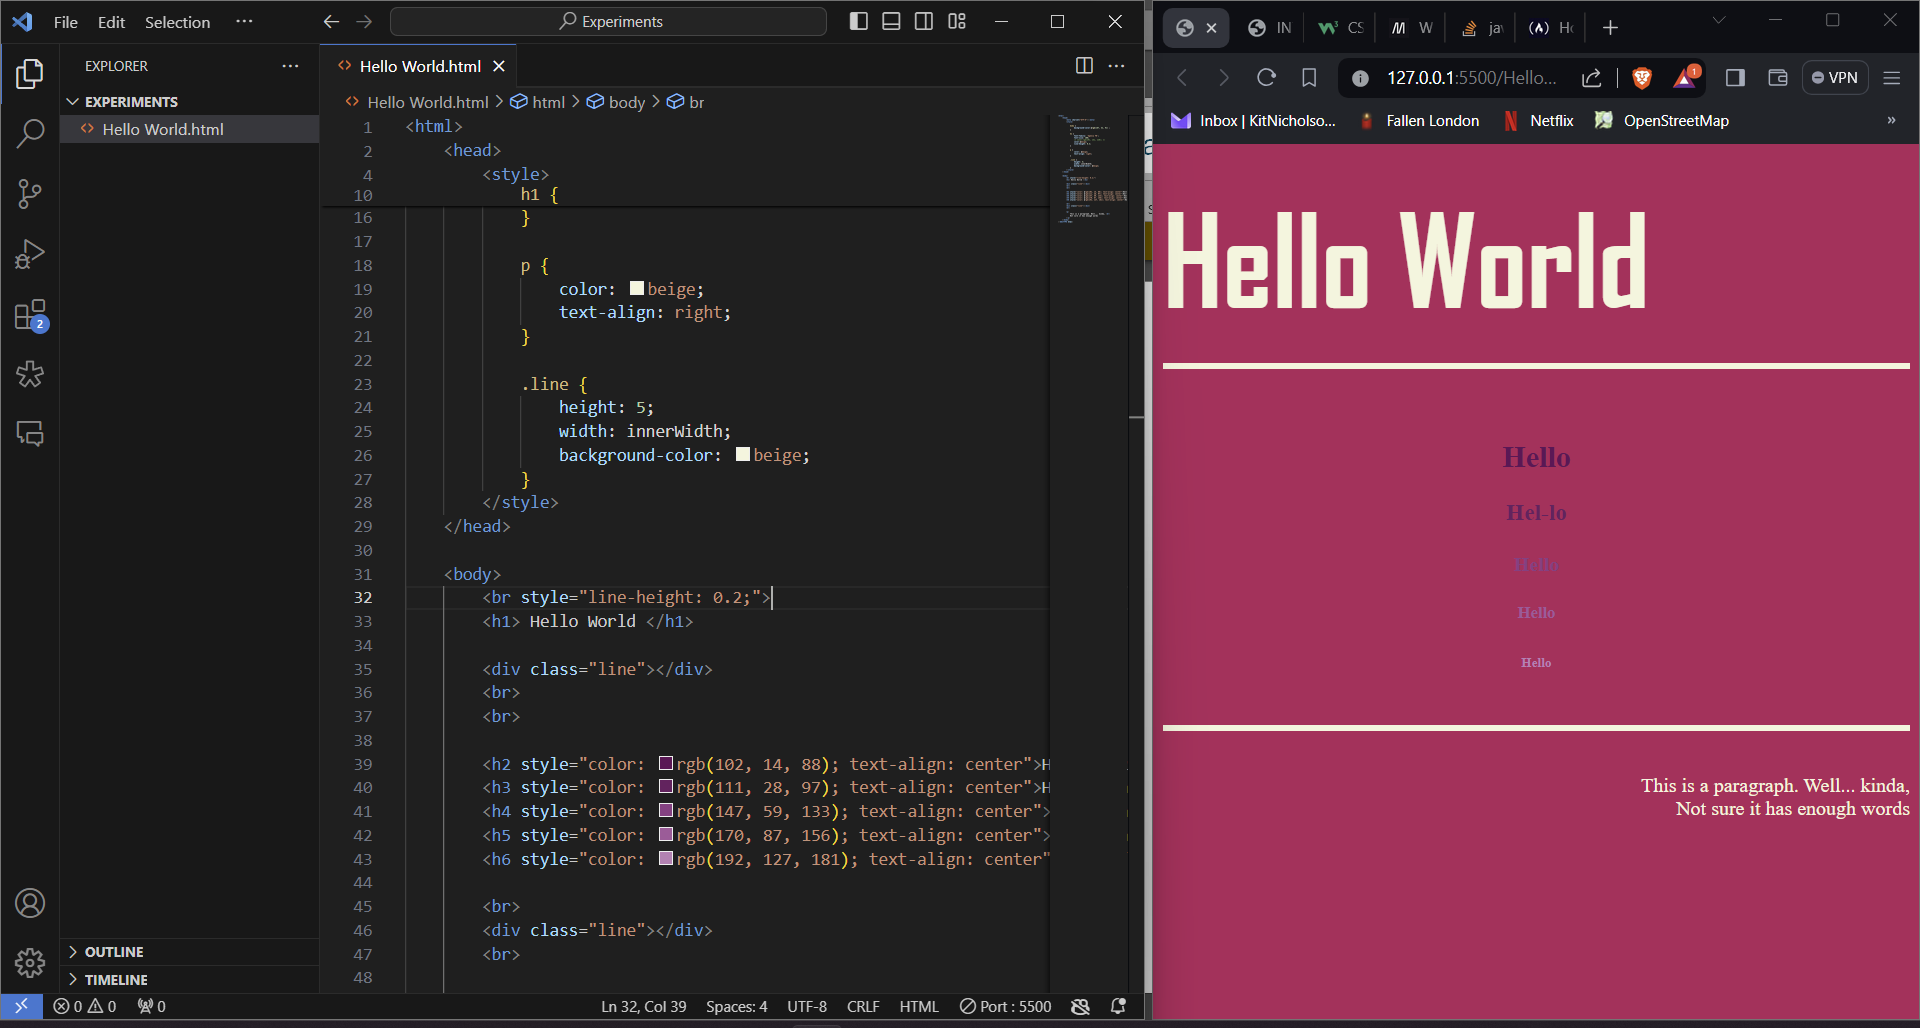
Finally this week I played with html to produce a hello world sketch. I have tried learning html once before and so had some familiarity with the concept of tags. However I found html unwieldy. Using it felt like turning pre-determined settings on and off. This made development slow and not very expressive. Building this sketch was a re-introduction to html and a first time foray into CSS, exploring what can be done in these languages.

  Week 2

|
|
|
|
|
|
|
|
|
|
|
|
|


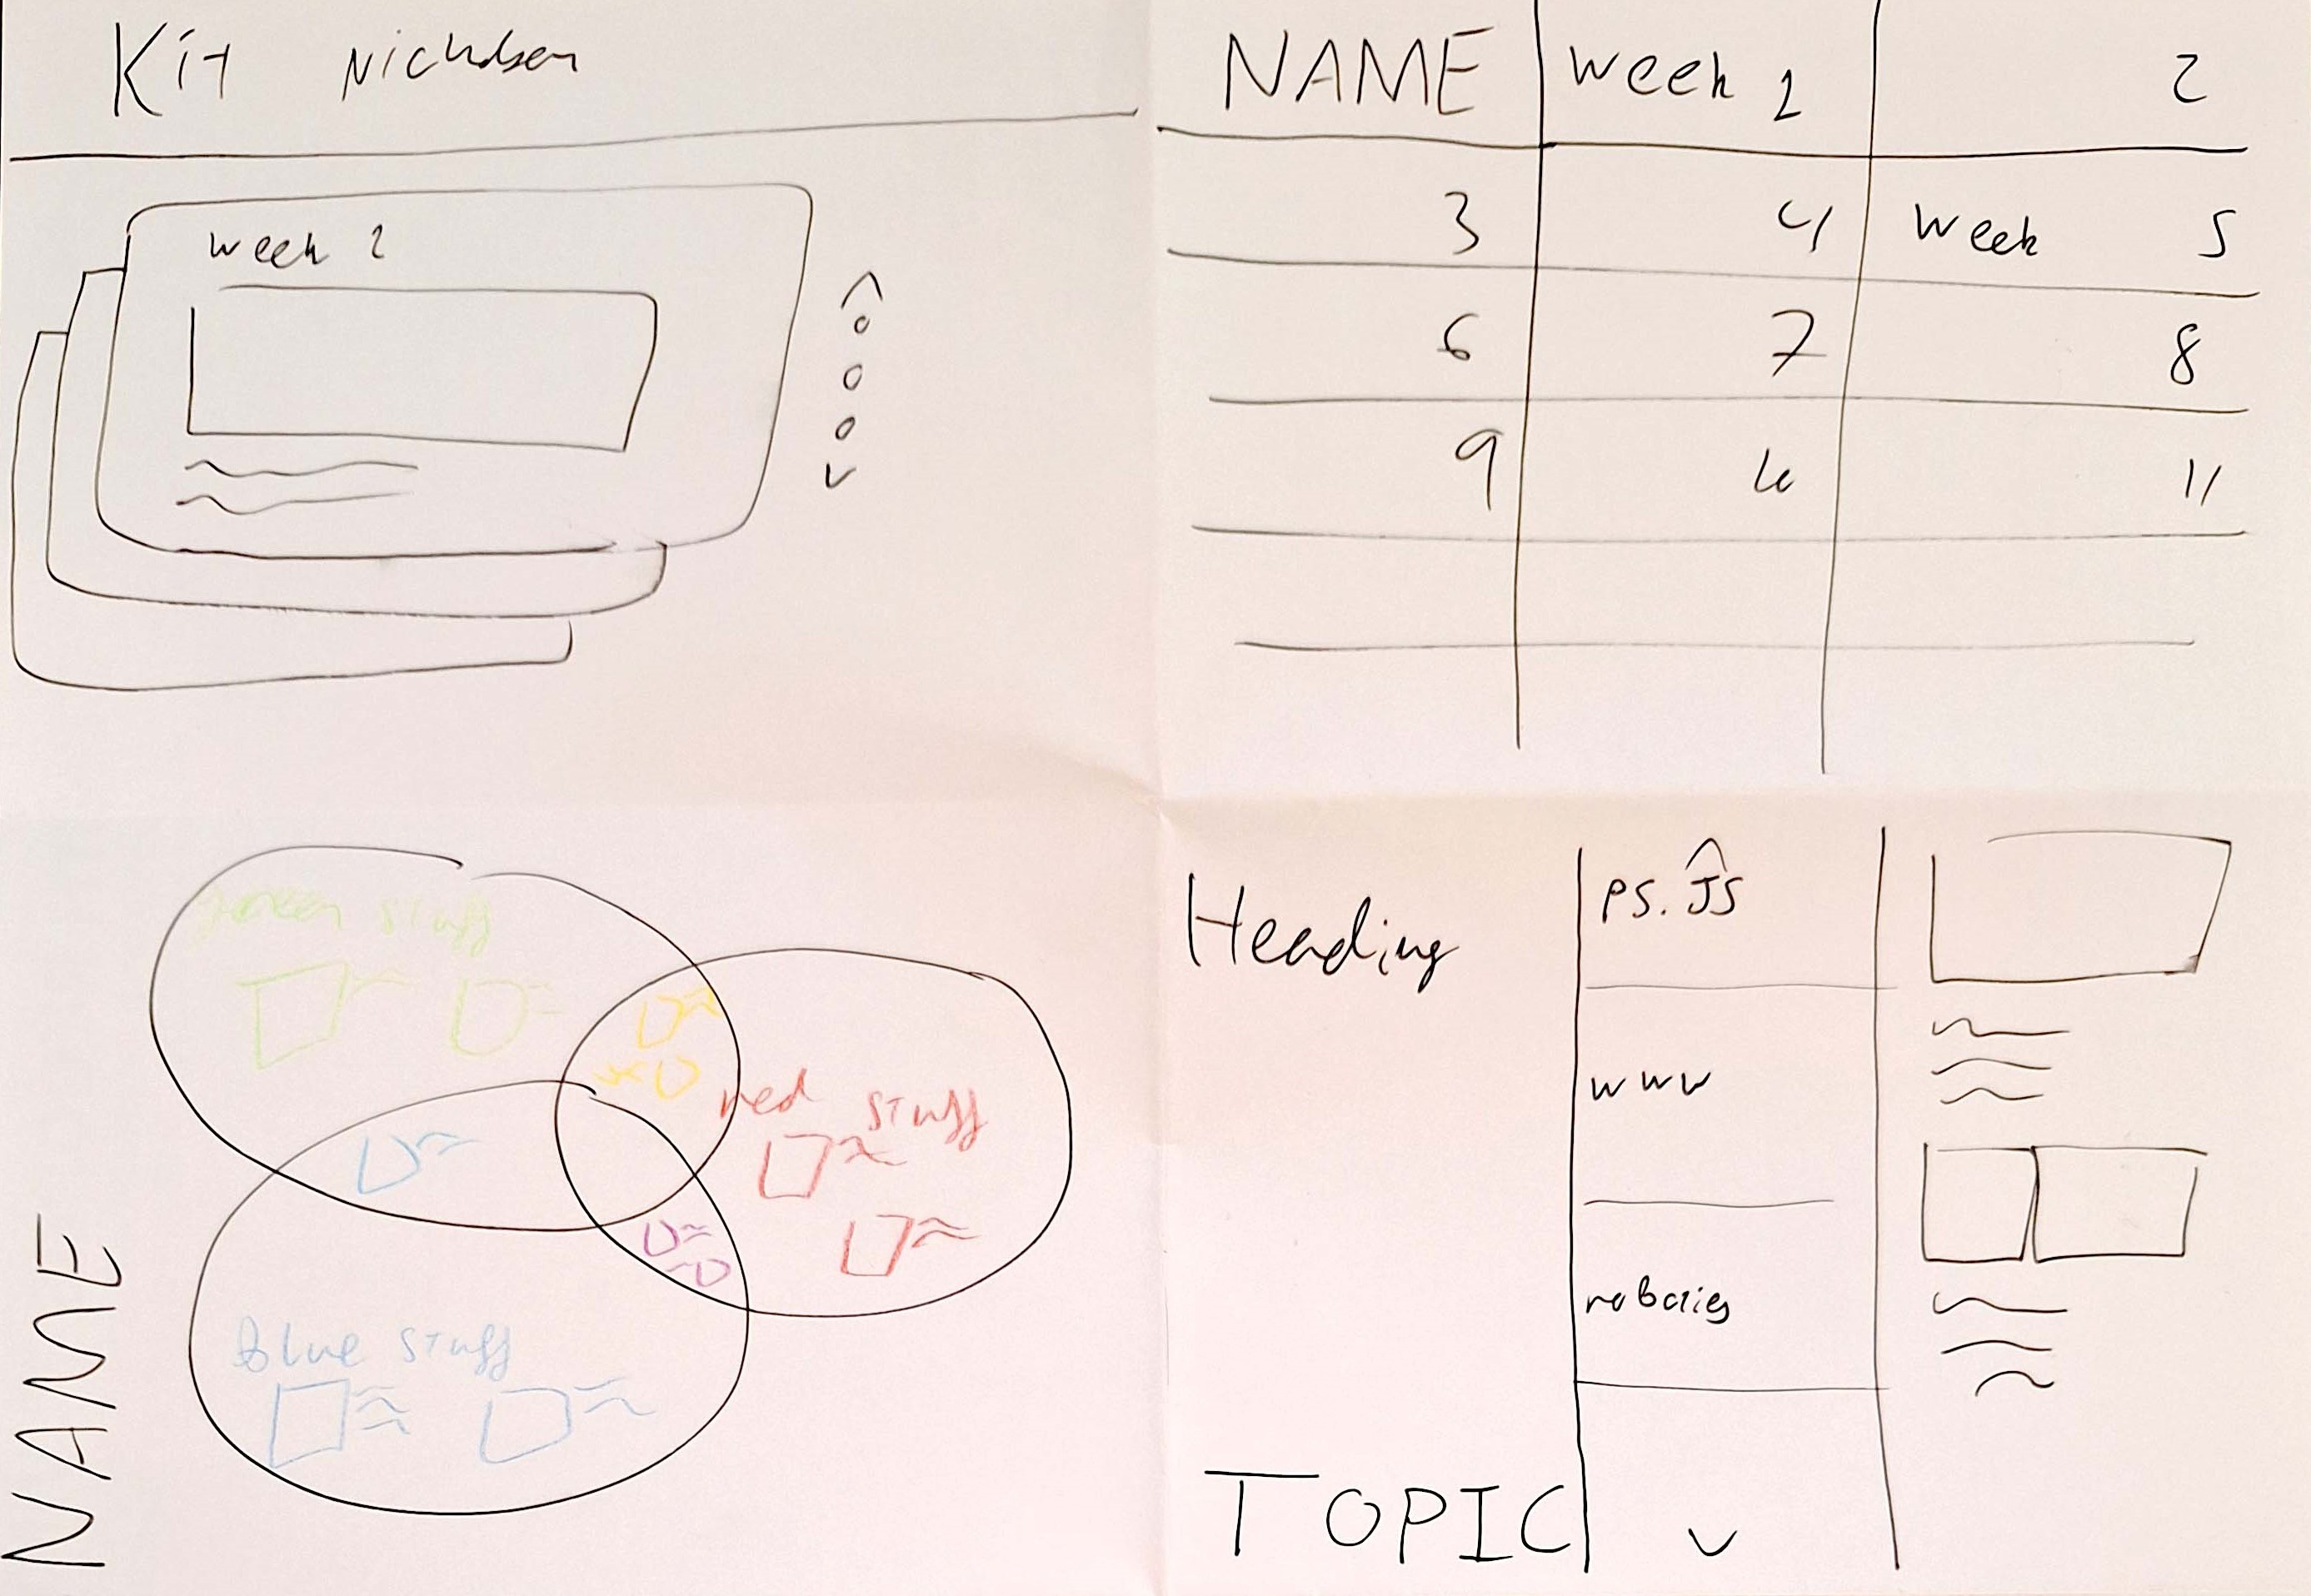
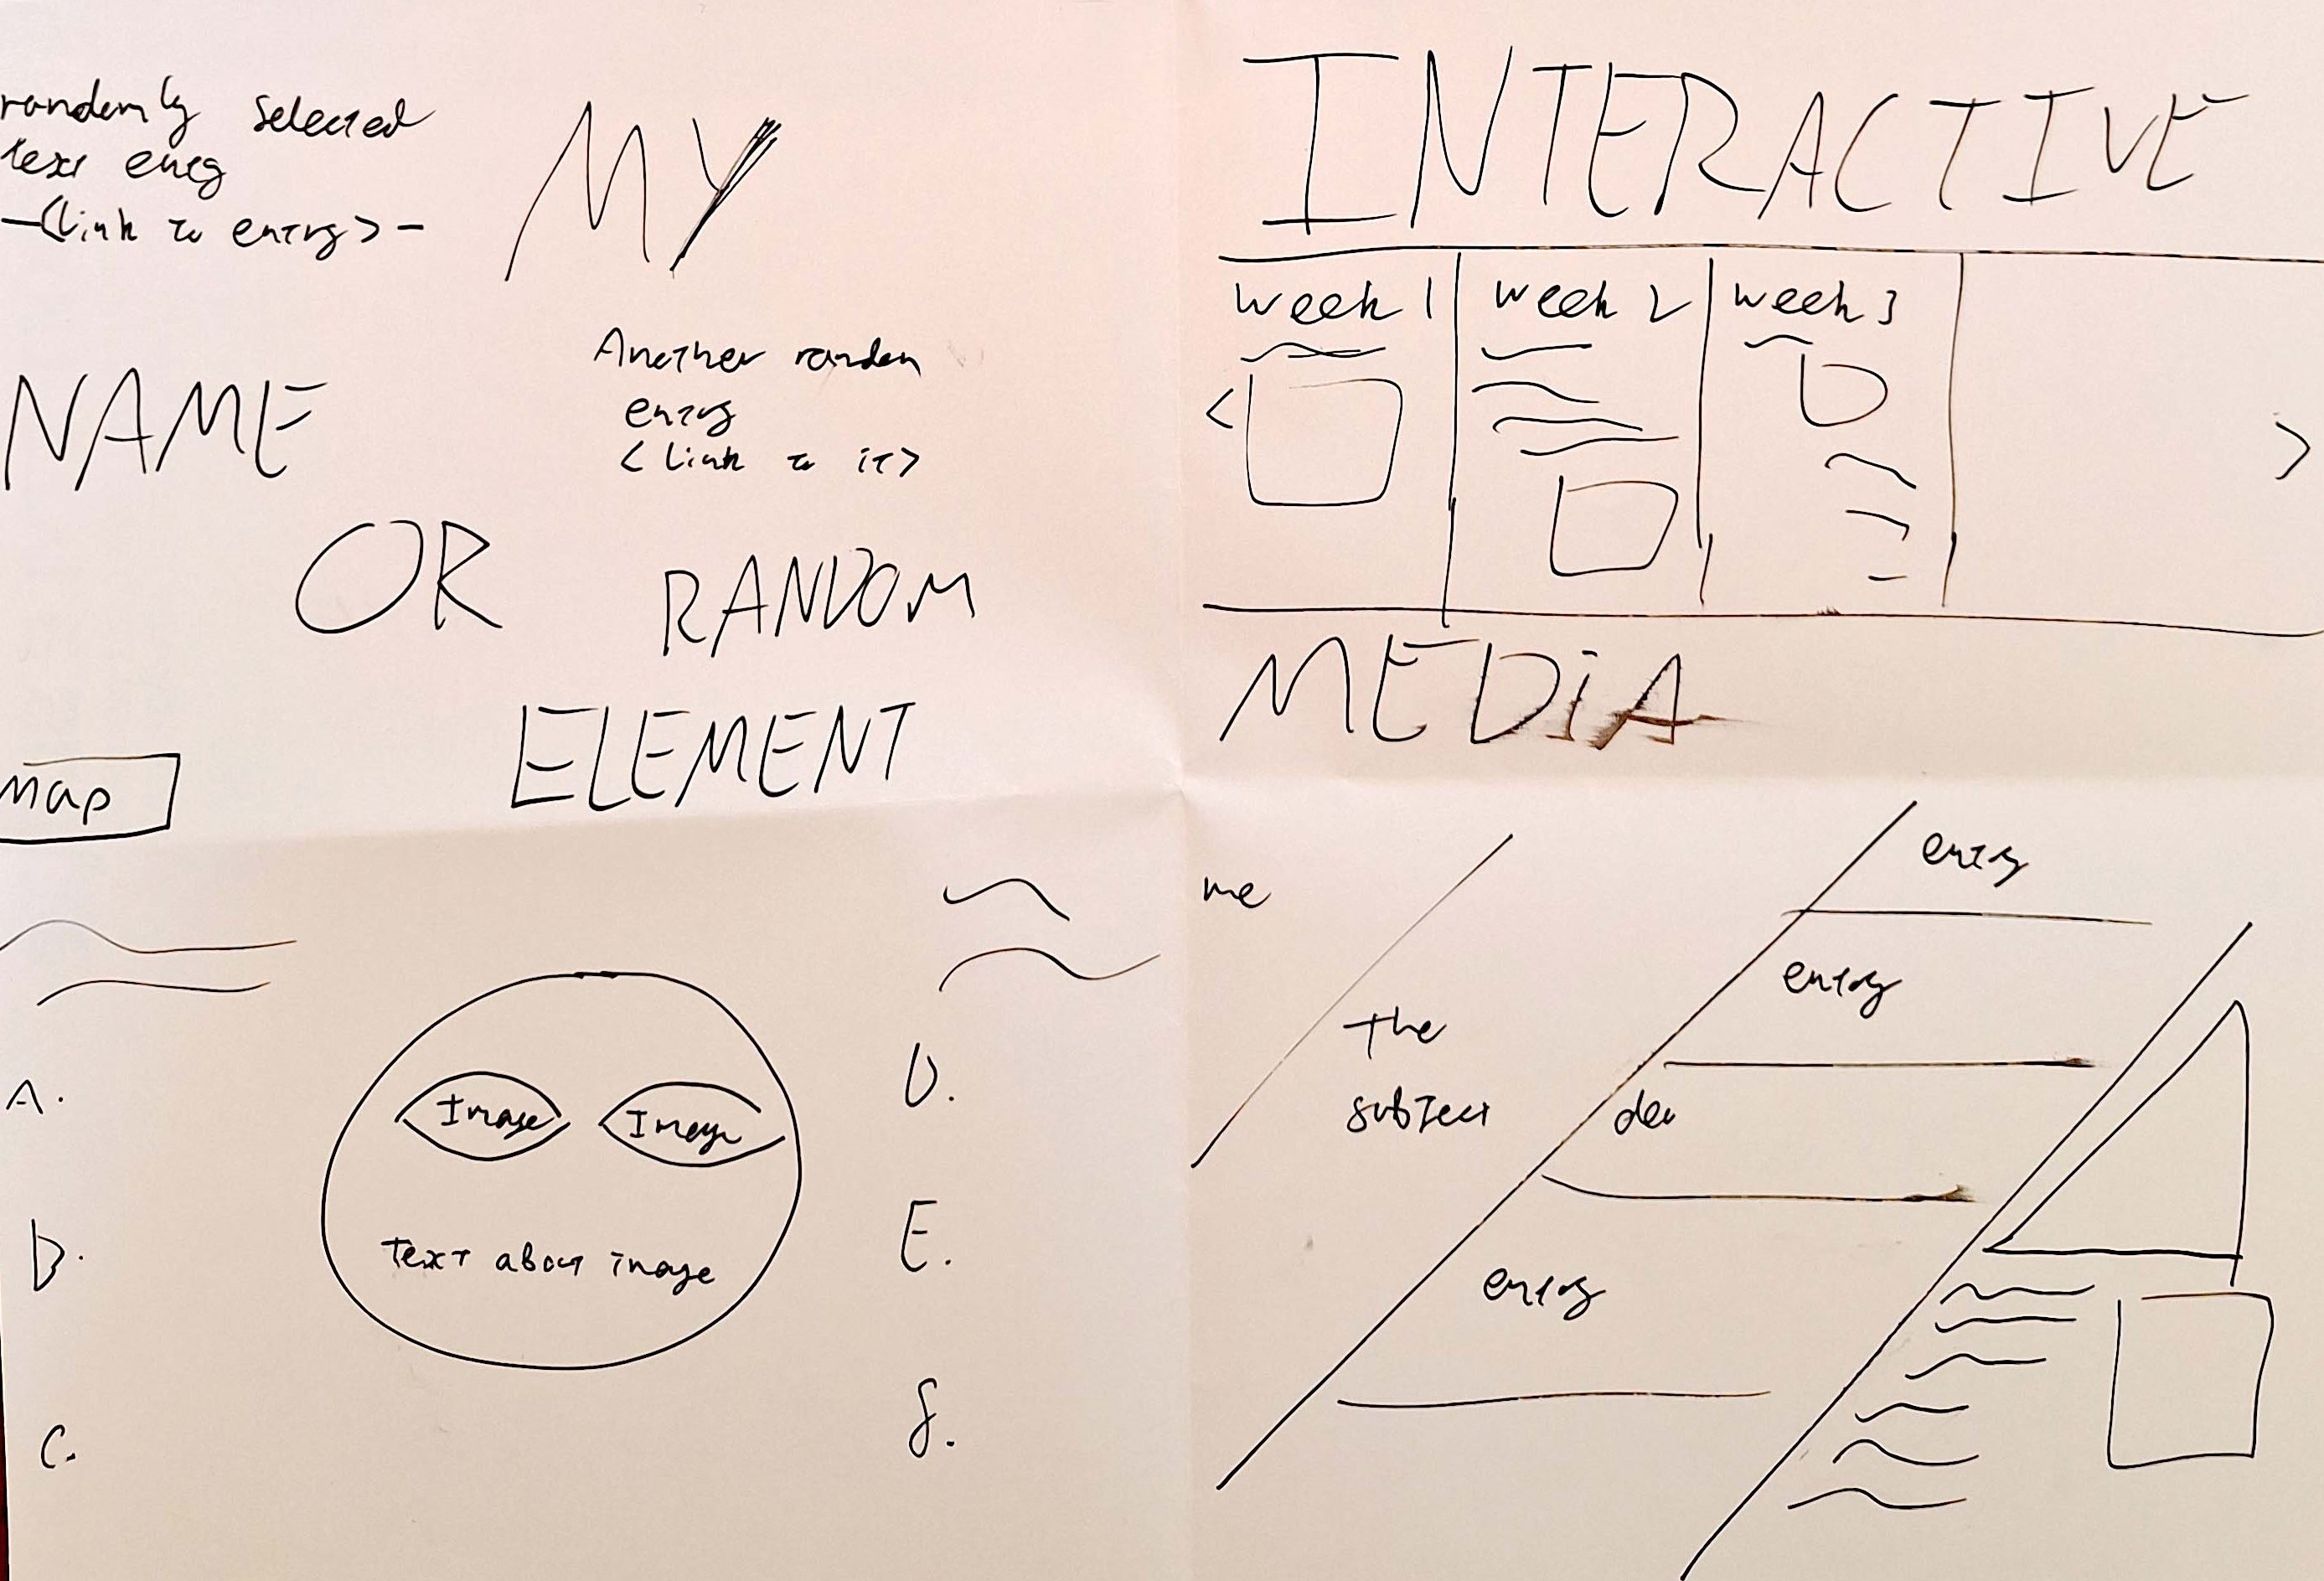
Week 2 began with a quick exercise of crazy eights to get us thinking about how our website could look and function. Designs where meant to be fast and rough to produce a variety of ideas.

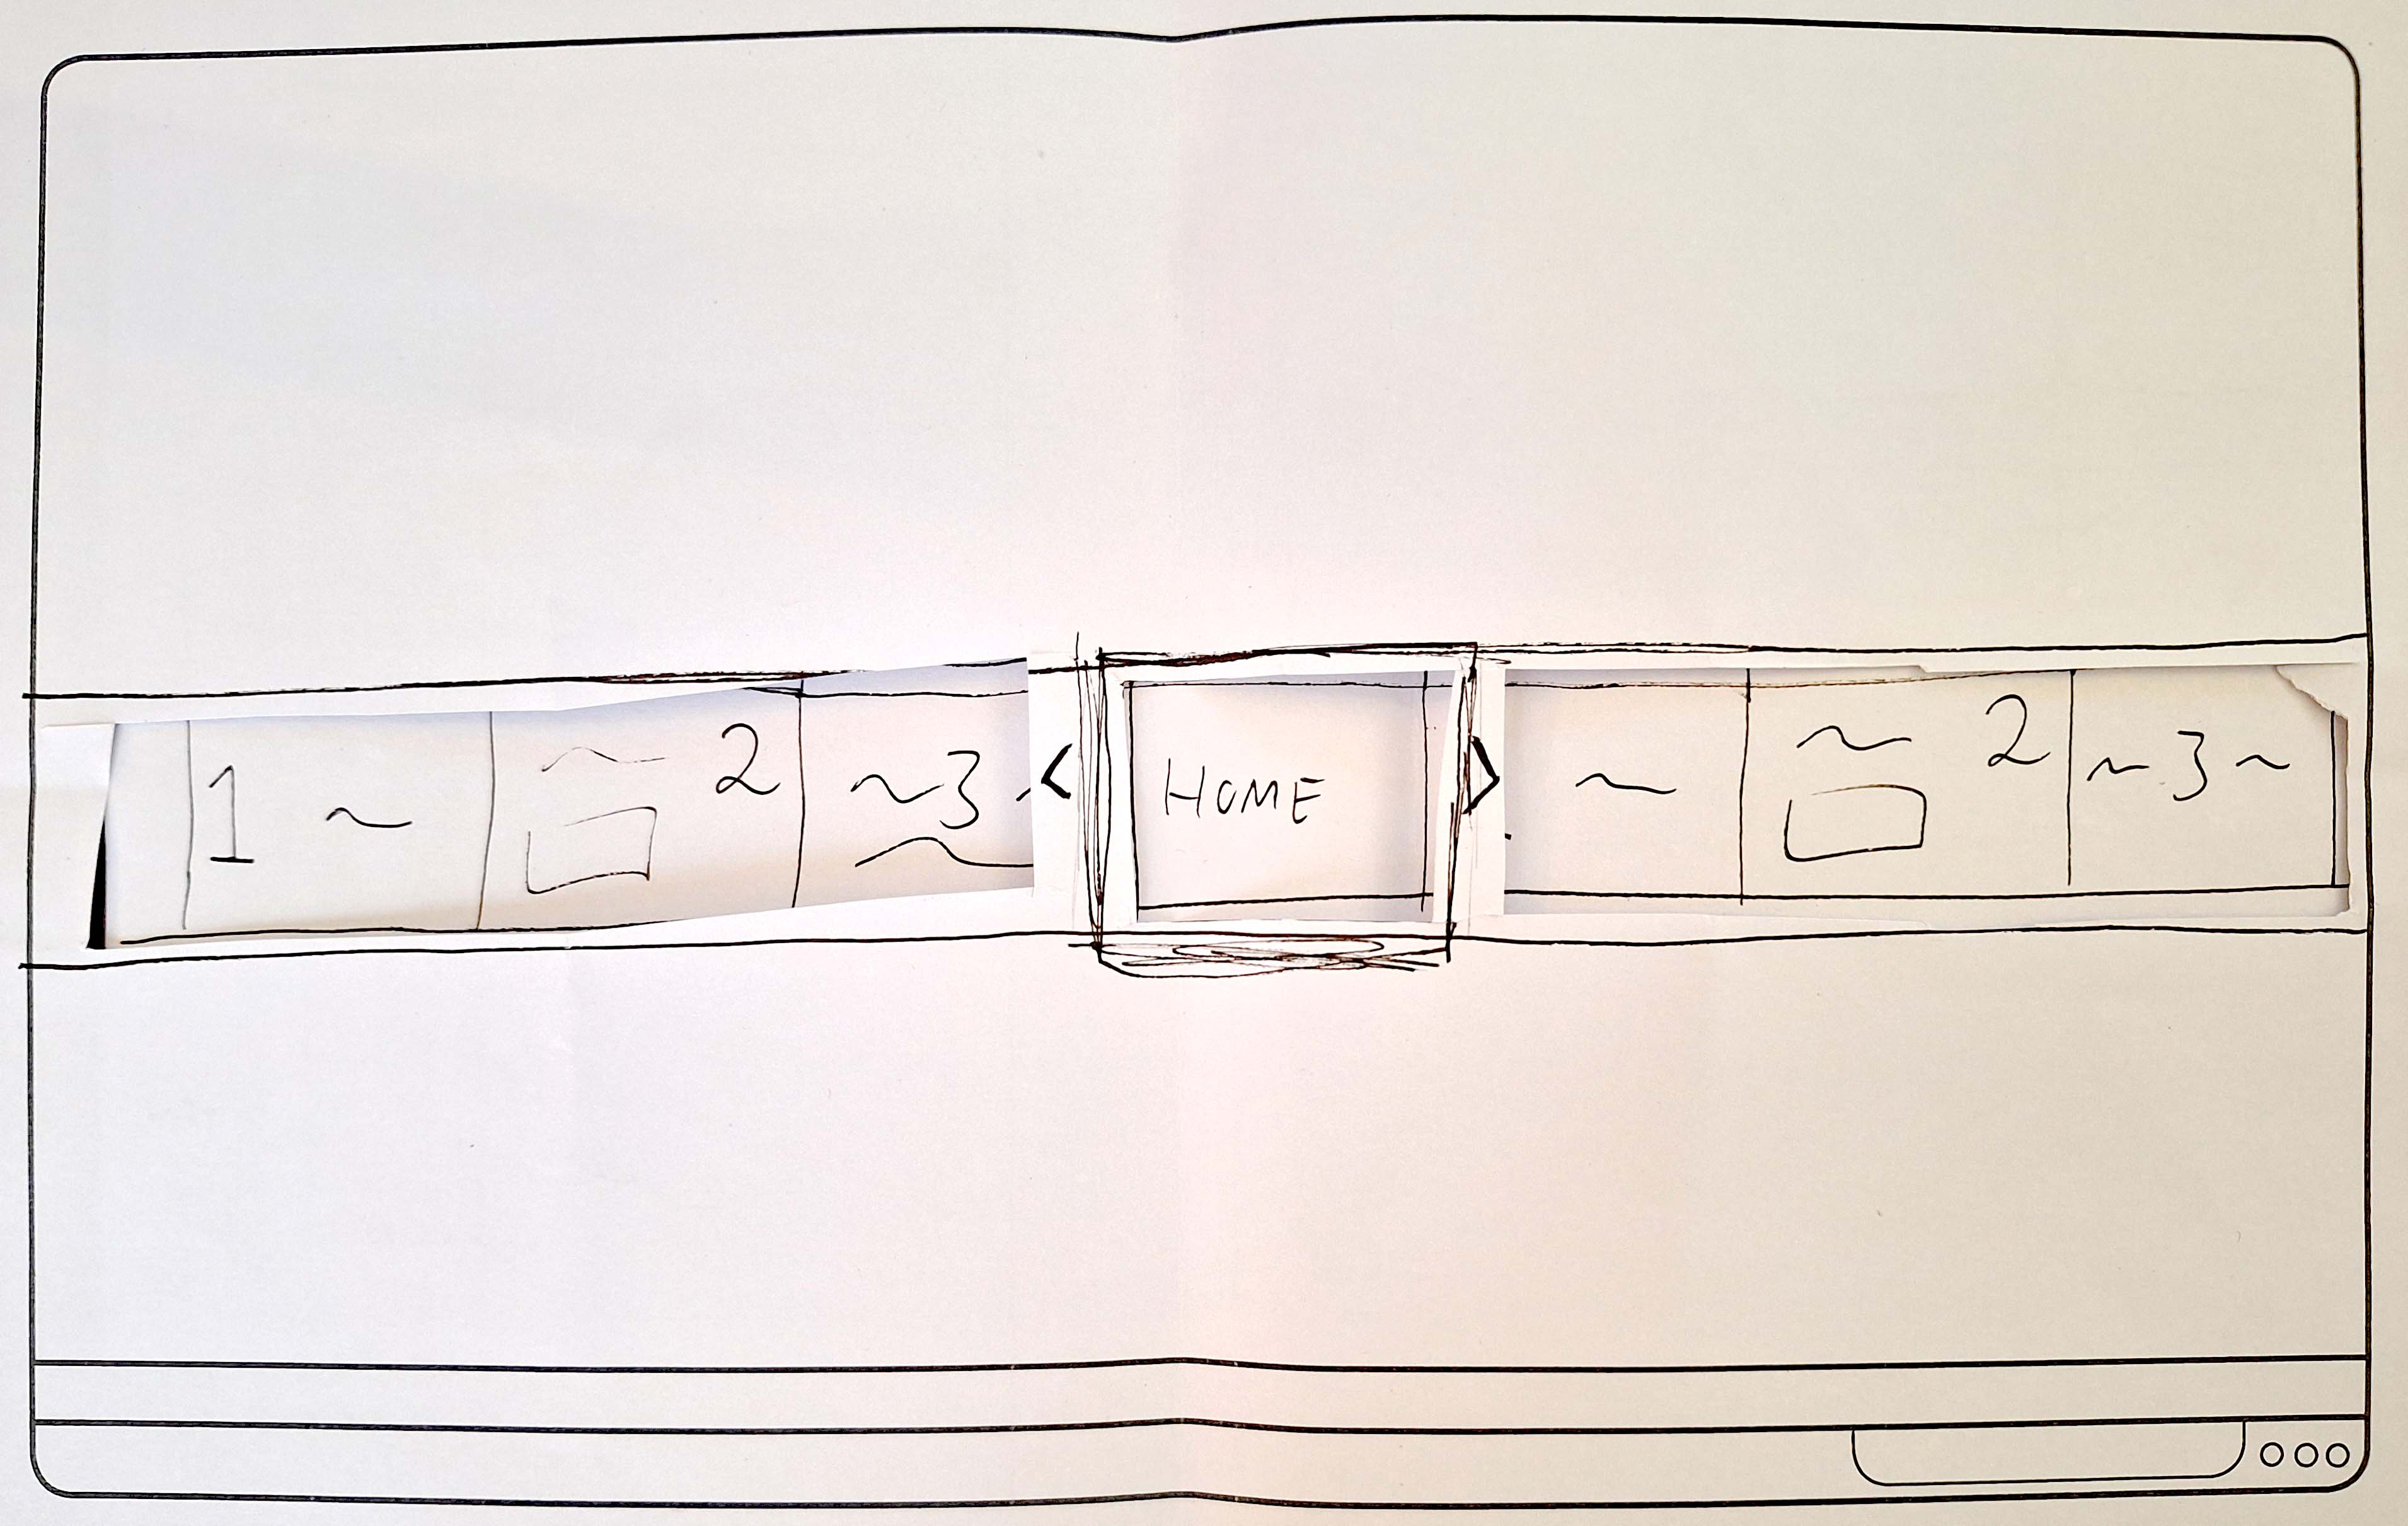
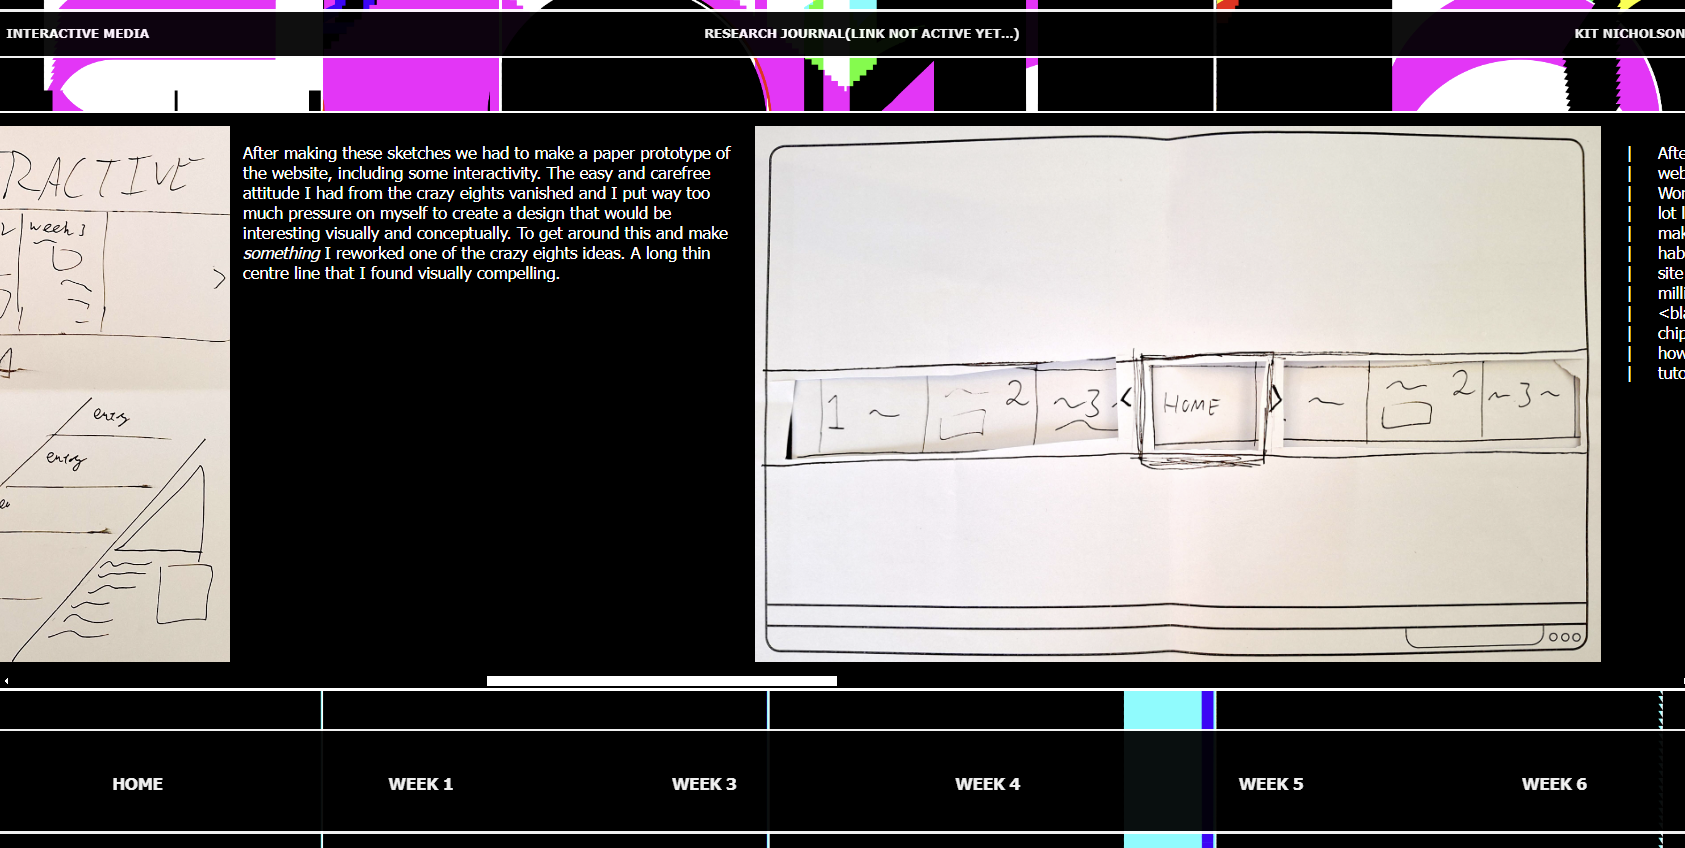
After making these sketches we had to make a paper prototype of the website, including some interactivity. The easy and carefree attitude I had from the crazy eights vanished and I put way too much pressure on myself to create a design that would be interesting visually and conceptually. To get around this and make something I reworked one of the crazy eights ideas. A long thin centre line that I found visually compelling.


|
|
|
|
|
|
|
|
|
|
|
|
|


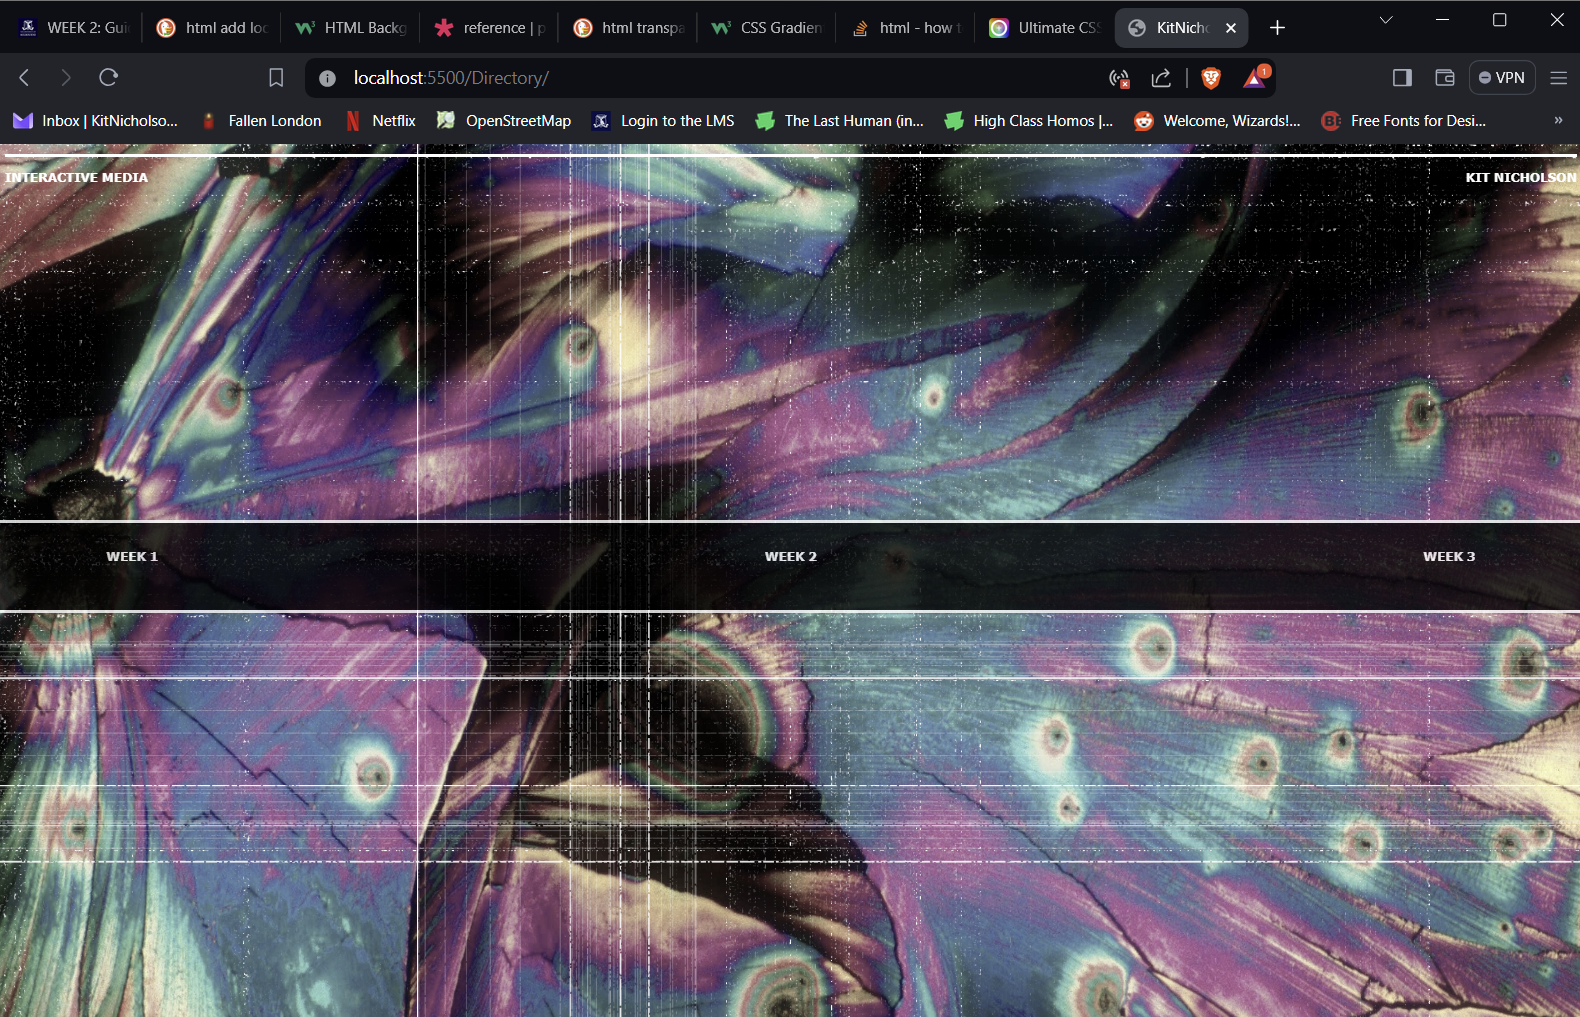
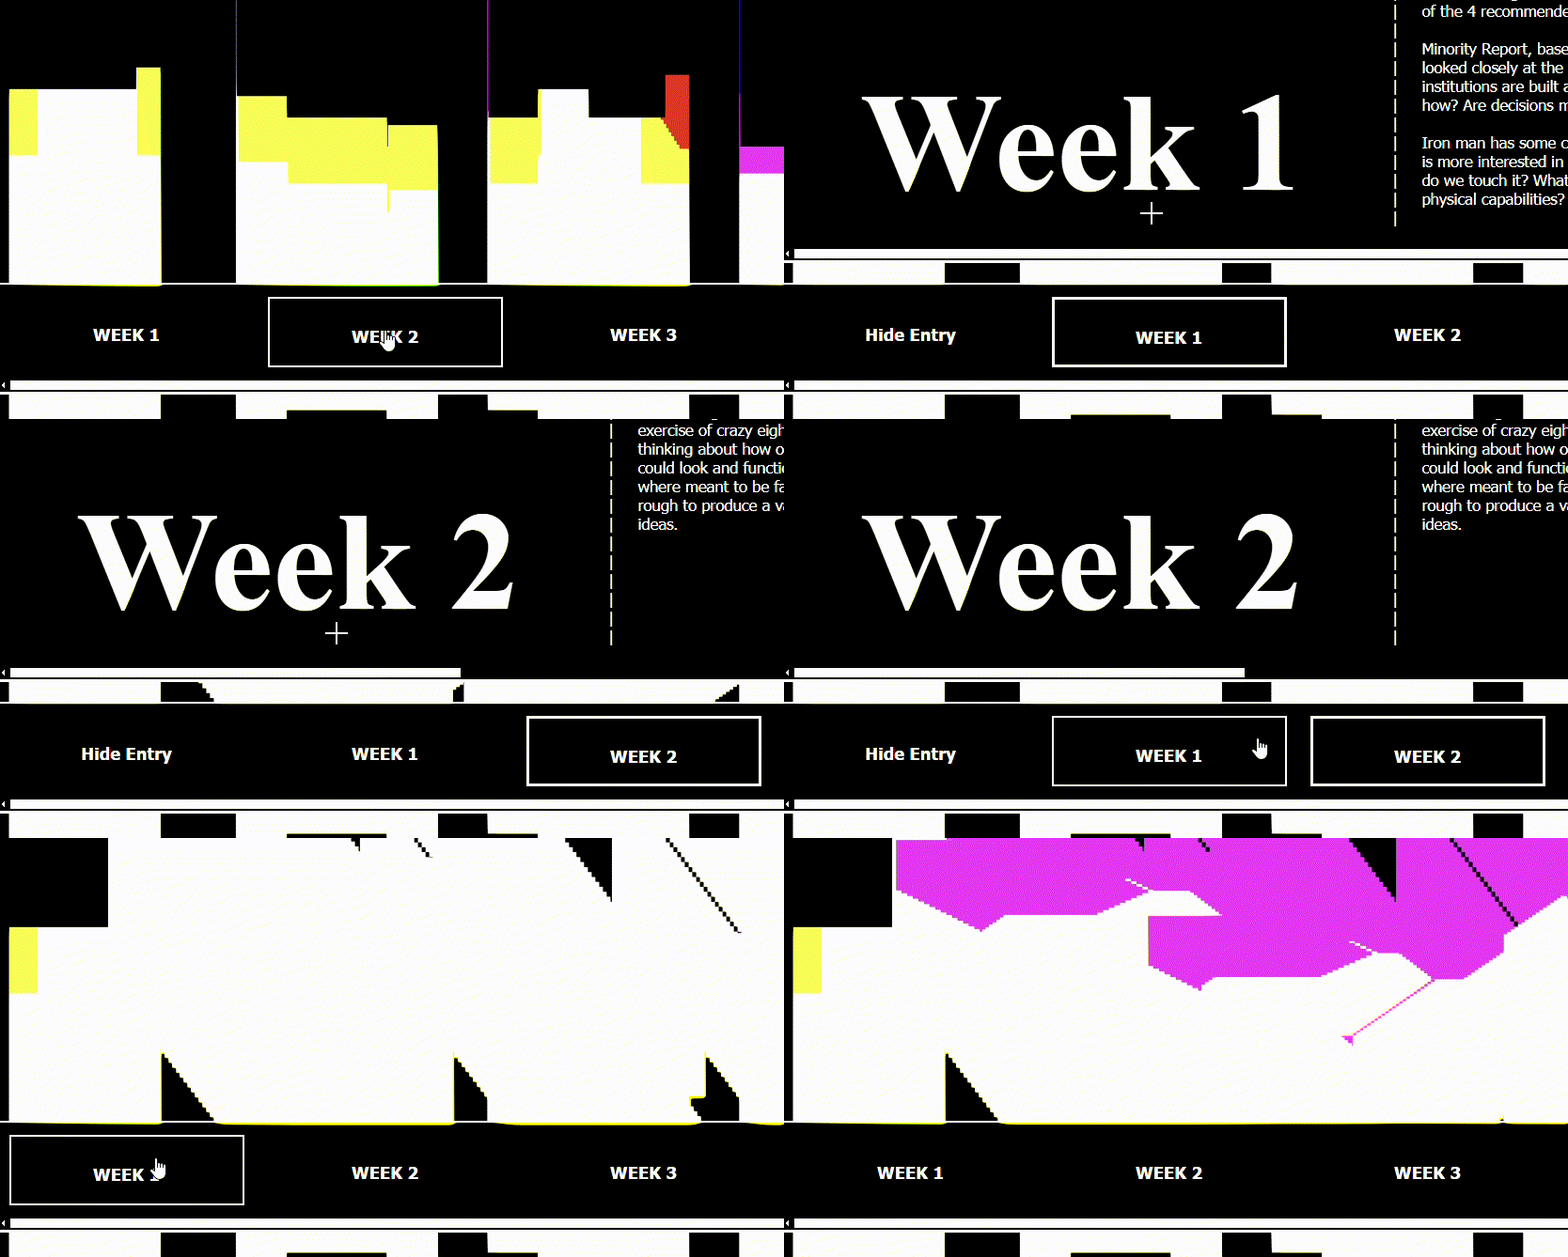
After class this week I started building the website in VS code. Having already built the Hello World site made starting a new html document a lot less scary, even if I still didn’t know how to make it look the way I wanted. I wasn’t in the habit of taking screengrabs of when I started the site but it looked pretty rough. I also had a million tabs open from googling “how to do <blank> in html/CSS”. It felt like very slowly chipping away at a rock. Eventually I figured out how to link p5.js to html with a coding train tutorial and got it looking like this. -->


|
|
|
|
|
|
|
|
|
|
|
|
|


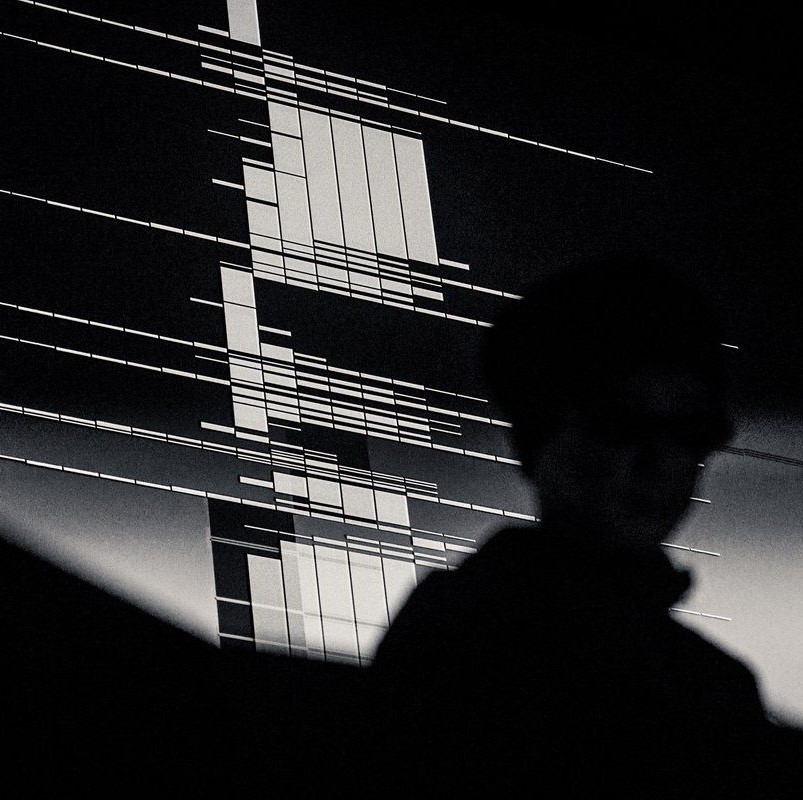
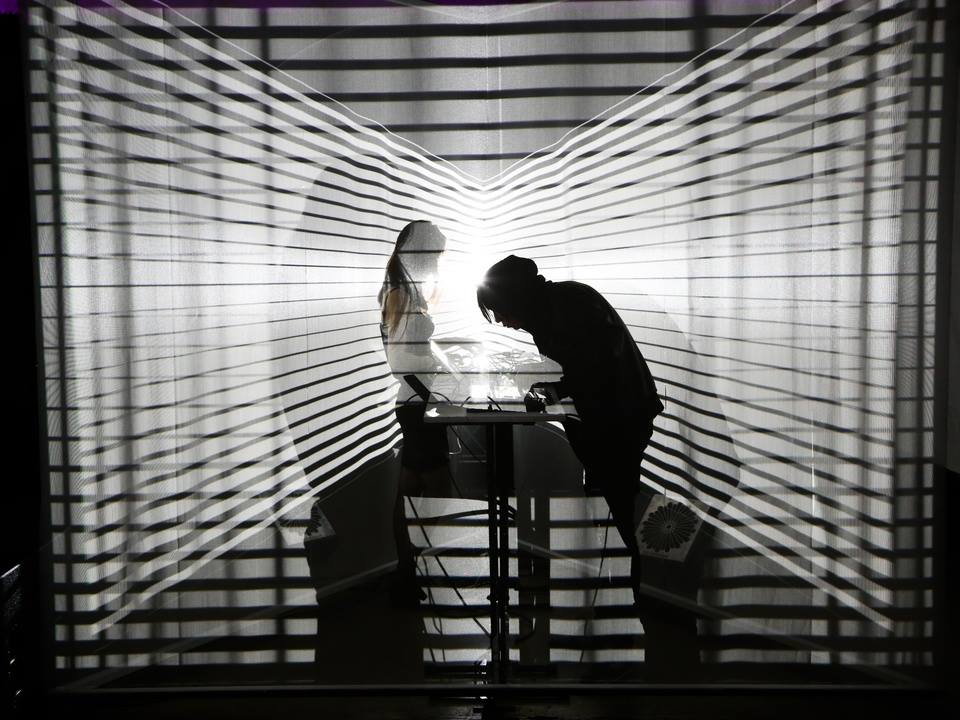
Indirect inspirations for this site come from Ryoji Ikeda and Nonotak who’s work I adore. Both of their aesthetics feel tech heavy but I believe that is a result of heavy use of geometry and systems rather than an obsession with tech.

Both also examine interactions between music and light in immersive installations (there is an interesting proposition, is immersion a form interactivity?). Both also work almost exclusively in black and white which I find to be almost a cliché of technology.

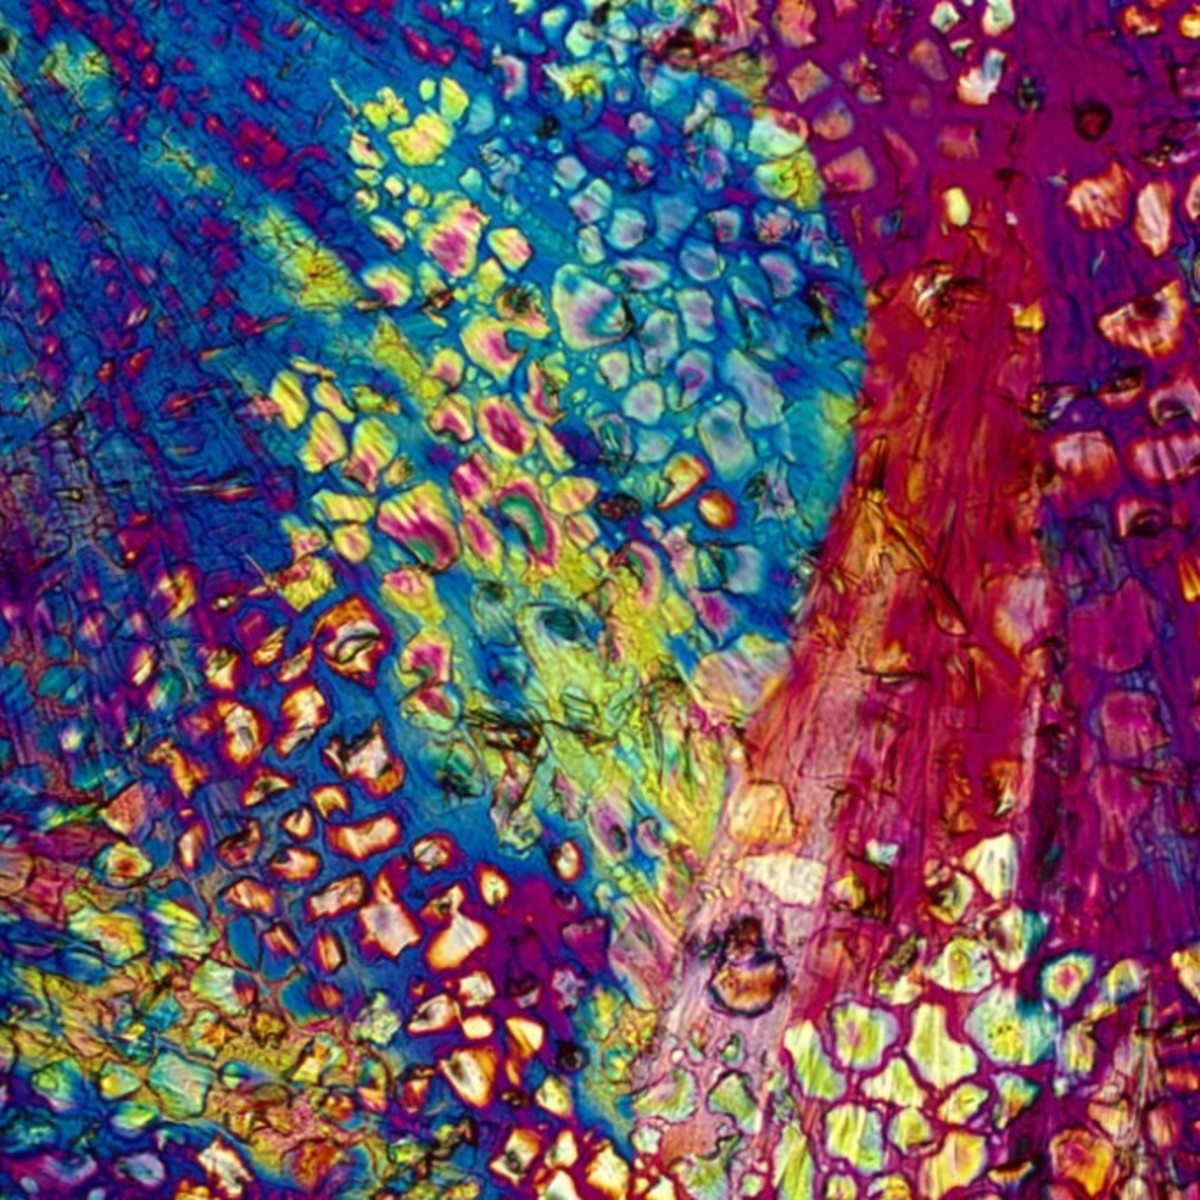
I deliberately wanted to avoid this black and white cliché by using colour. I didn’t know how until I stumbled on these incredible images of the microscopic structures of alcohol. I believe the background of this site is a close up of a pina colada. On the right is Bourbon.

  Week 3

|
|
|
|
|
|
|
|
|
|
|
|
|


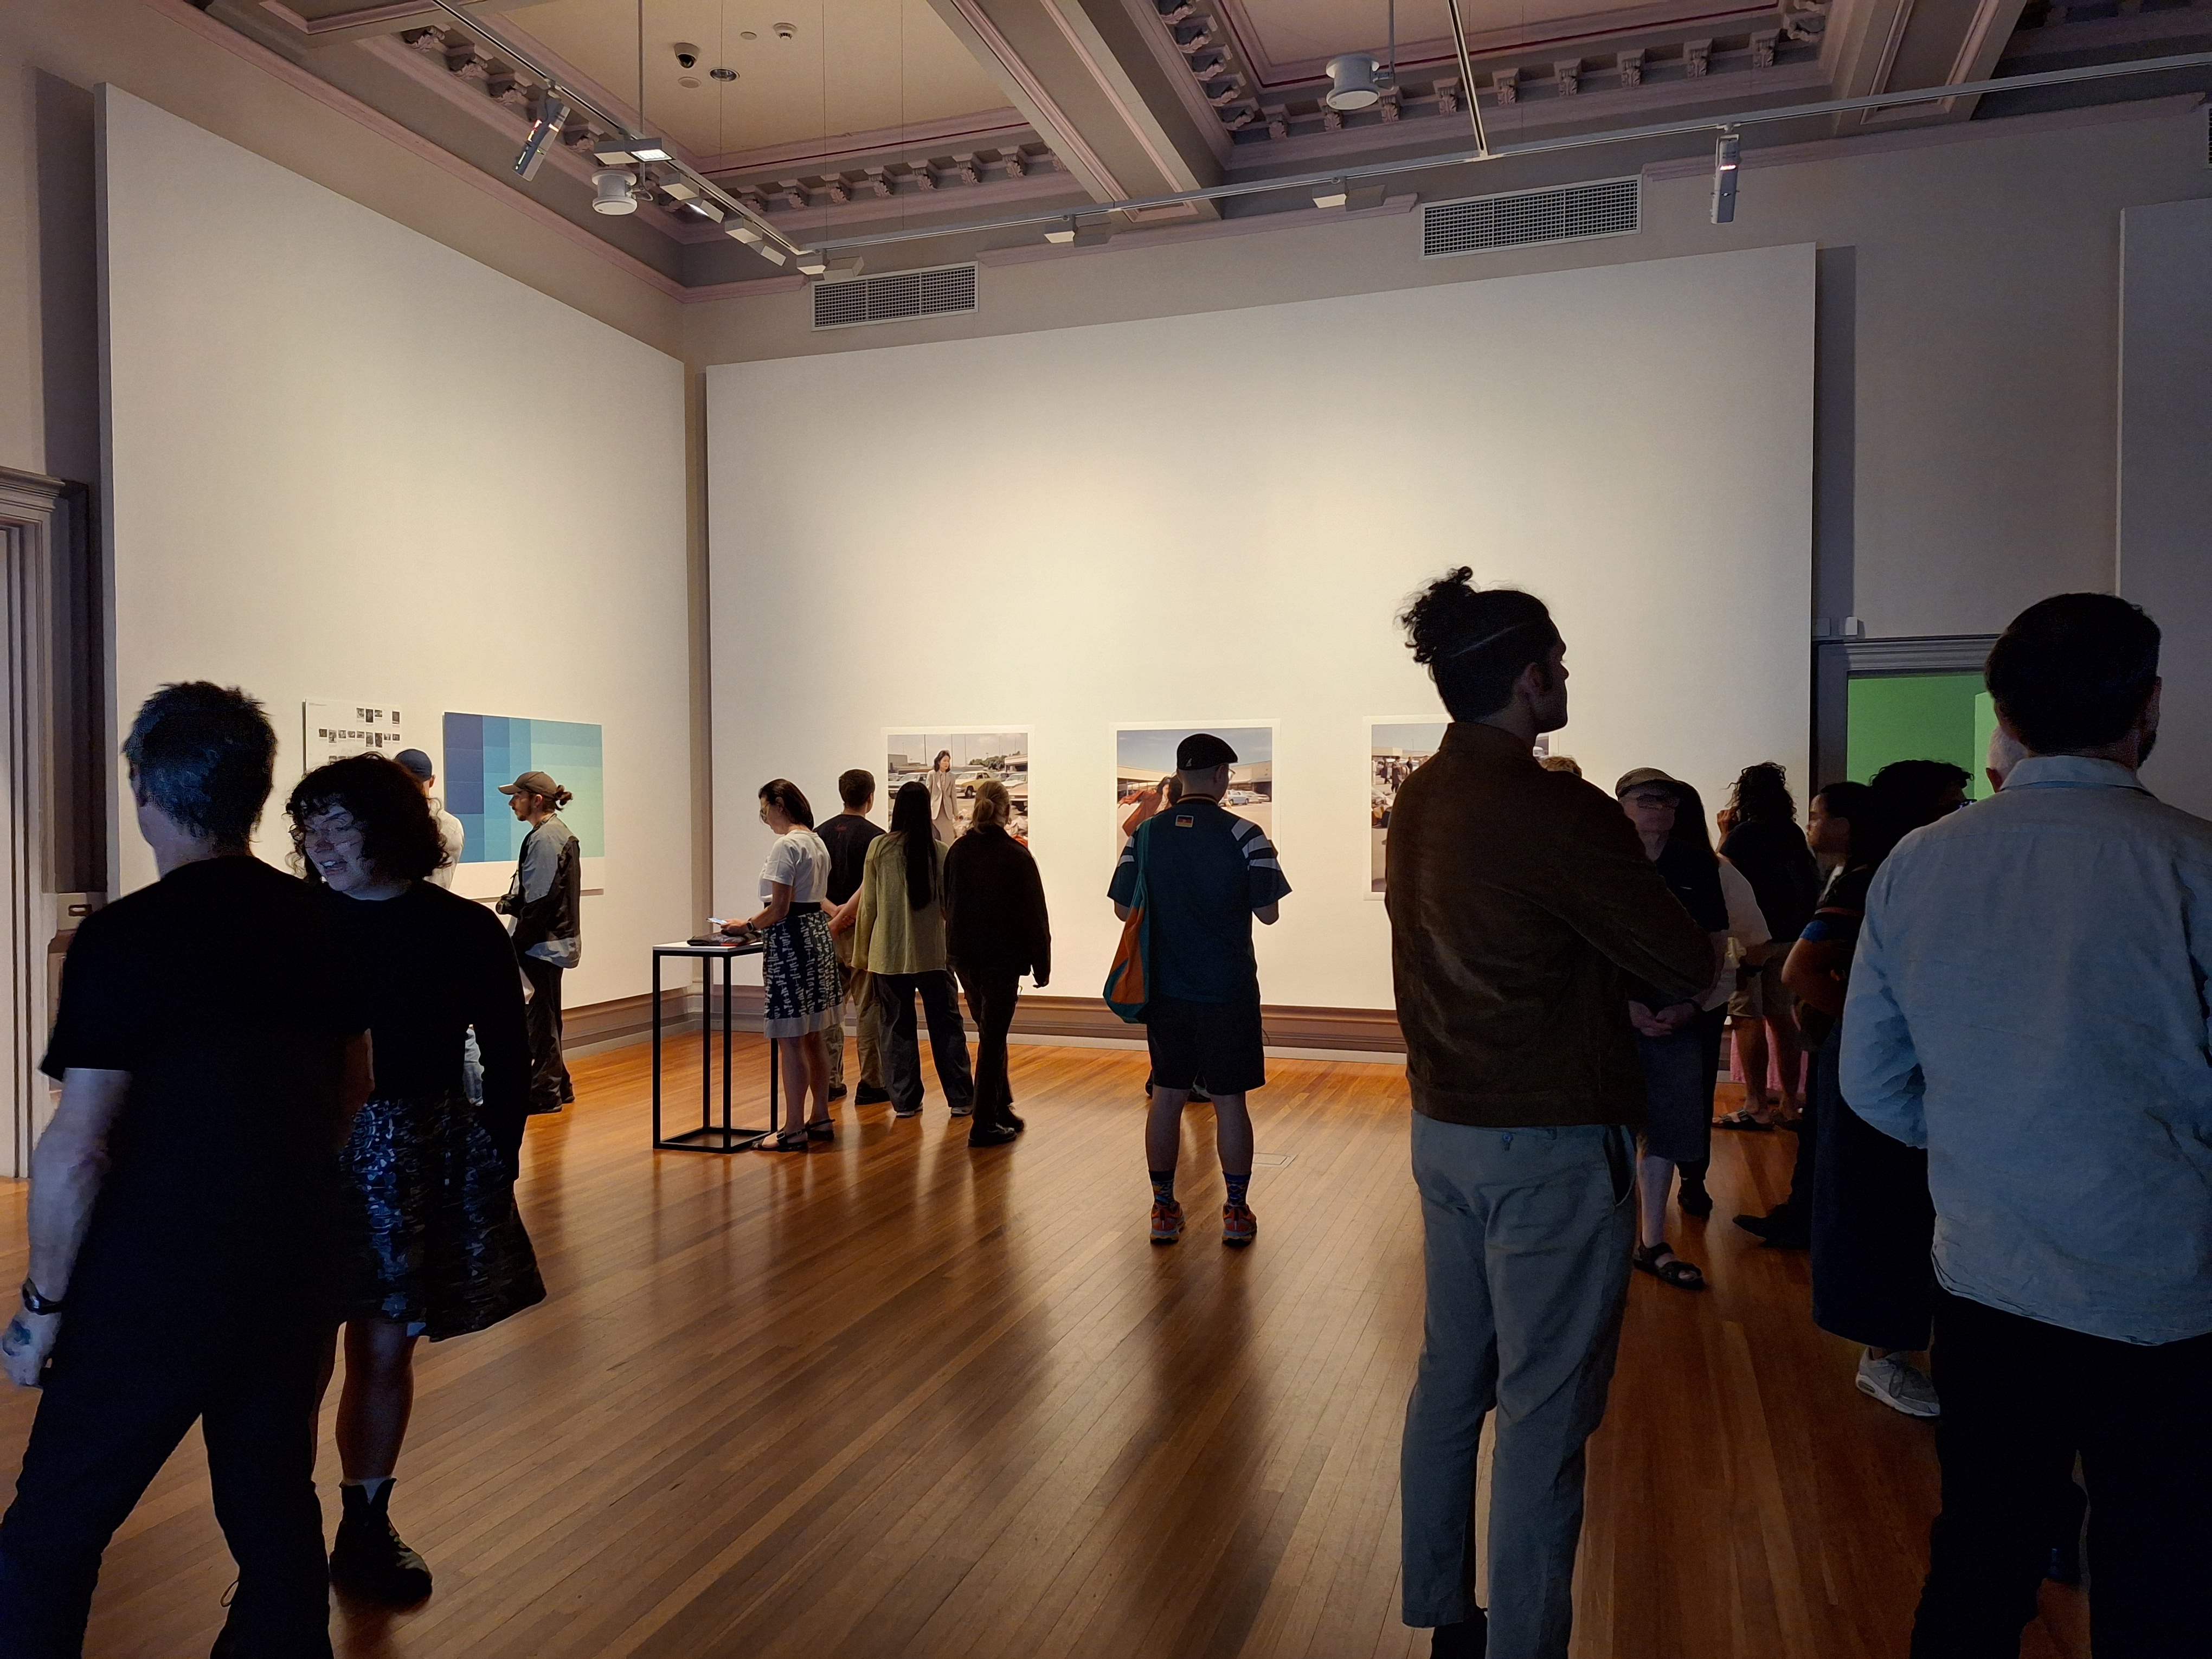
Before class this week I managed to steal some time to visit Execute_Photography at the RMIT gallery. It was smaller than I expected but the works all had quite a bit of depth. Several of the works were interactive if in quite different ways, and two of the curators where present to introduce the exhibition and after giving some time to view the works answer questions.

It got me thinking about how people produce and interact with photography on scale. Everyone making and sharing images via the internet. Huge digital collections ripe for mining freely given. It’s democratic, it’s been taken advantage of. Link to the exhibition site


|
|
|
|
|
|
|
|
|
|
|
|
|


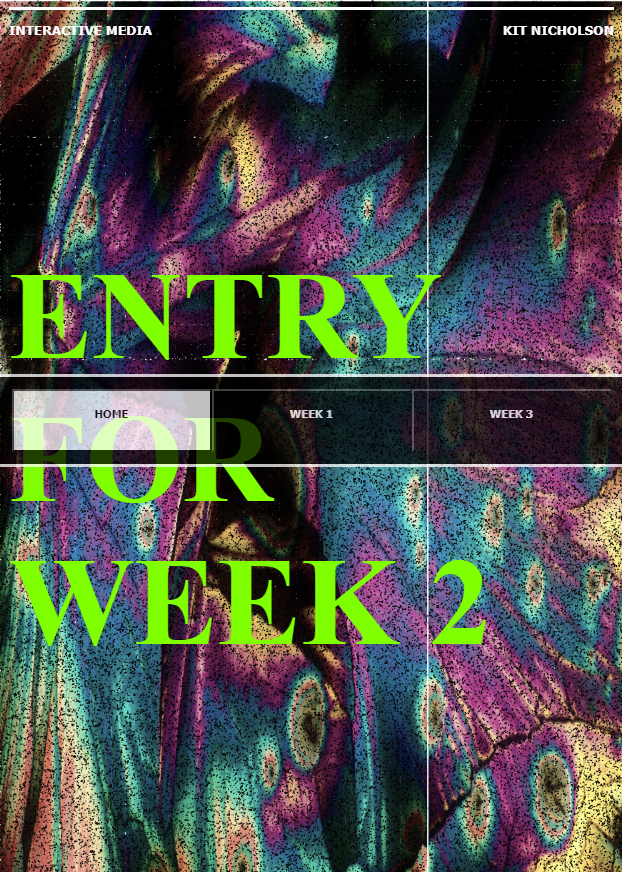
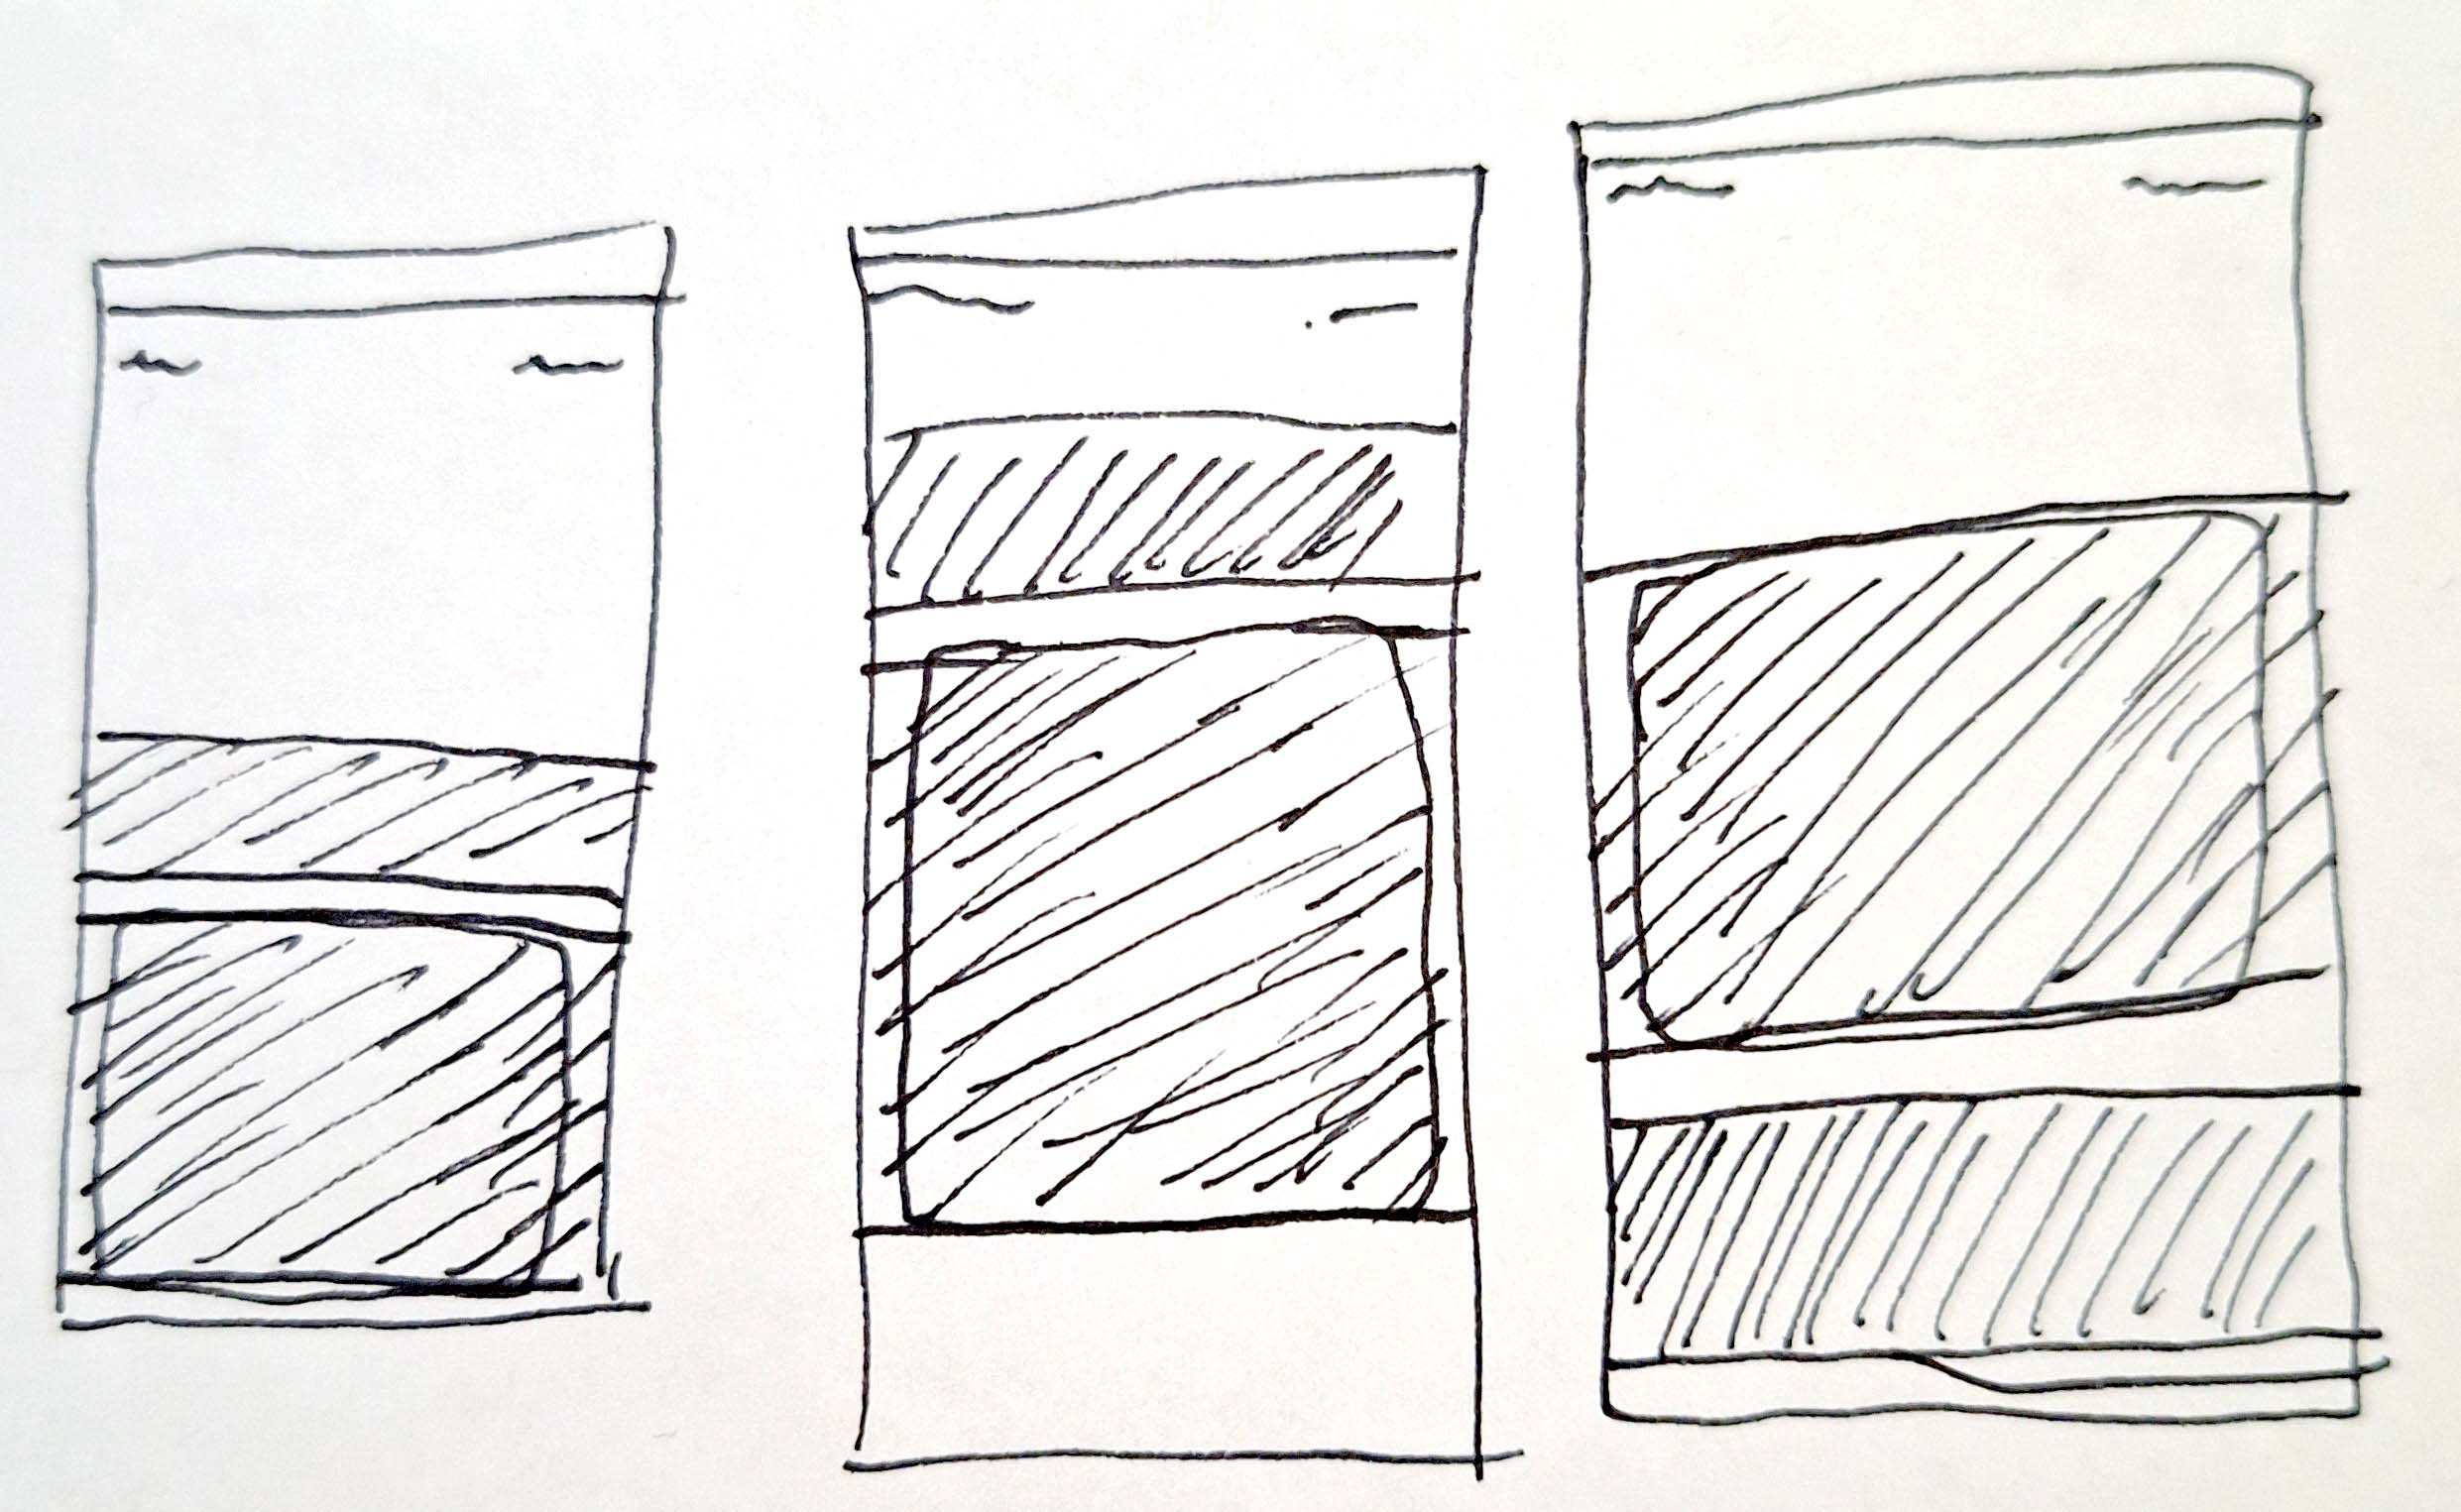
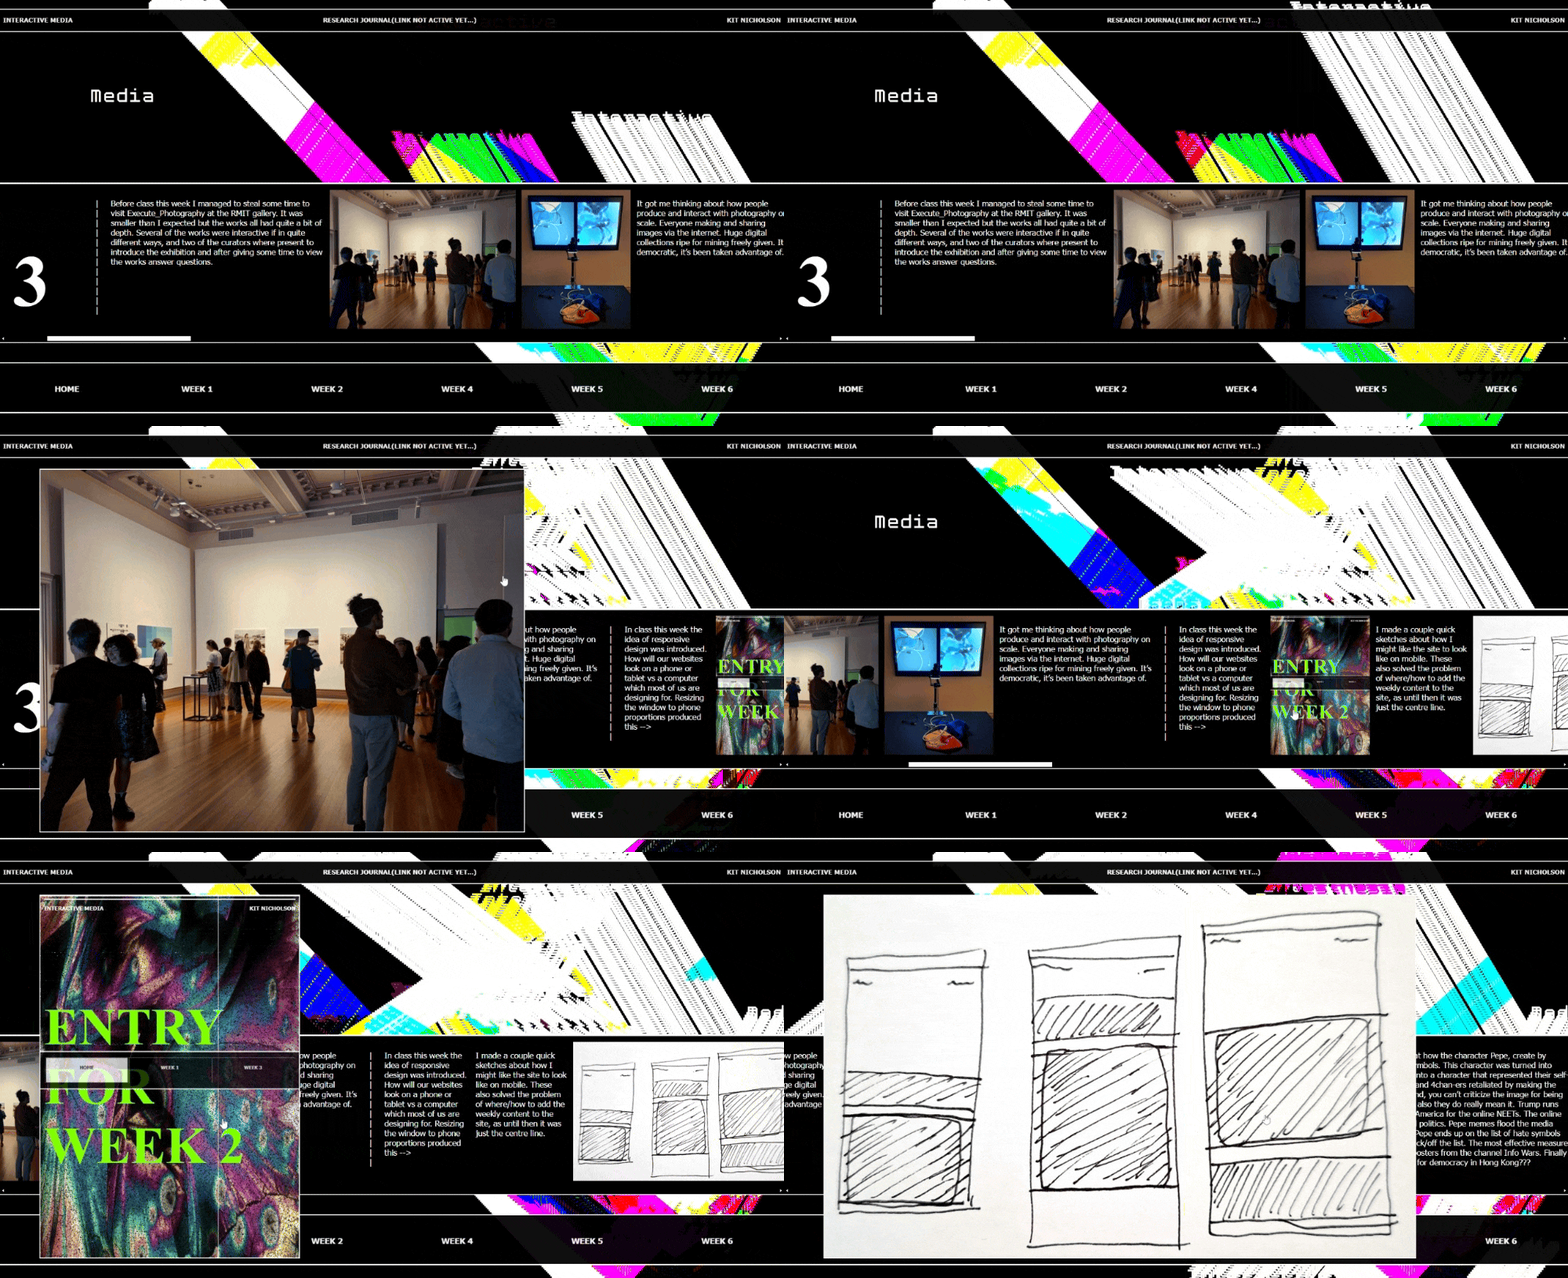
In class this week the idea of responsive design was introduced. How will our websites look on a phone or tablet vs a computer which most of us are designing for. Resizing the window to phone proportions produced this -->

I made a couple quick sketches about how I might like the site to look like on mobile. These also solved the problem of where/how to add the weekly content to the site, as until then it was just the centre line.


|
|
|
|
|
|
|
|
|
|
|
|
|


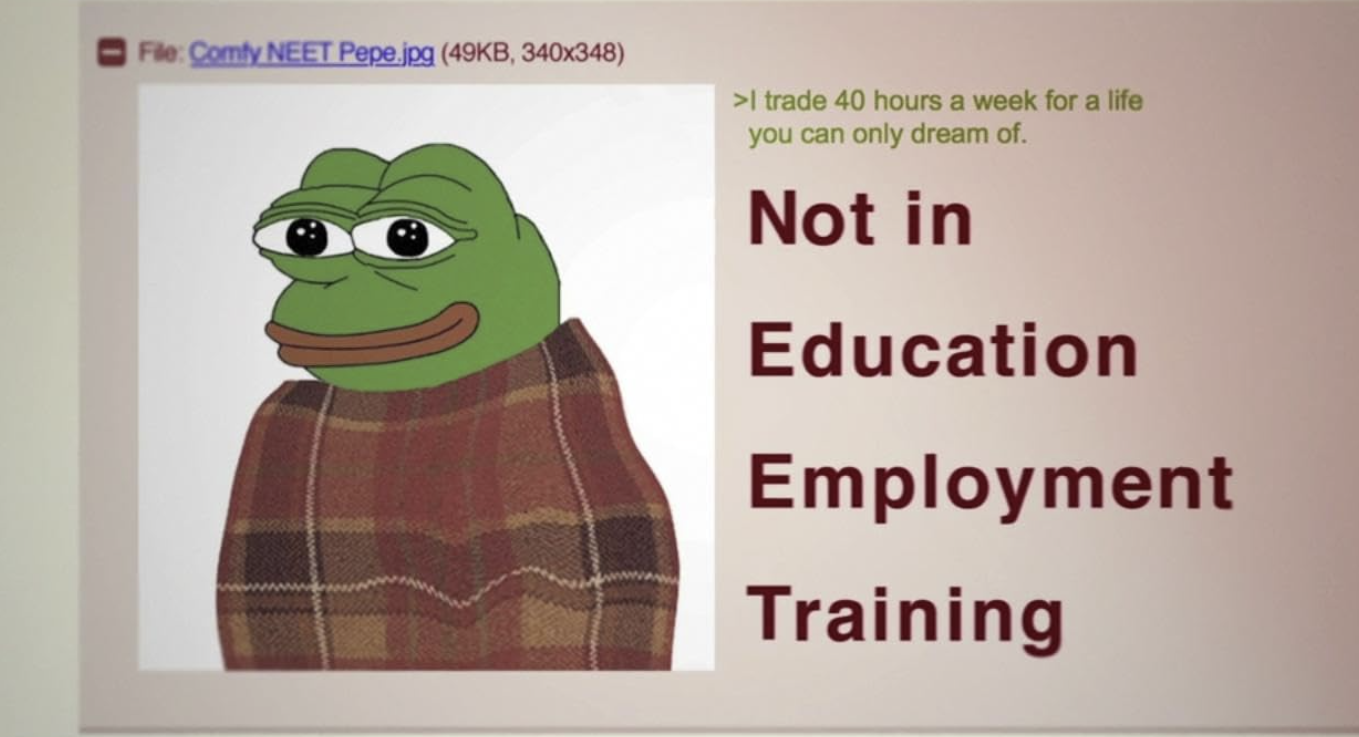
Feels Good Man is a documentary I found by accident that looks at how the character Pepe, create by cartoonist Matt Furie, ended up on the list of international hate symbols. This character was turned into various memes by the now notorious website 4chan and warped into a character that represented their self-proclaimed losser-dom. People outside of 4chan discovered Pepe and 4chan-ers retaliated by making the memes too offensive to be appropriated. This creates a double bind, you can’t criticize the image for being politically incorrect as ‘it’s just a joke, we don’t really mean it’ but also they do really mean it. Trump runs for president of the USA and becomes the loser president to ruin America for the online NEETs. The online trolling Pepe as a symbol facilitates is now brought into real world politics. Pepe memes flood the media with shit and warp objective truth. Somewhere around this point Pepe ends up on the list of hate symbols and their creator Matt Furie is fighting desperately to get them back/off the list. The most effective measure is to sue anyone using Pepe on commercial products such as on posters from the channel Info Wars. Finally out of nowhere Pepe pops up as a symbol used by the protestors for democracy in Hong Kong???

It’s a fascinating and horrifying look at online culture and the influence of the internet. How identities naturally form online and then reach back out into the world. The internet isn’t separate to the physical world but is instead part of a feedback loop involving it.


|
|
|
|
|
|
|
|
|
|
|
|
|


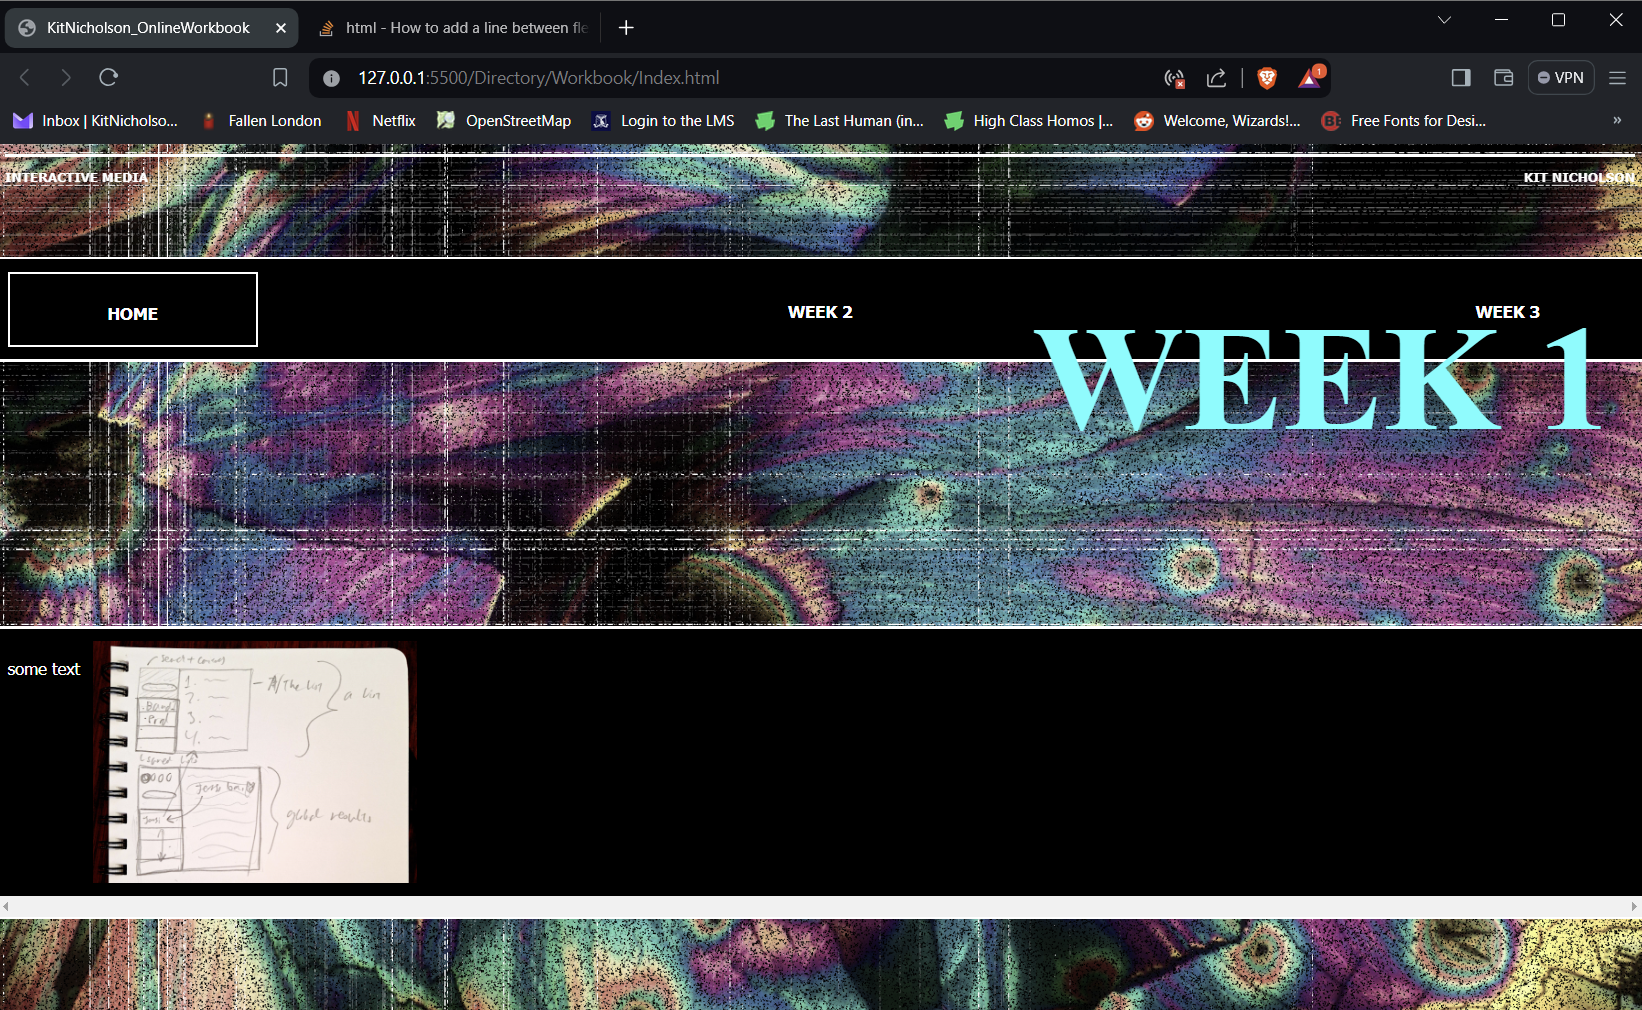
I did a bit more work on the website, notably I started trying to add content to the page. Because of this I had to change the layout to fit longer blocks of text and have images at a reasonable size. I’ve only got the one screengrab from this process because when I get in the zone of coding I kind of forget to take them. Every change seems minute and the website looks/functions essentially the same, so I move on to the next problem that bugs me. Then when there’s nothings left to bug me it’s 3hours later and I have a “finished product” (for now) with development documented.

Whilst we were advised to clearly plan this website and then try and create that I find I’m not making sketches, instead working from a loose vision in my head. It seems pretty clear to me so what makes it ‘loose’ is that I often change it on implementation. If it’s not working visually or is proving difficult to code I’ll change it something that actually works. Yes I could forget my vision but I find if I focus on the same problem/process I end up a the same answer.


|
|
|
|
|
|
|
|
|
|
|
|
|


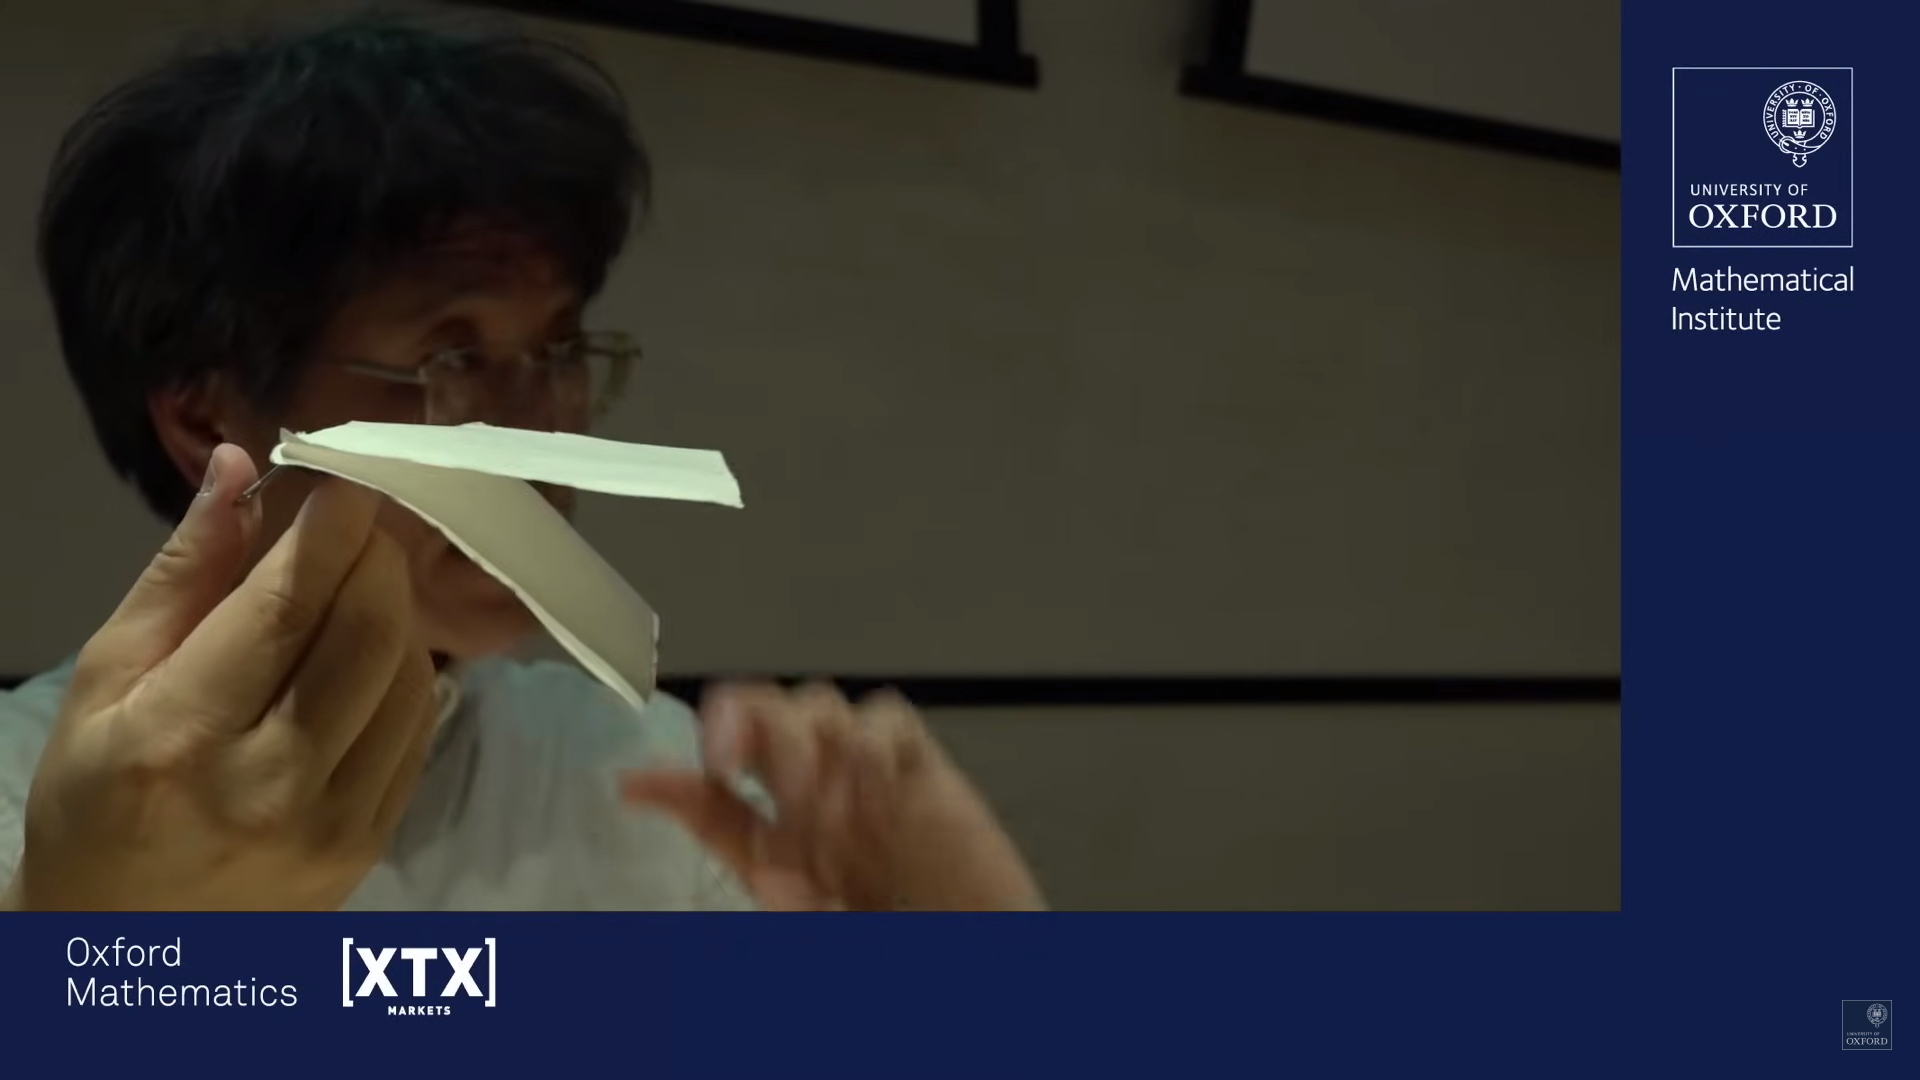
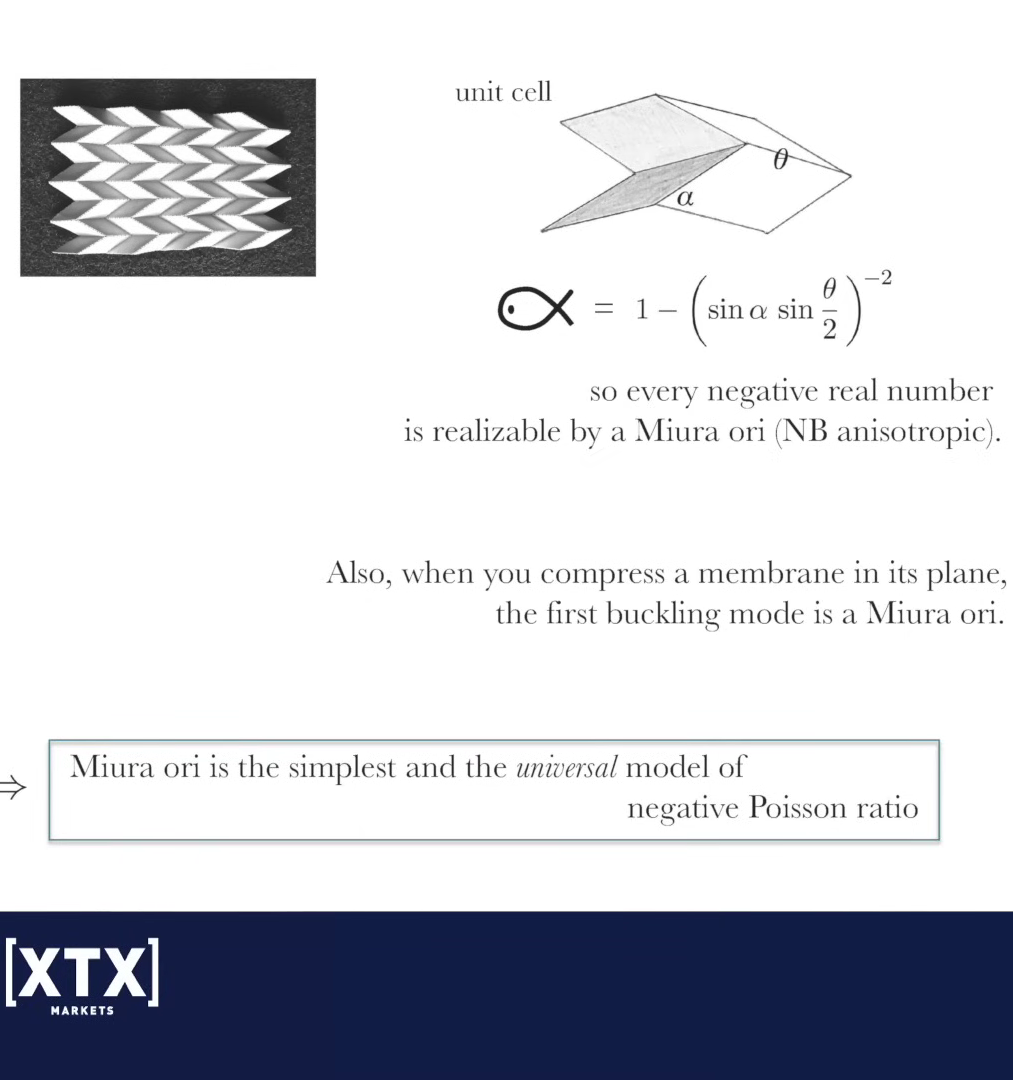
Youtube recommended me a 1hour lecture on the properties of paper and folding and it was great. Incredibly dense with information but wonderfully in quickly and visually expressing complicated mathematical ideas. I was really enjoyed maths in high school and took the hardest maths class I could for my final year. I’m glad I did it, and when it finished I knew I never needed to do maths again. This lecture taps into all the stuff I find fascinating about maths (beautiful closed systems that can explain the world around us) explained in largely intuitive ways with interactive demonstrations. What I would like to be able to do in this class is to visualise systems and give people the ability to interact with them. Link to the lecture here

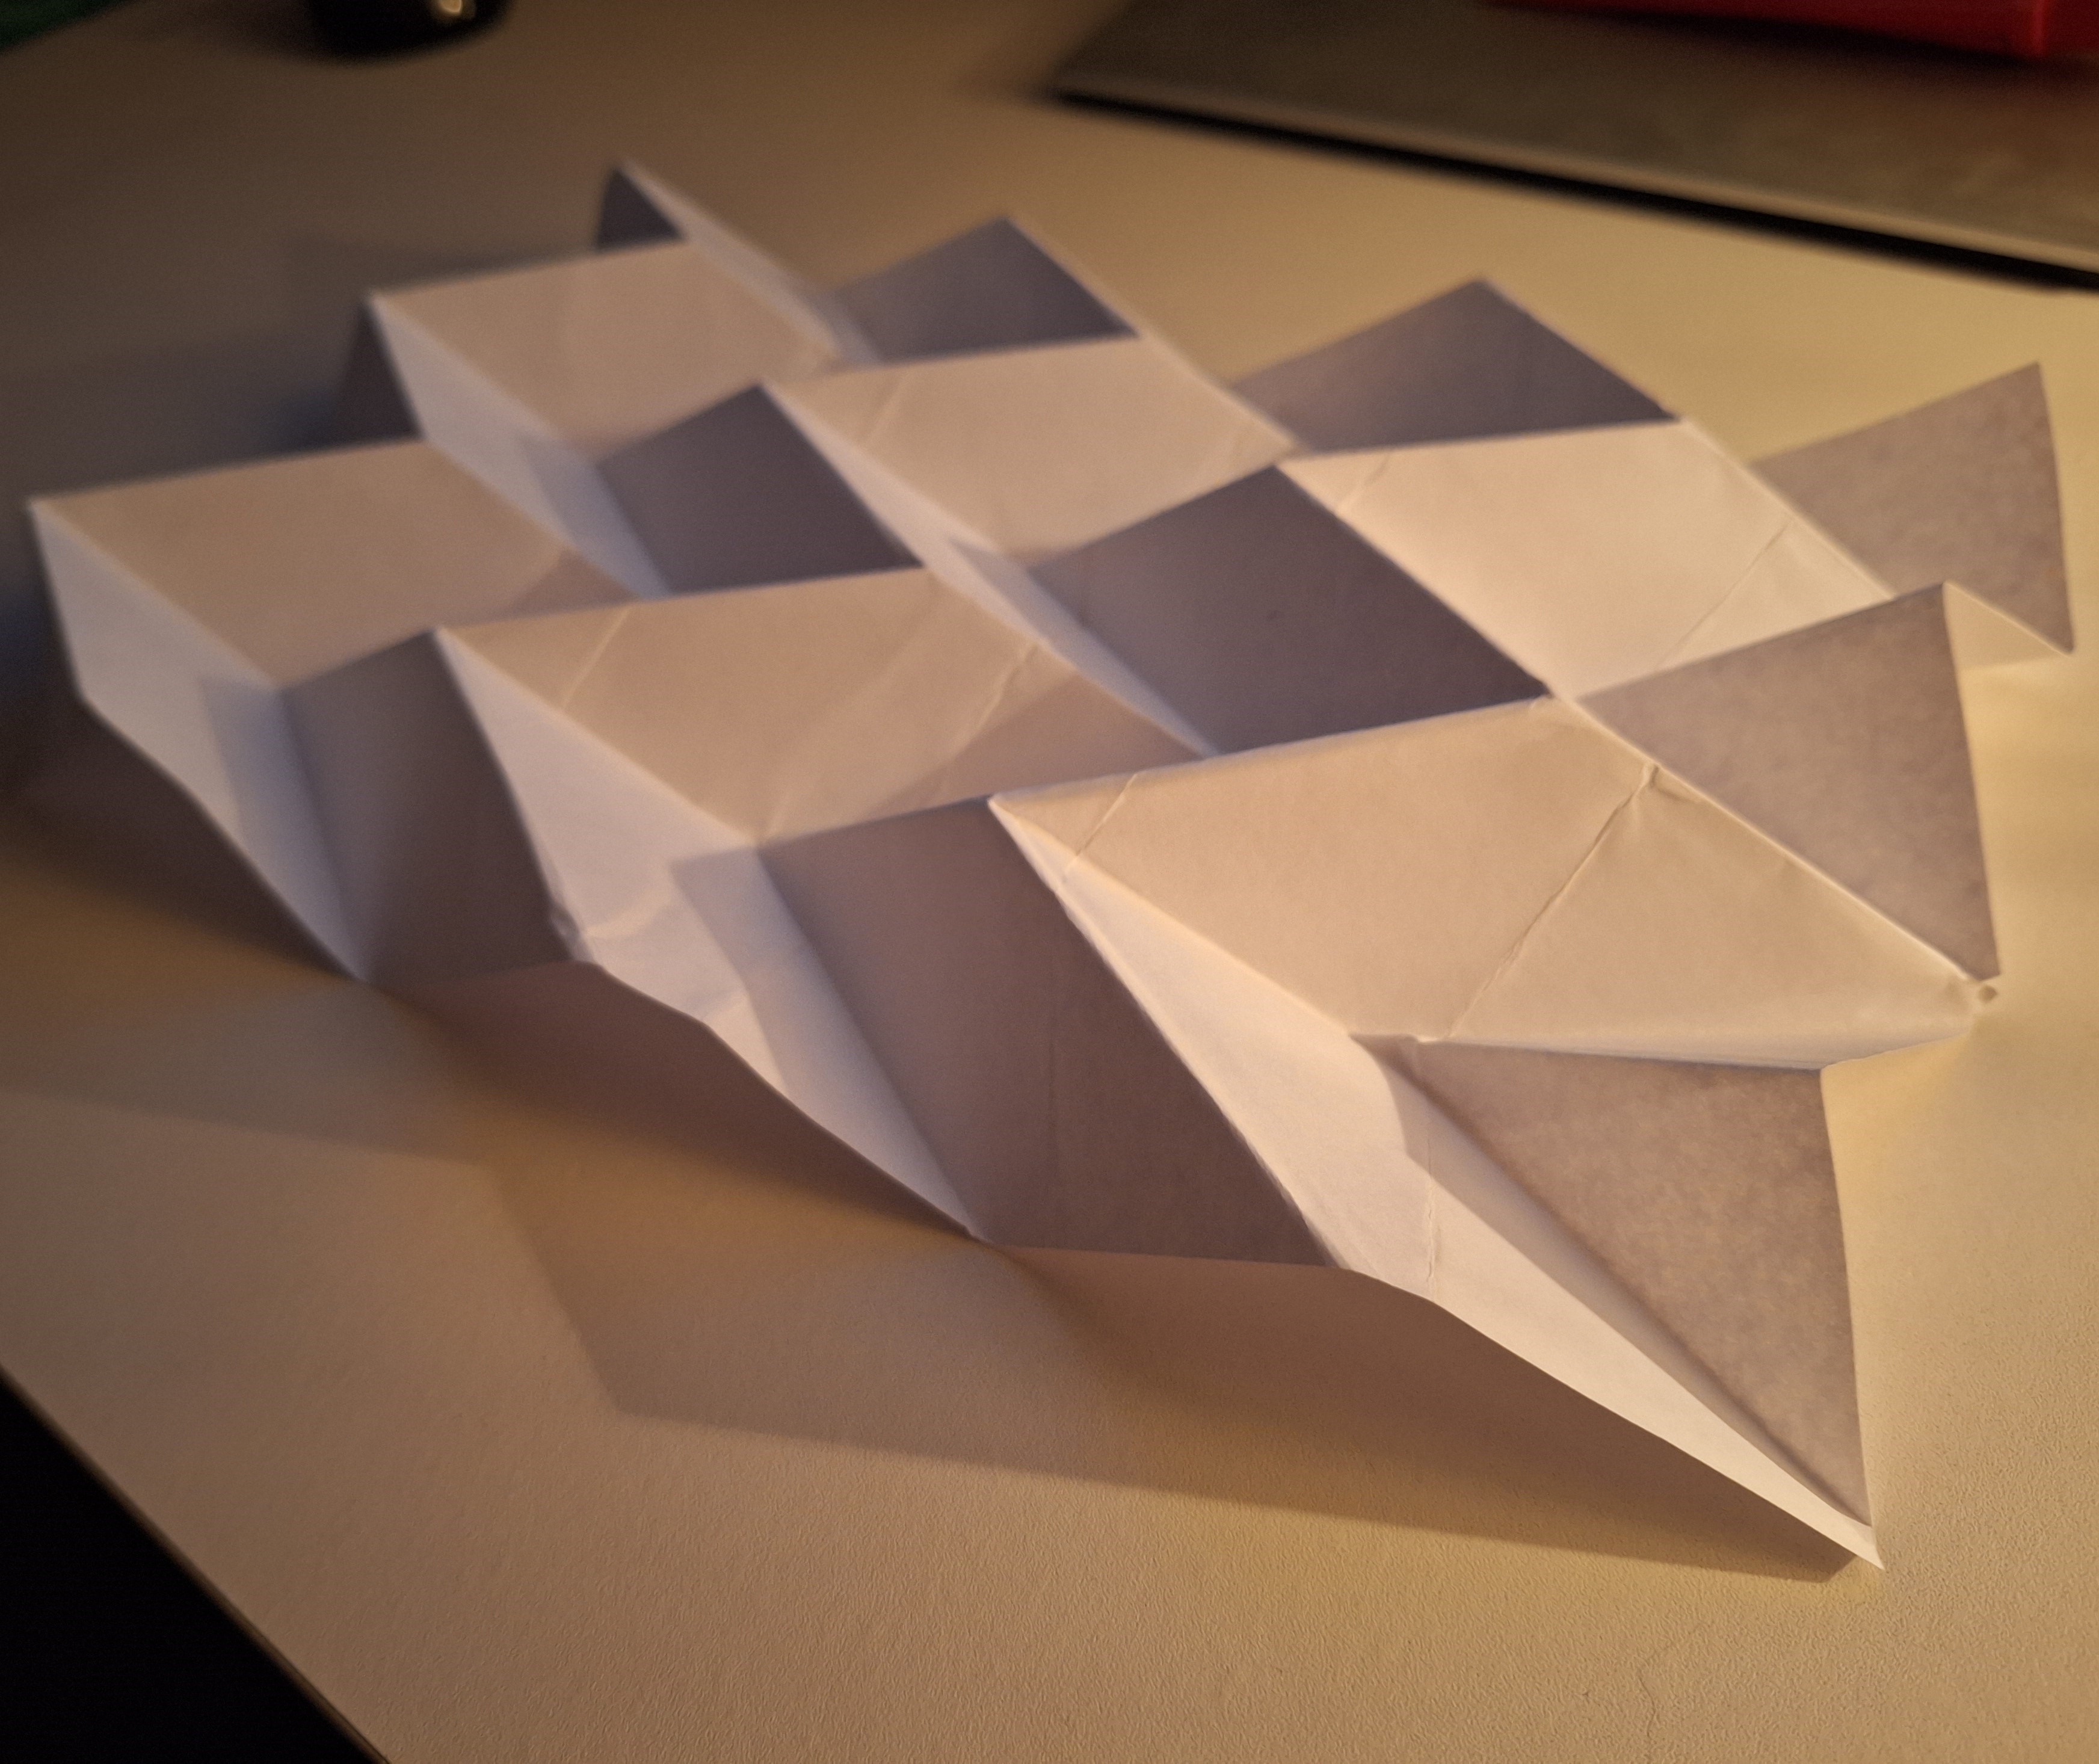
And of course I had to pause the lecture halfway through to make my own
Miura-ori fold!

A pretty amature Miura Ori fold

  Week 4

|
|
|
|
|
|
|
|
|
|
|
|
|


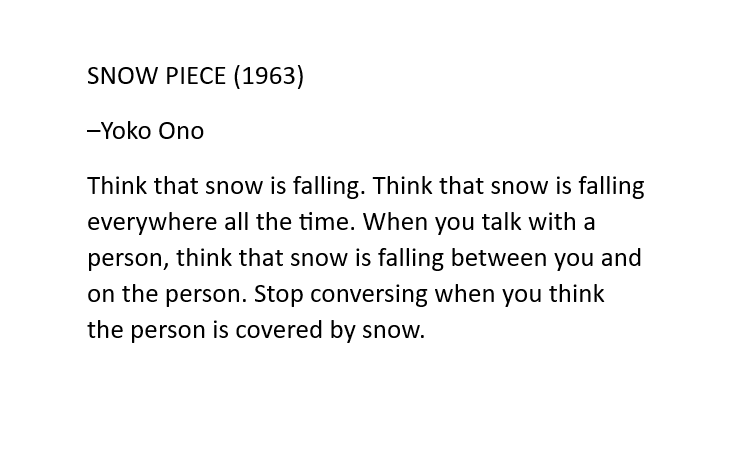
Class this week was an introduction to generative art, and p5.js. We looked at artists who had use generative ideas or processes in their work before computers; Yoko Ono, Piet Mondrian, Sol Lewitt, and Vera Molnar. Despite this class being very tech focused I appreciate that we look at examples without technology. It highlights that the concerns of technology have much broader implications.


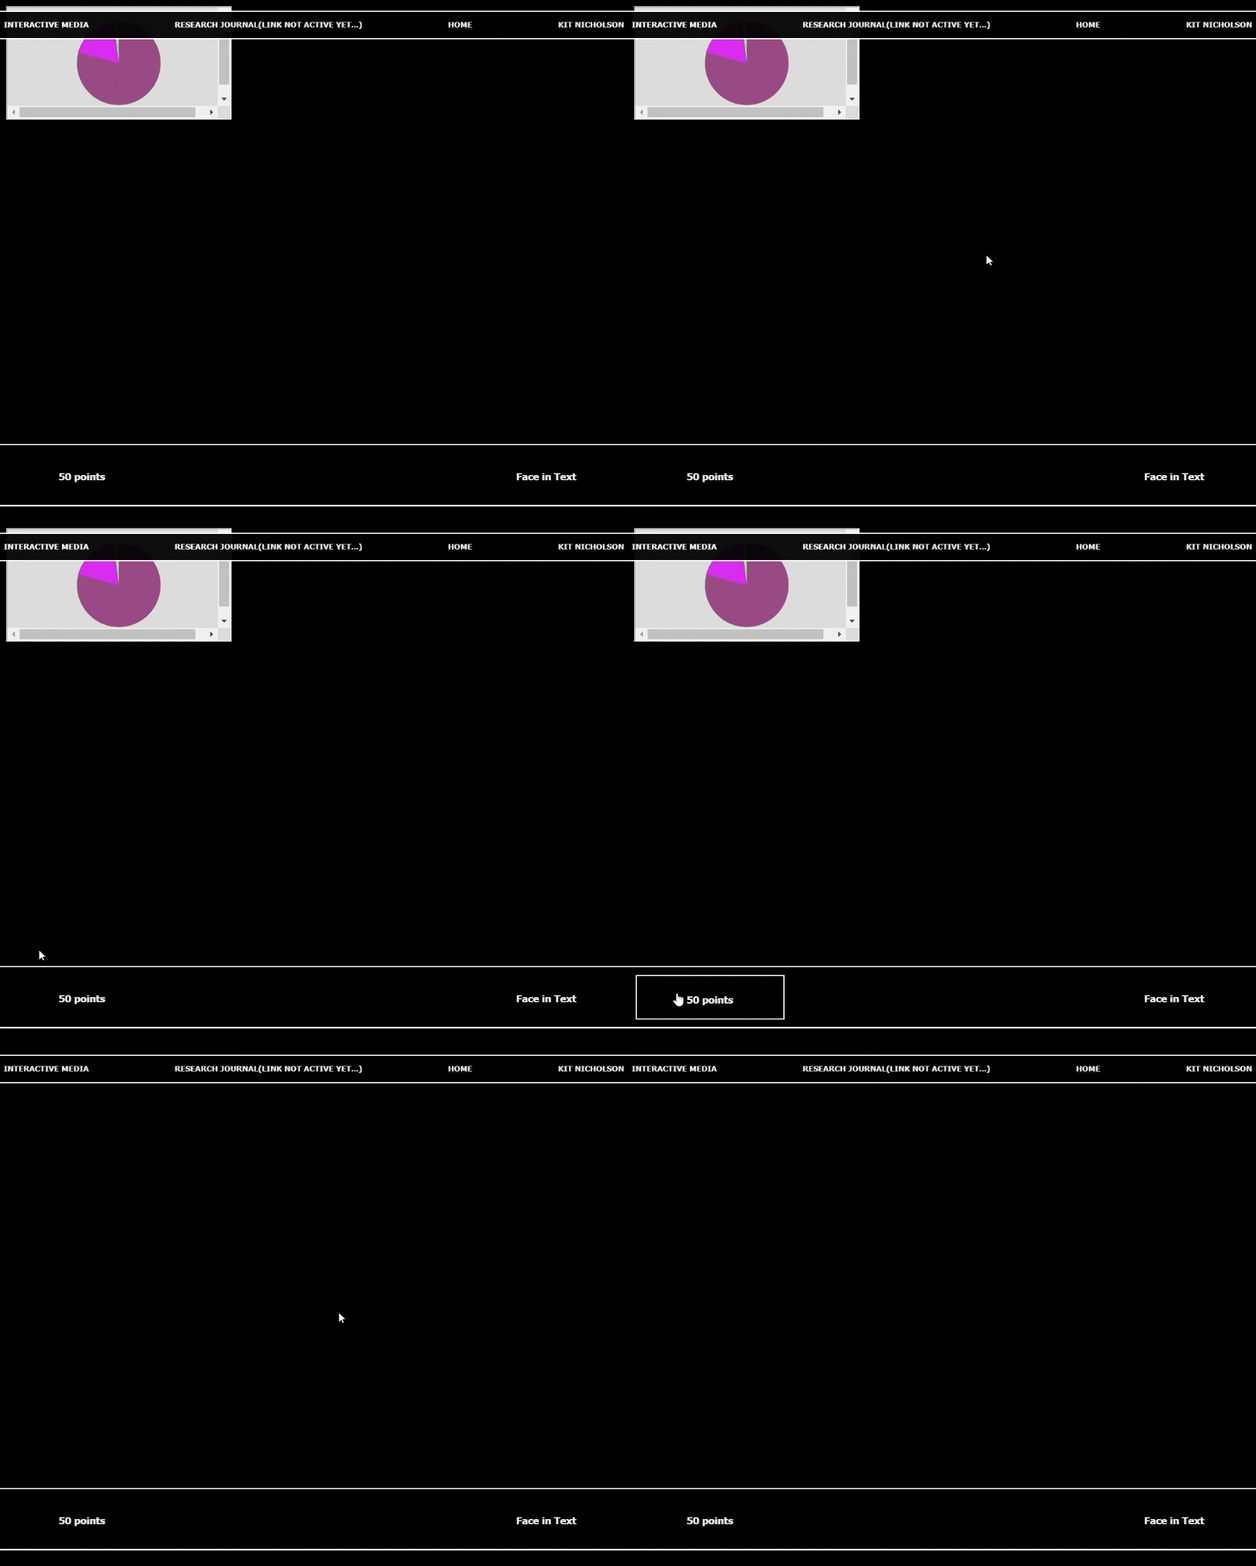
After getting the conceptual foundation the class become a p5.js tutorial. I already have experience in p5.js so I used the time to try to create Sol Lewitt’s 50 points within it. And then I wanted to make it interactive because this class is about interaction after all.


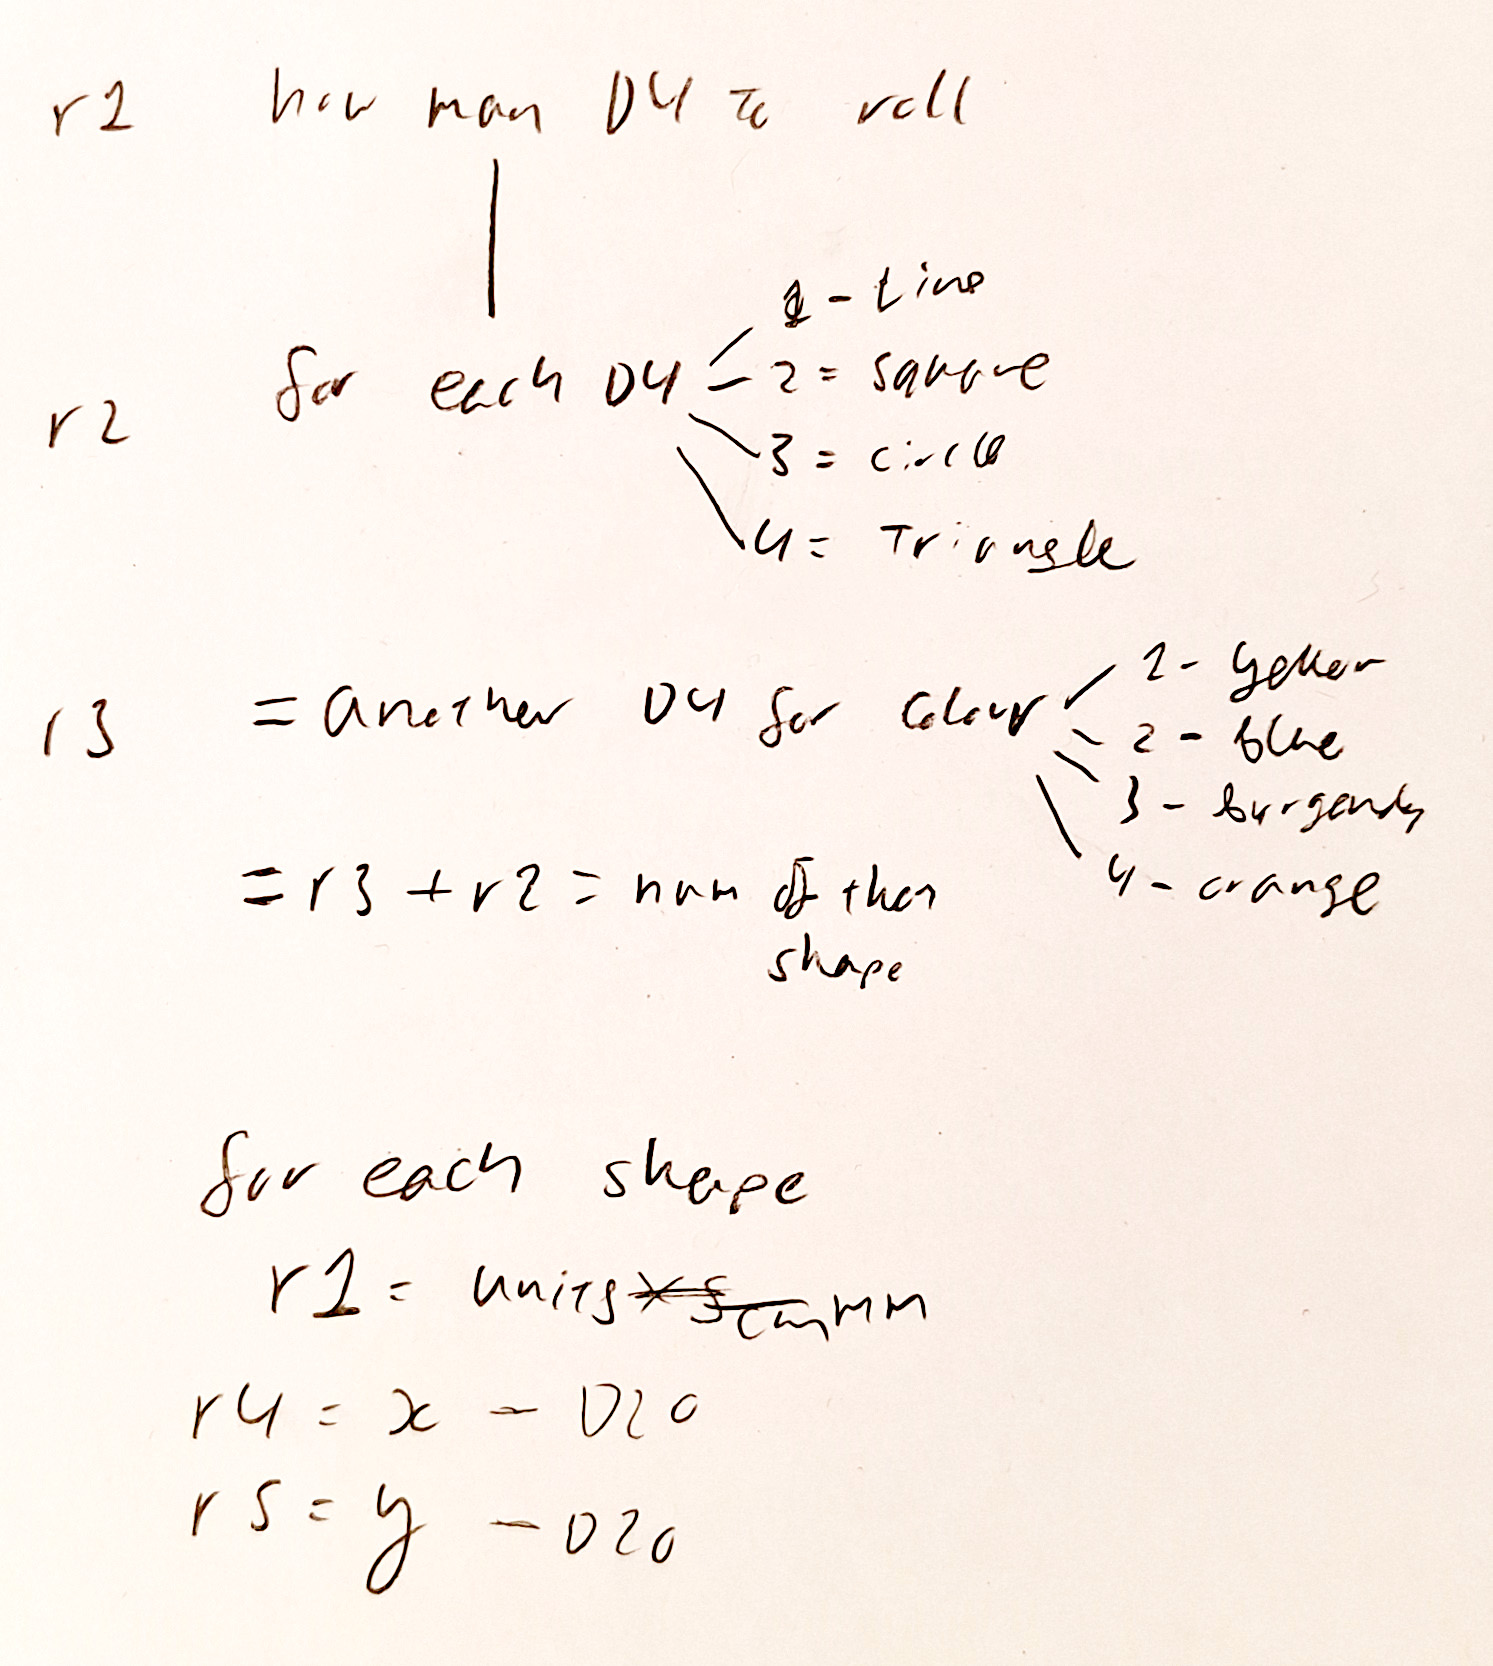
Randomness was heavily emphasized during this class. That systems can use chance. That algorithms can be unpredictable. In an exercise to illustrate this in pairs we wrote a series of rules that would interpret dice rolls into shapes. And then we would manually draw the shapes on paper from the outcome of the dice rolls. I found this process extremally tedious. One iteration took minutes, where doing the same thing in p5.js would take seconds.


|
|
|
|
|
|
|
|
|
|
|
|
|


I was watching my dad read the newspaper over lunch and realised that ‘reading the newspaper’ is the same verb as ‘browsing the internet’. This radically new form of media is still providing for existing needs and human behaviours. In reading the paper one can find news articles yes, but also opinions pieces (blogs), film and tv reviews, what’s on lists, cooking recipes, jokes and cartoons, horoscopes and puzzles of crosswords and sudoku. All of these have migrated to the internet. The method of browsing the paper is also the same of browsing the internet. Exploring an unknown collection of content to stay up to date, but mainly for recreation.


|
|
|
|
|
|
|
|
|
|
|
|
|


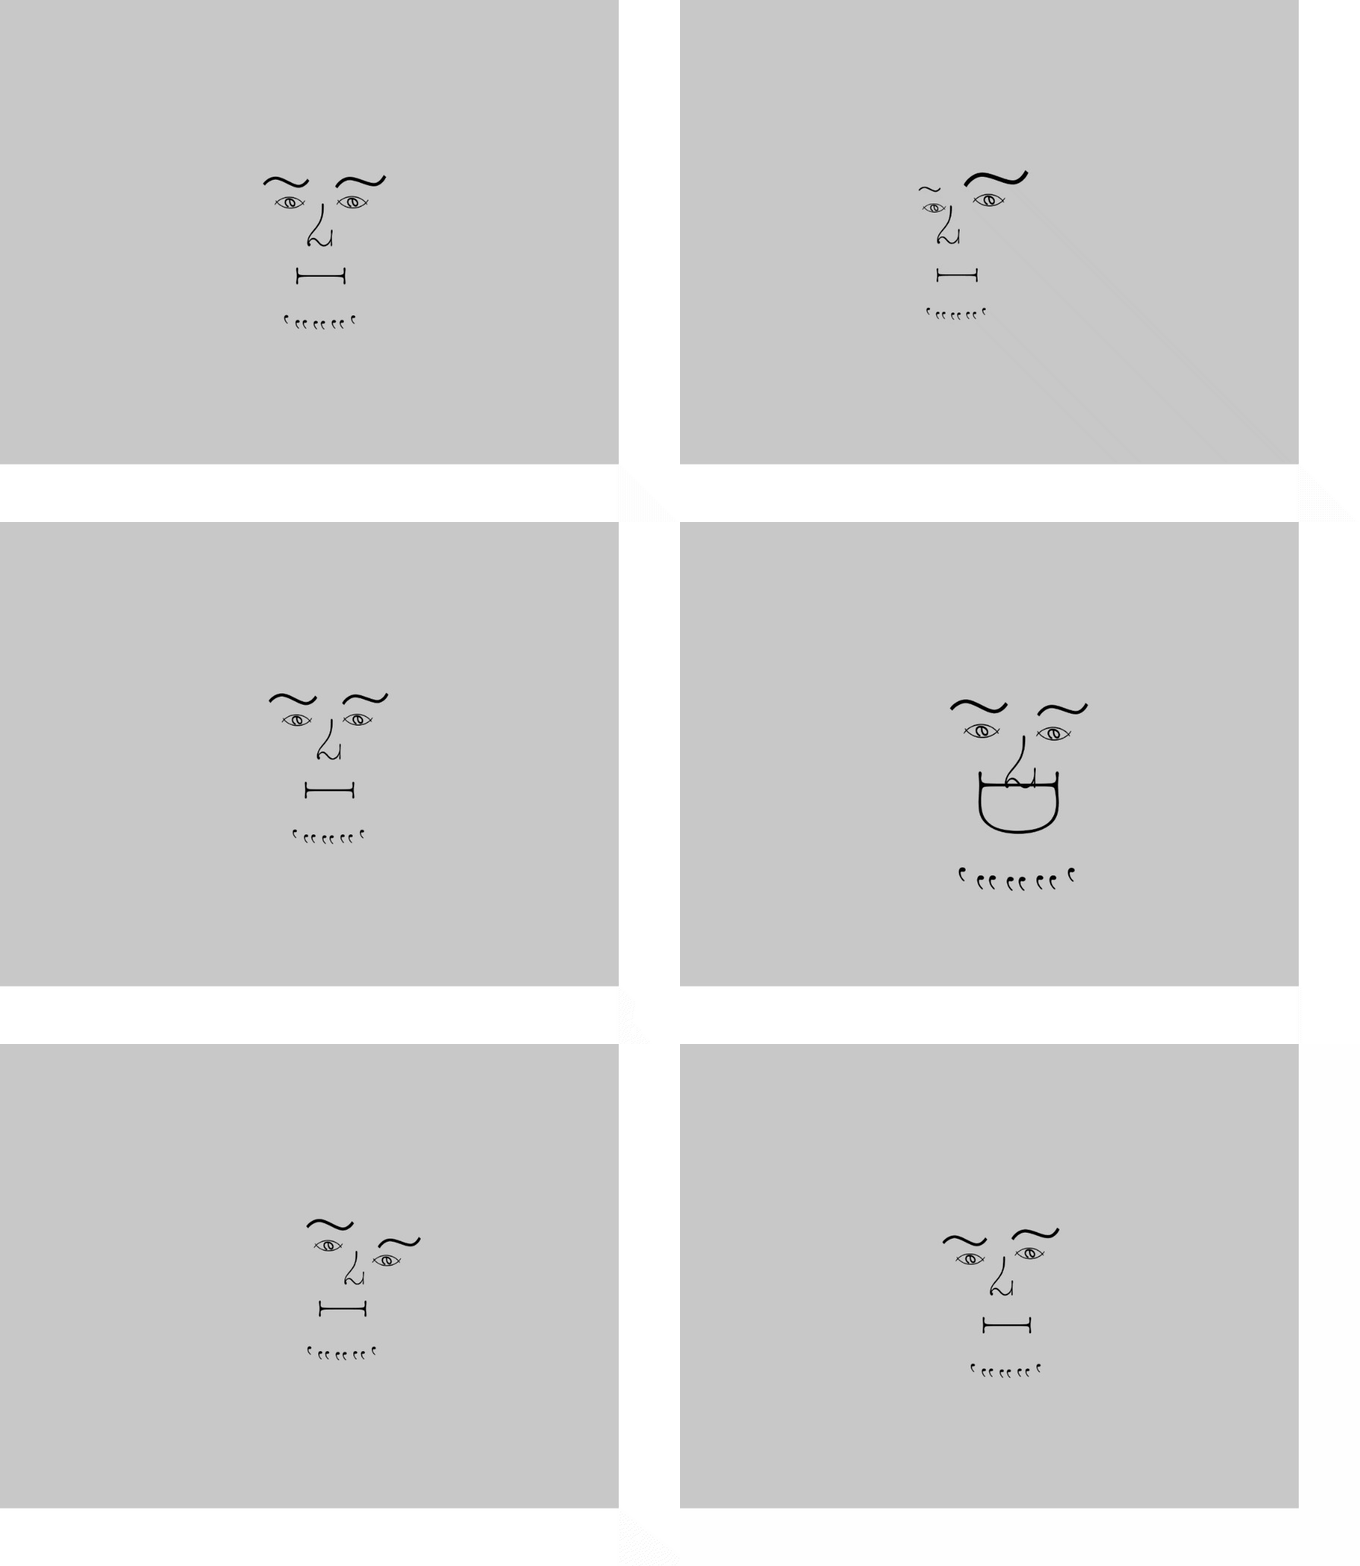
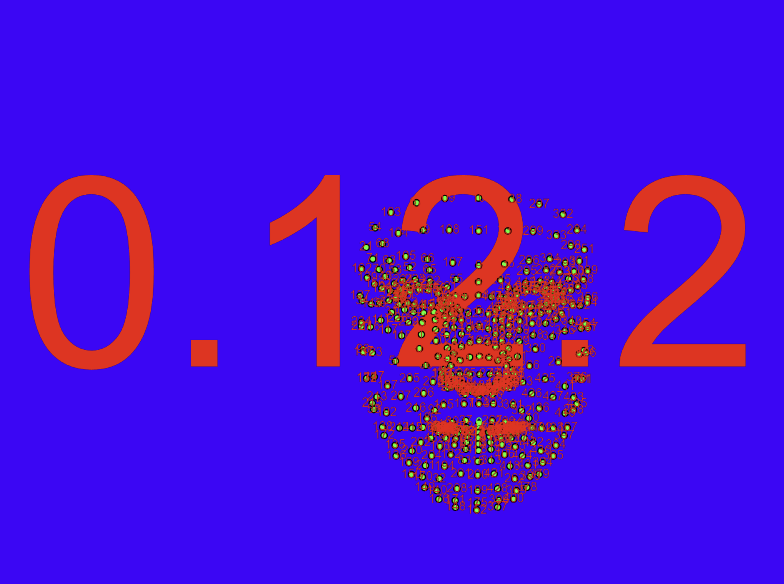
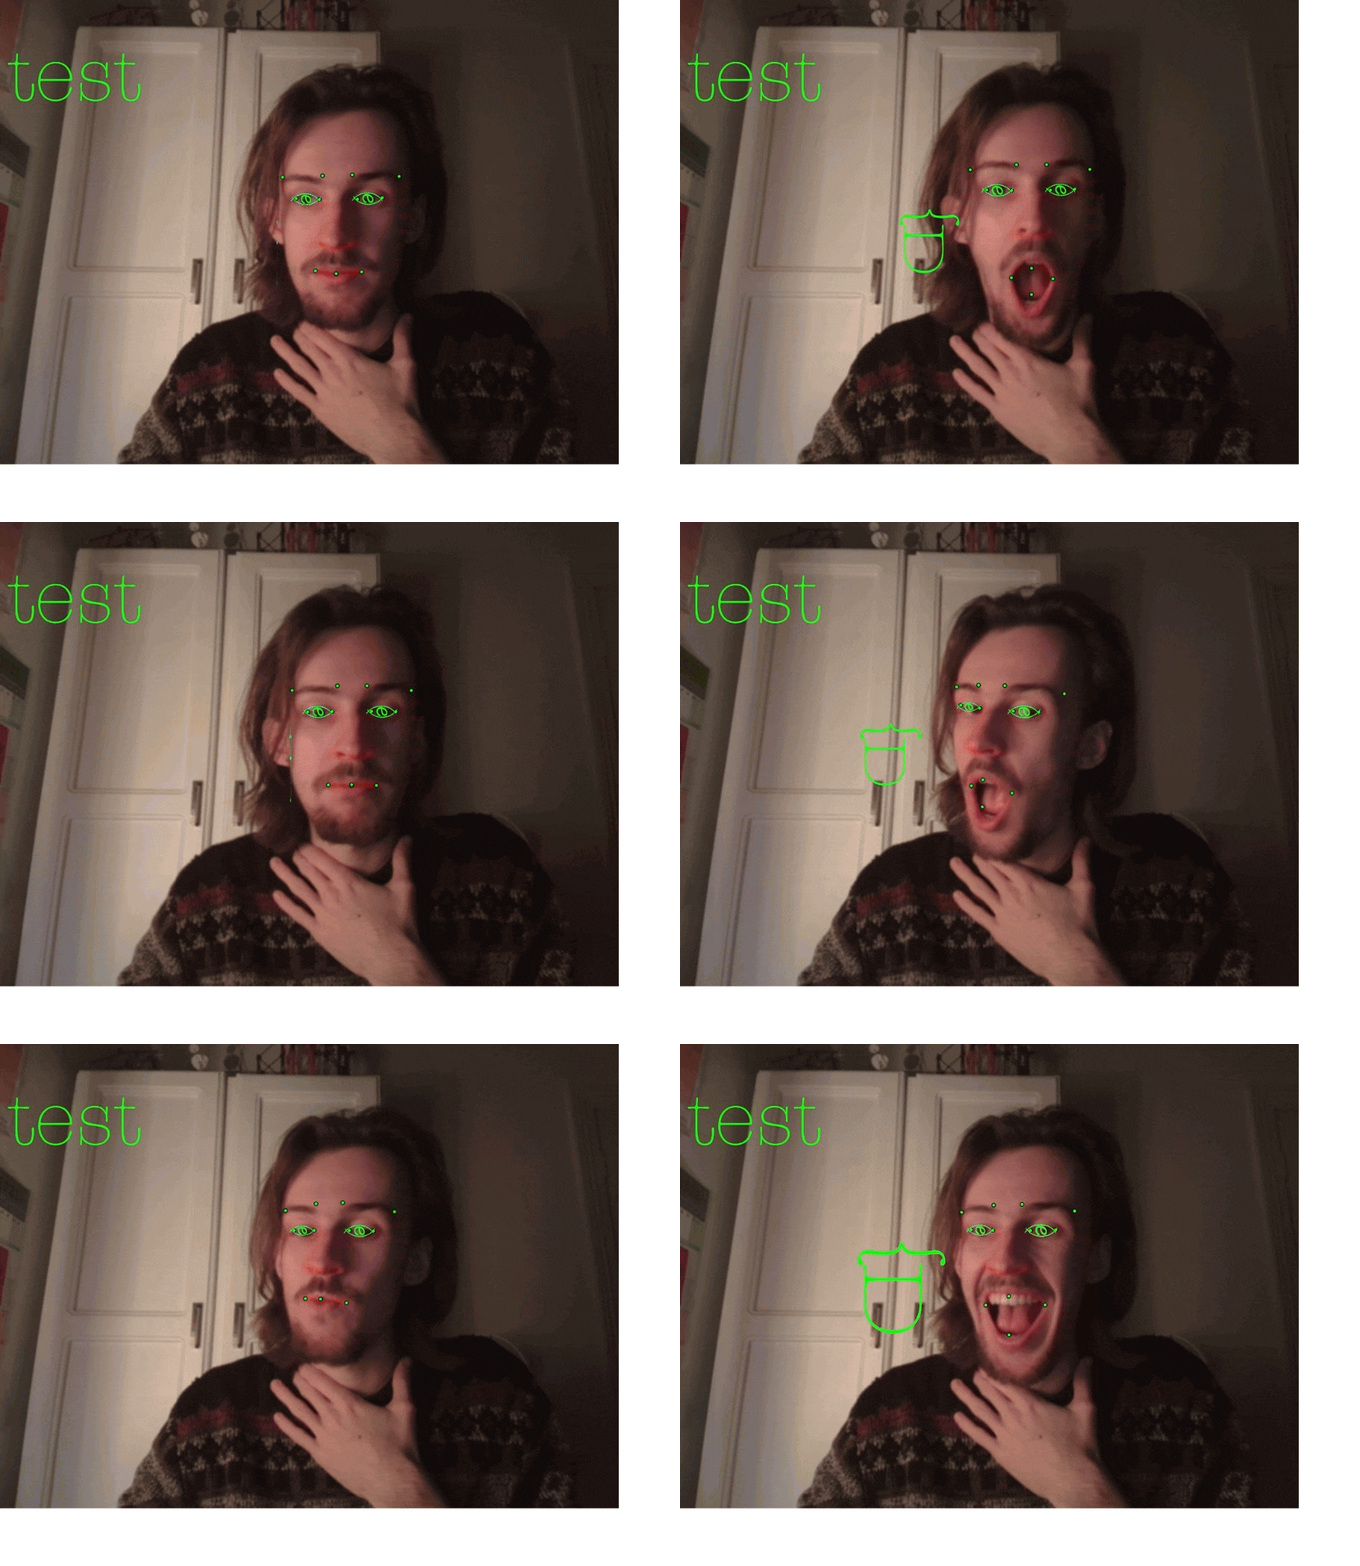
Part of the homework this week was to draw a face in p5.js using text. I’ve already done this, so I wanted to try and push it one step further. First thought was to make something that would let you draw the face. A live video feed that you could trace with text characters. Position controlled by mouse, up and down controlling size, left right rotation. Click to save. What I realised was that if there’s live video, you can have machine learning identify the face, and then you can have it automatically draw the text elements on the face. So I made that with ML5.js.


Easy part was getting the face mesh, that was provided by ML5.js. The hard bit was manually positioning the text elements relative to the face mesh.

  Week 5

|
|
|
|
|
|
|
|
|
|
|
|
|


Week 5 was heavily focused on computer vision. How are images collected, processed and represented by technology. While there were some wonderfully creepy and unsettling artworks in the lecture material seeing the commercial abuse of imagery was far more terrifying. Ai powered phrenology by Faception is a particularly egregious example. While unlikely to be a direct response.

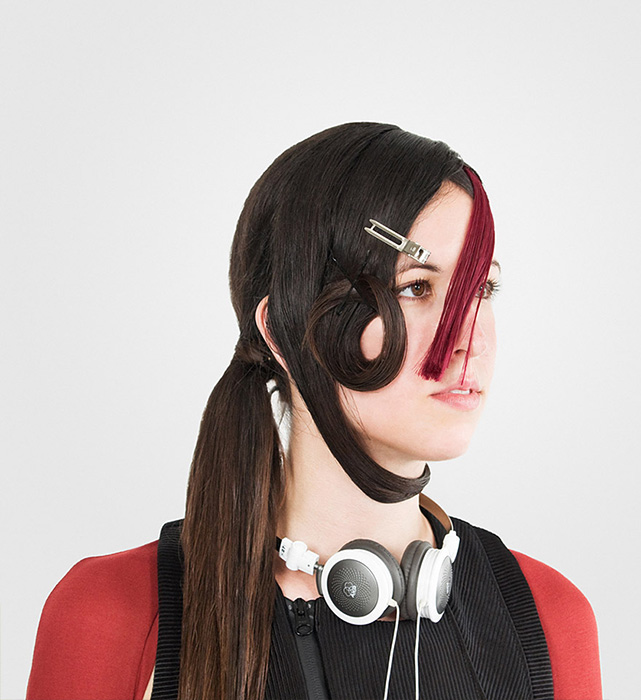
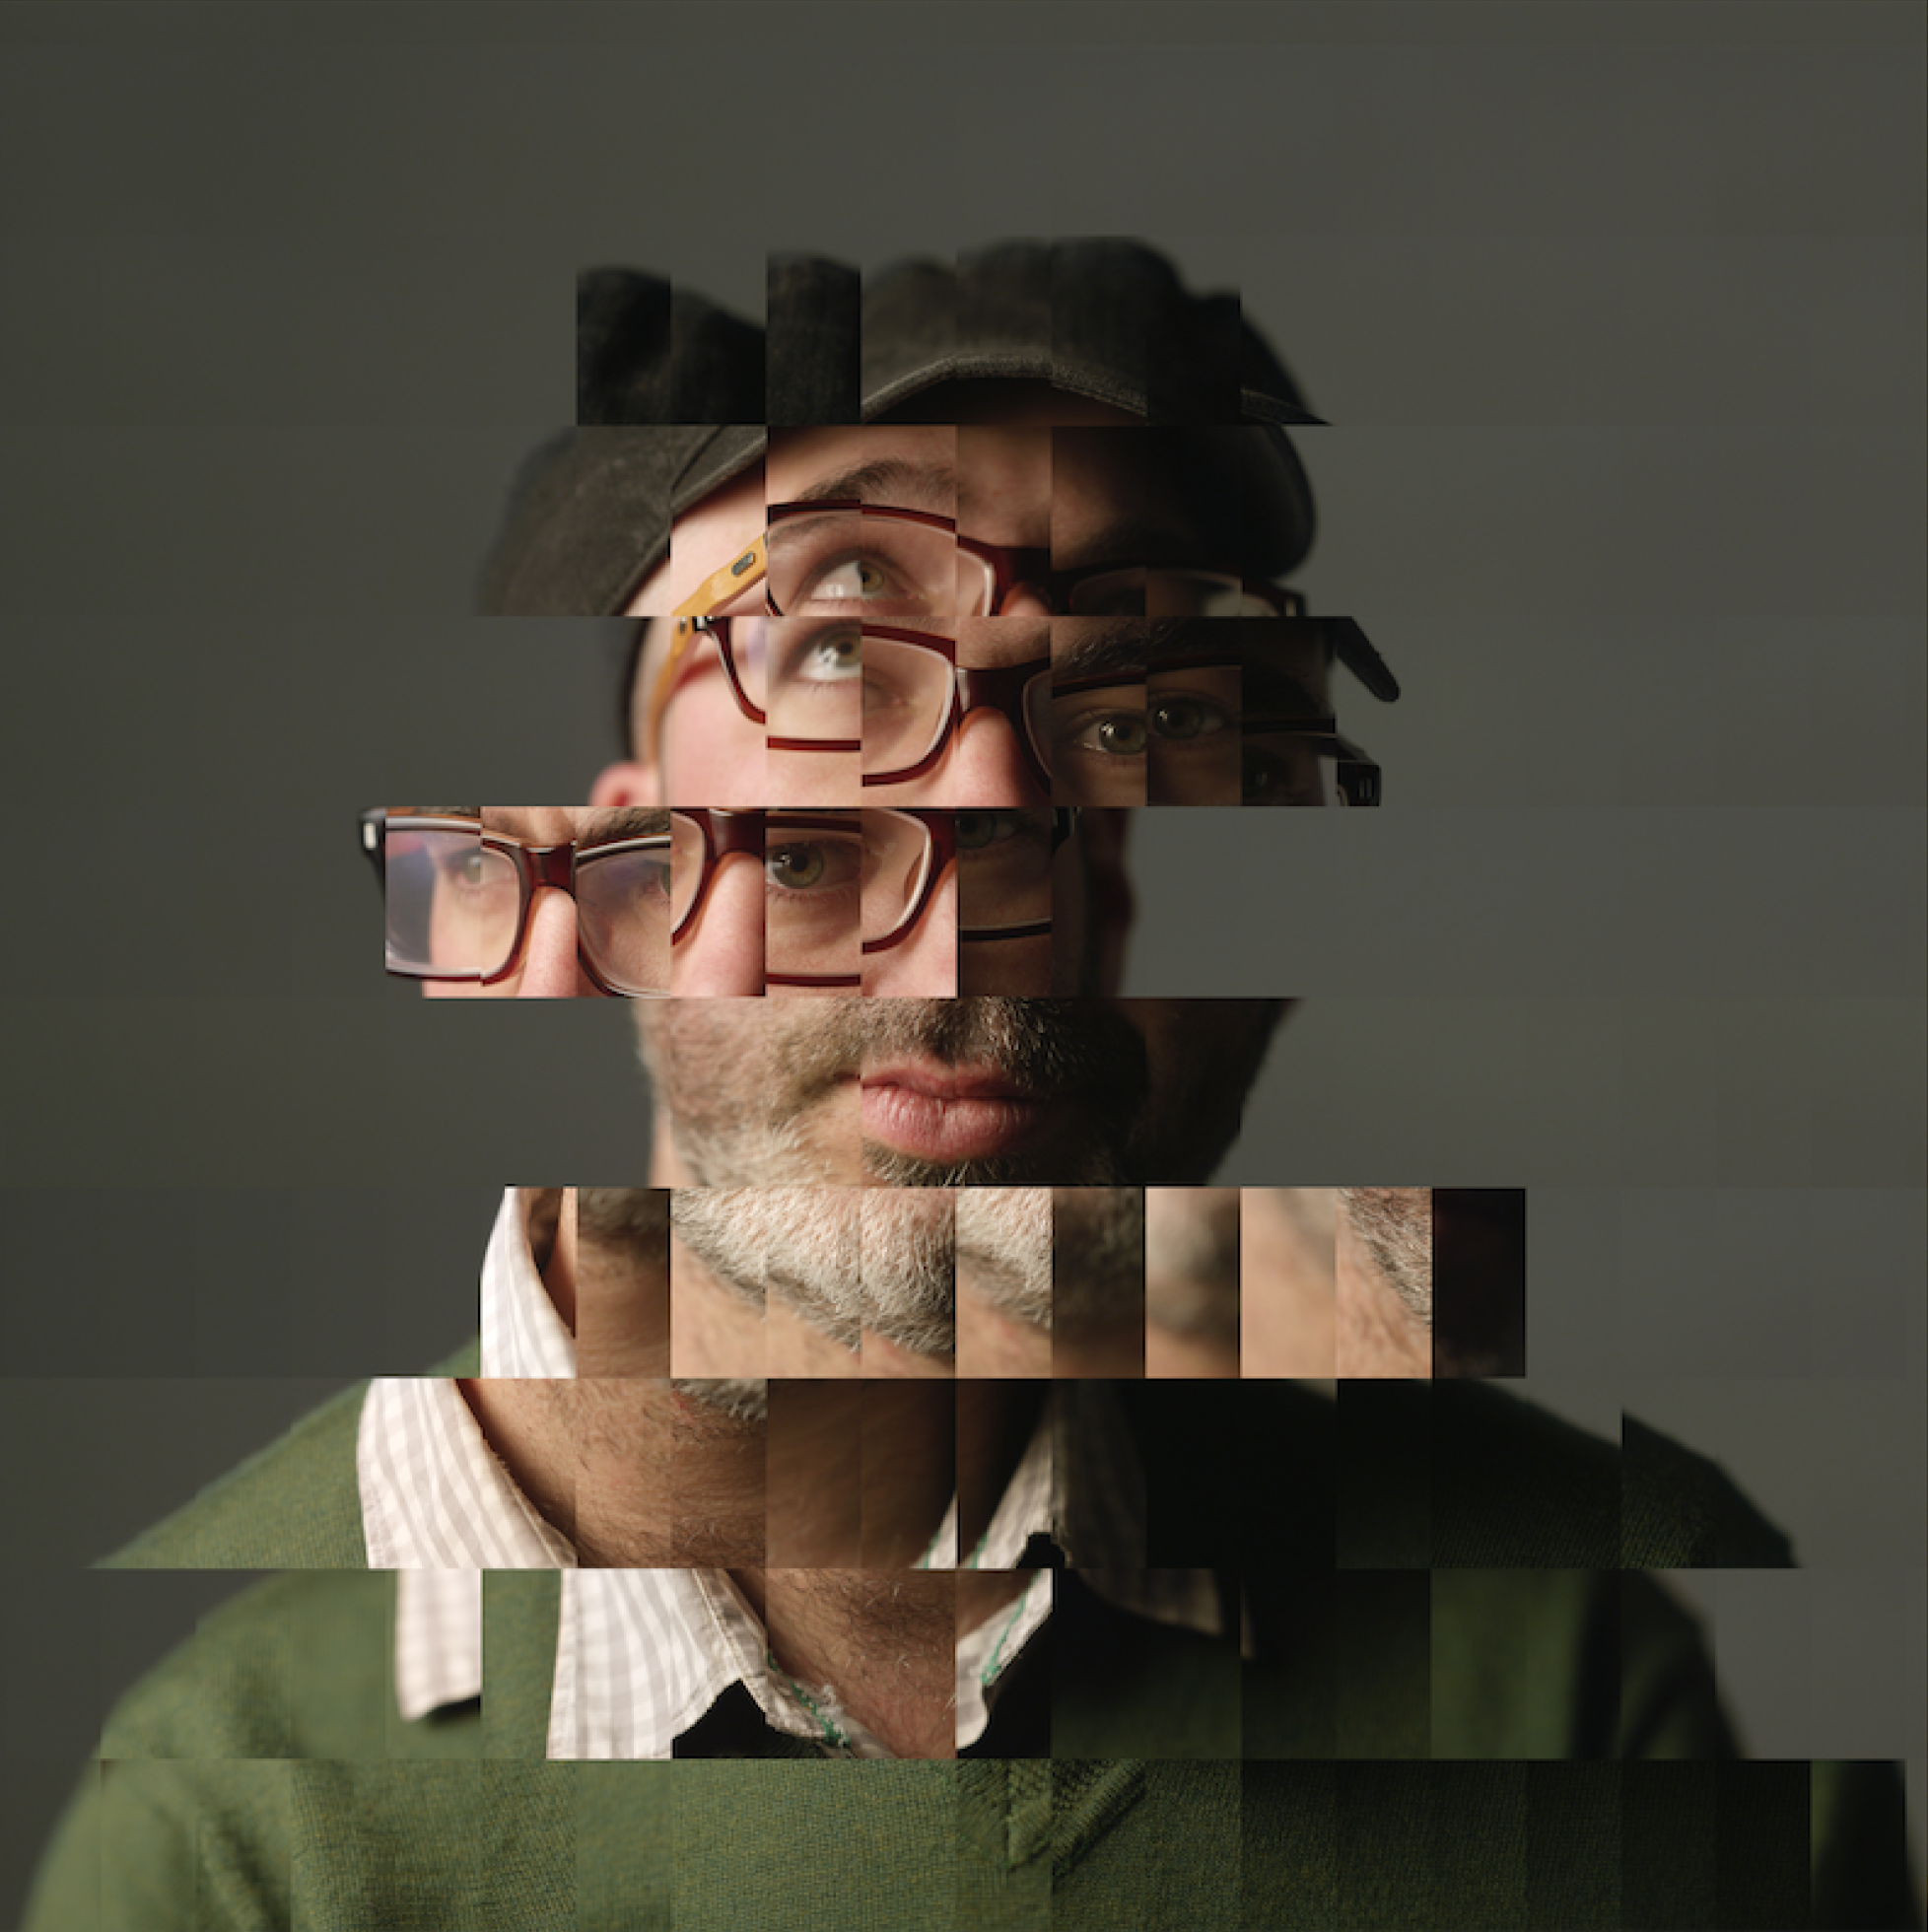
I love how effective CV Dazzle could be against such uses of technology. Digital camouflage through make-up, hairstyles and fashion. A dystopian look book for maintaining personal anonymity through self-expression.

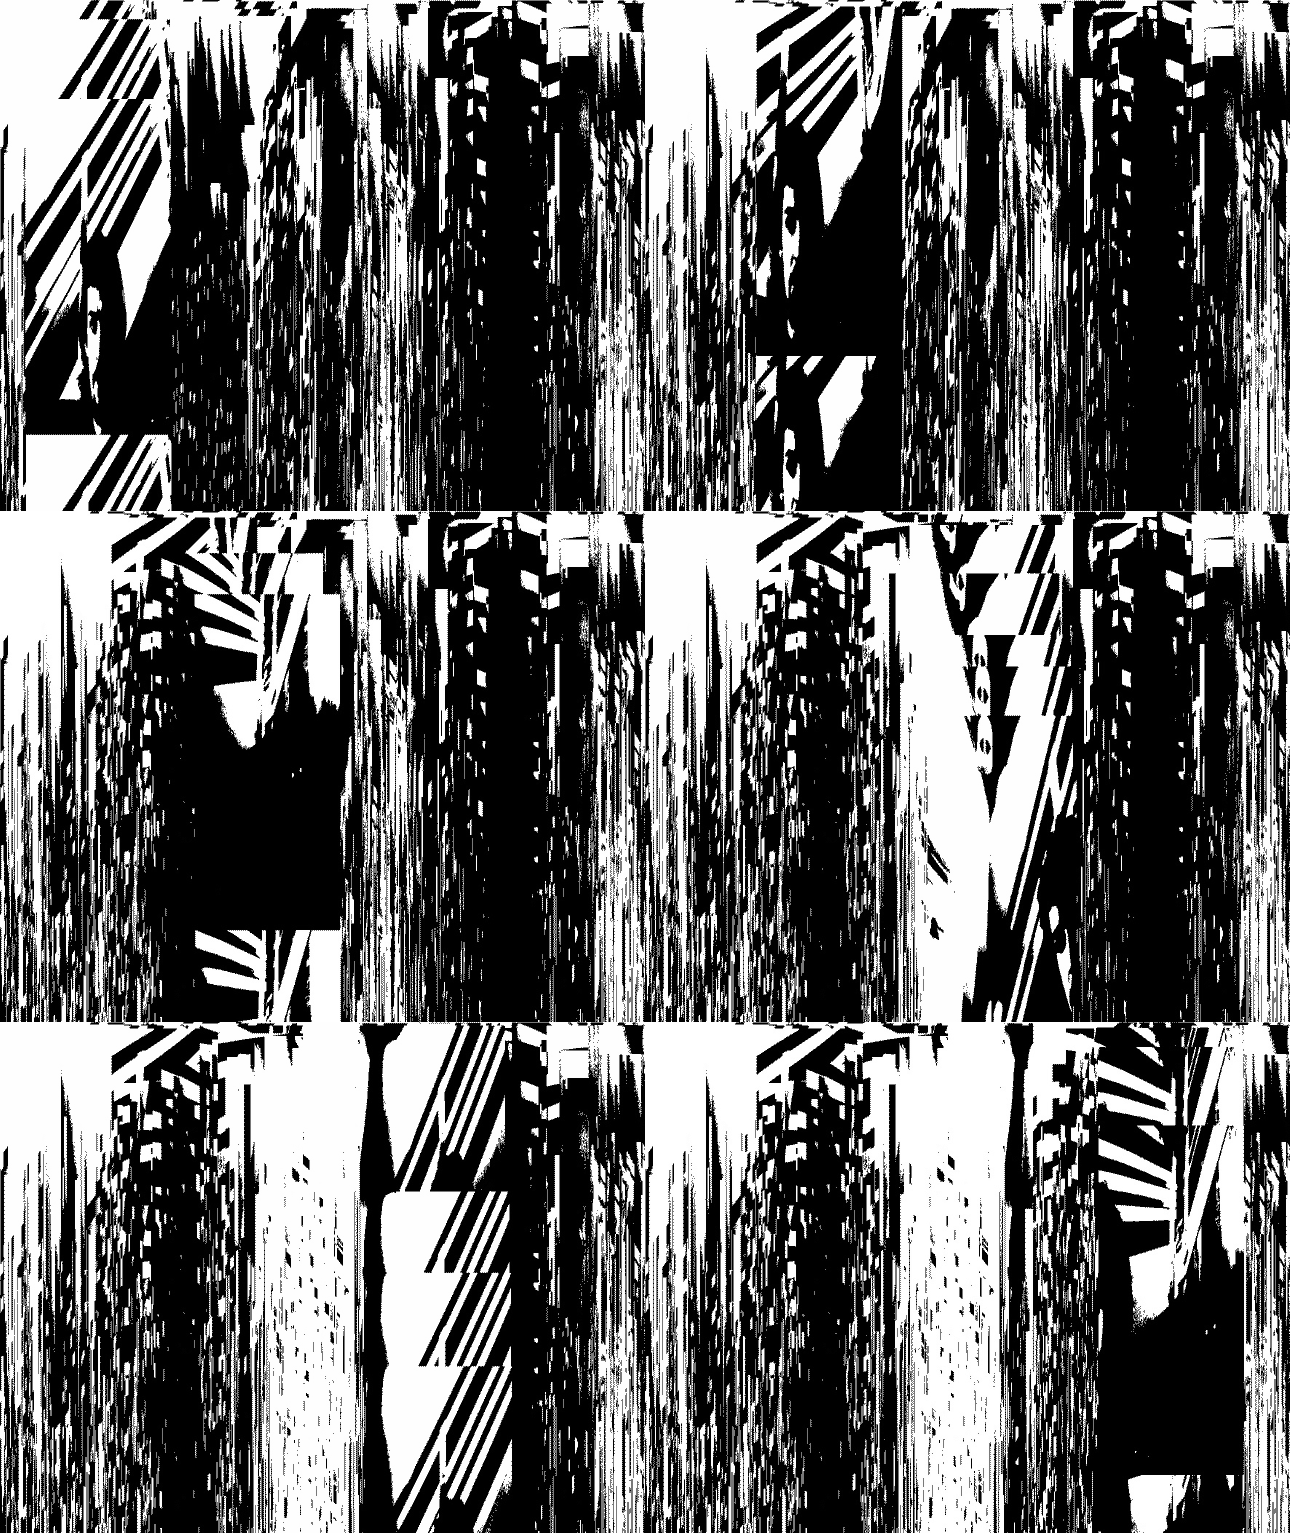
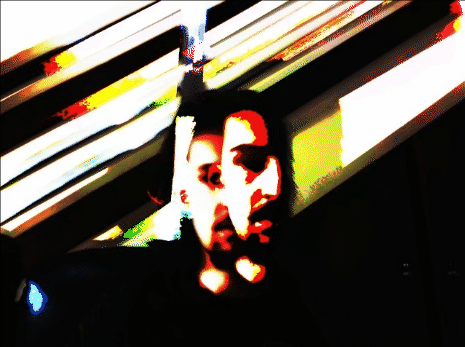
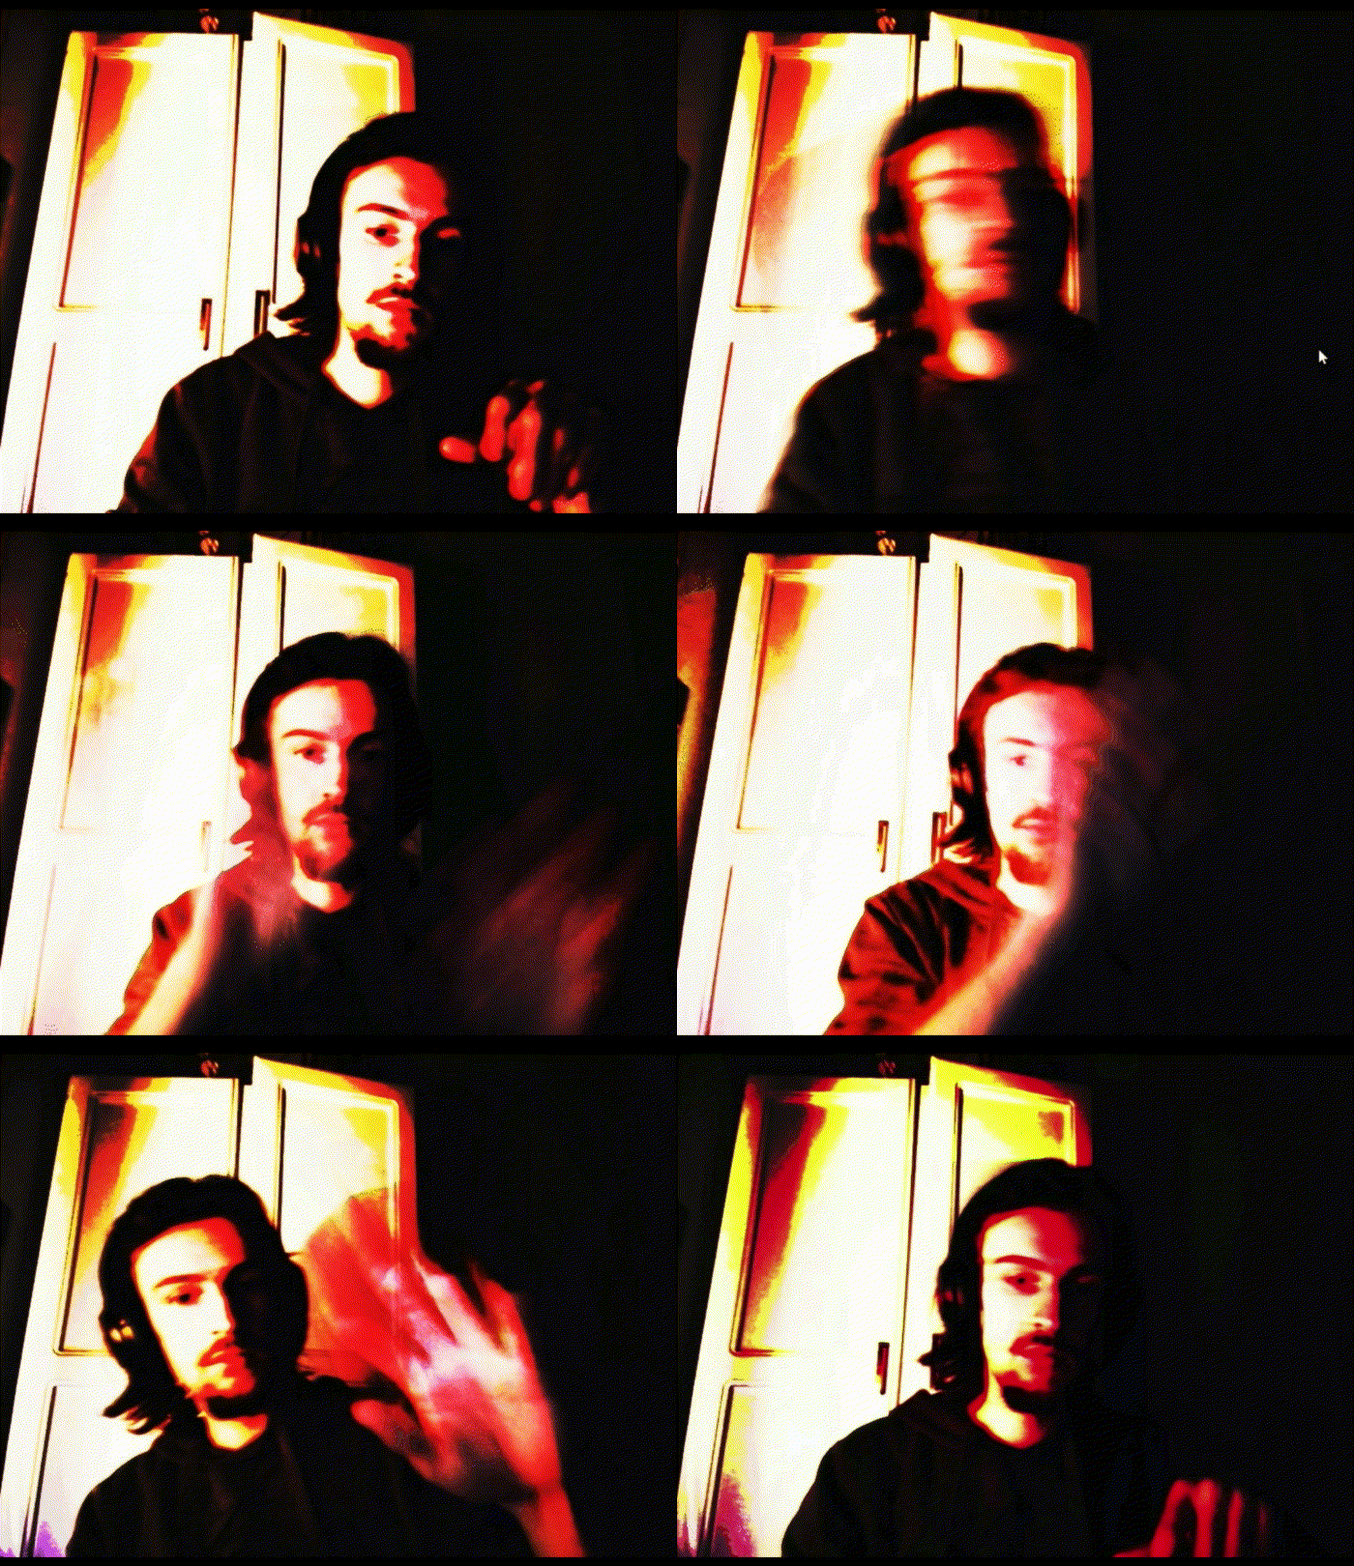
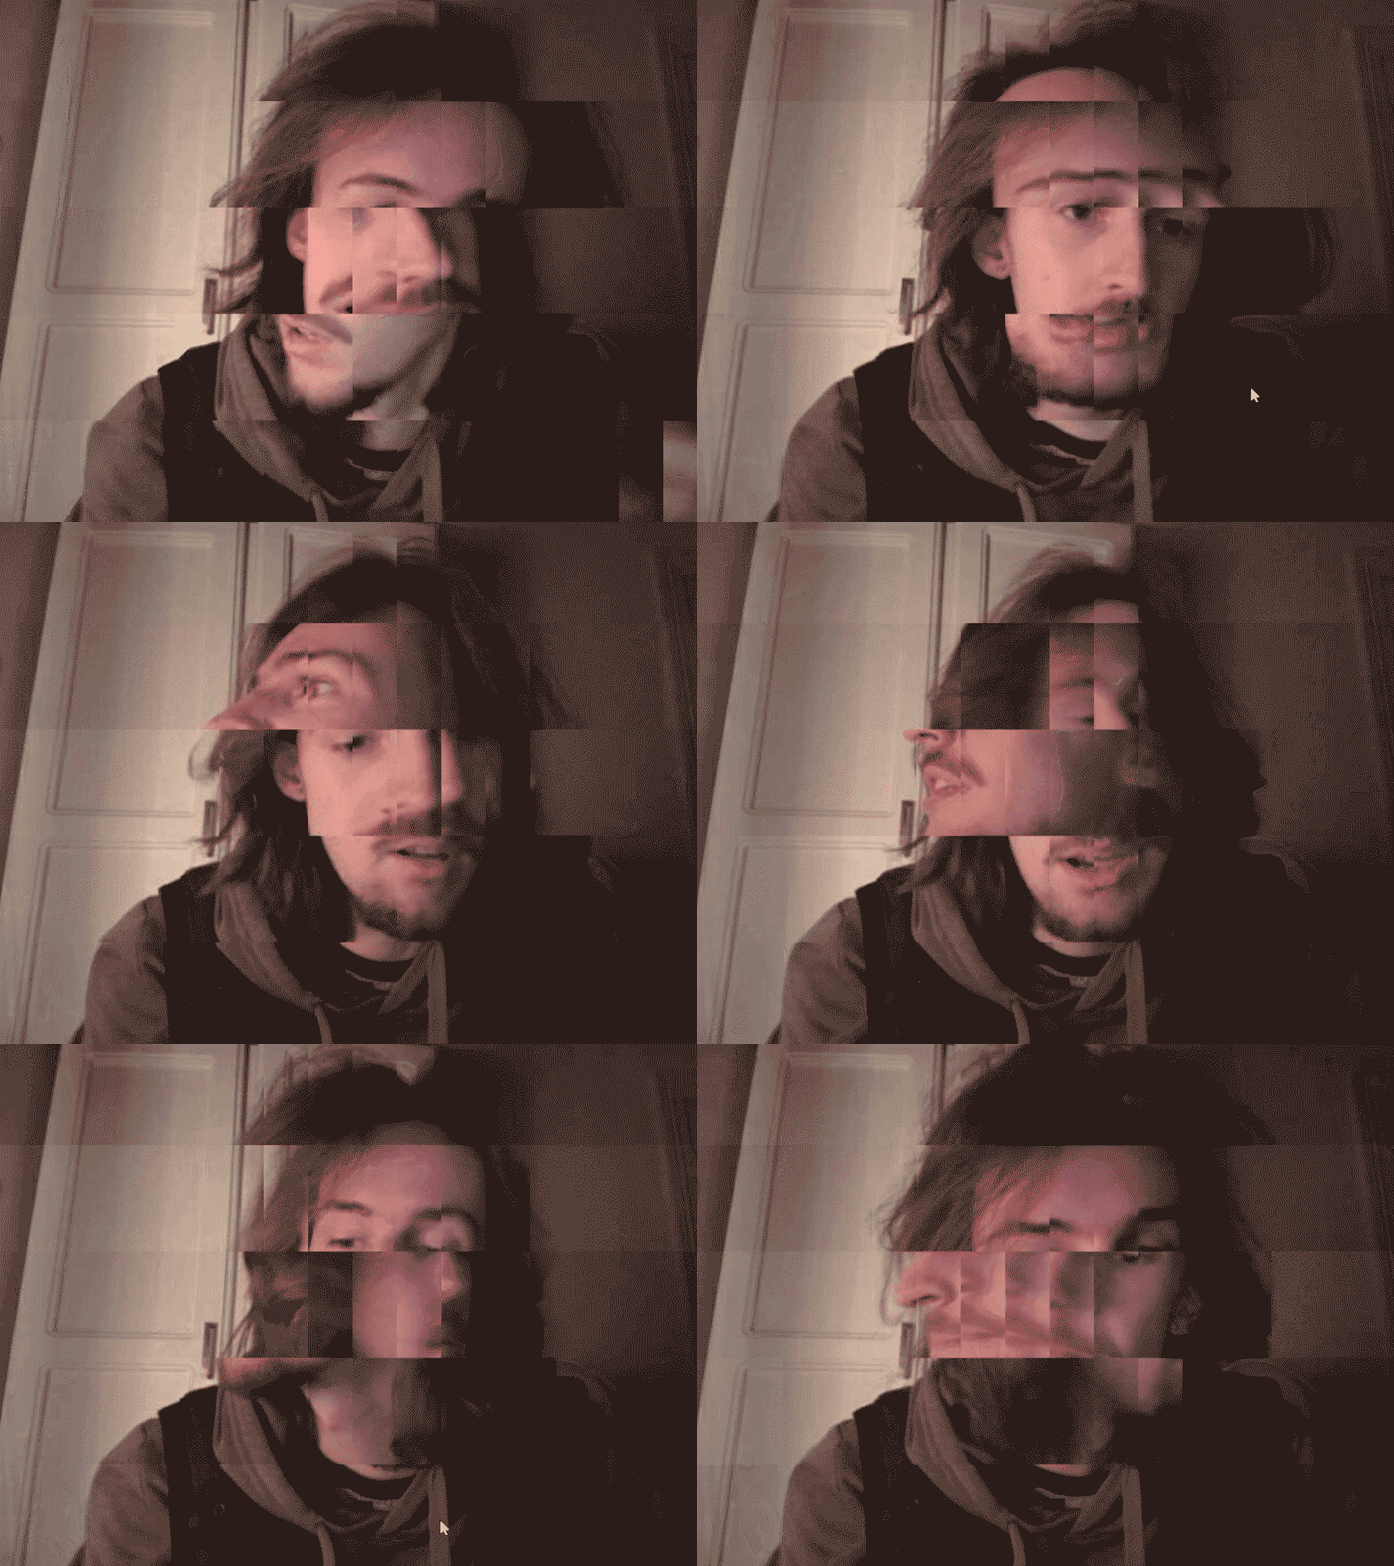
The practical competent of class continued on computer vision by introducing how to use images and live video in p5.js. I have not used either of these widely so it was a useful starting point. In class we got to a point that made this mess texture using a slit screen like effect, and then at home I played with different blend modes on video getting to some pretty intense styles.


|
|
|
|
|
|
|
|
|
|
|
|
|


From class feedback on our websites so far I assumed that I would need to find a way to make images bigger. I didn’t just want to make this centre bar bigger because I felt it would change the site for the worse. Somethings looked good on it, others not so much.

I tried making images switch to absolute positioning on hover, but this lead to a very distracting glitch. If the mouse hovered over the image position but not the enlarged image position it would flash very violently between the two.

The solution was to make an onclick function to switch positioning. This still has bugs but they can be navigated (and I kinda like them).

I also changed the website background to a p5 sketch that was made for another subject, but was not included in the final submission. This was done on class feedback about image attribution as the background image was something I had ‘borrowed’ from the internet. While it probably wasn’t a problem as this is student work, I felt a bit iffy using an image I did not have the rights to as a central element.

  Week 6

|
|
|
|
|
|
|
|
|
|
|
|
|


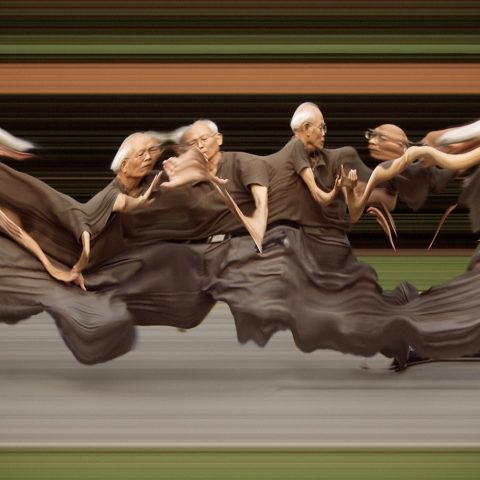
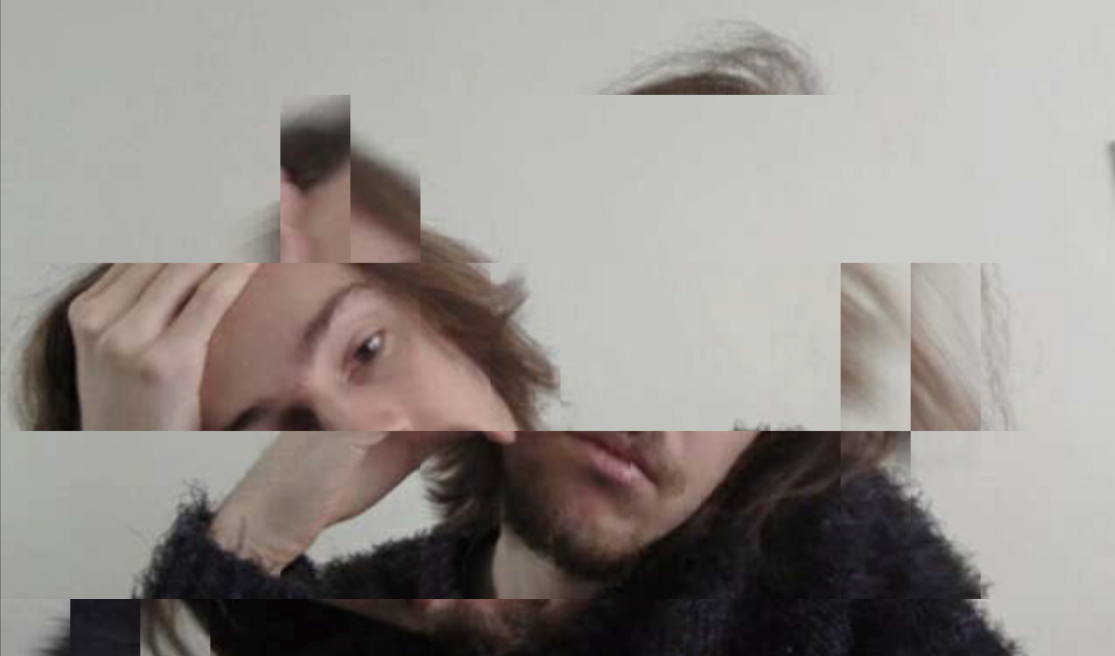
I kept exploring using video in p5 at the start of this week. Specifically I wanted to try and recreate work by Daniel Crooks using live video footage. Their work investigates time and space by heavily altering the way footage is recorded and displayed. Link to their work here


|
|
|
|
|
|
|
|
|
|
|
|
|


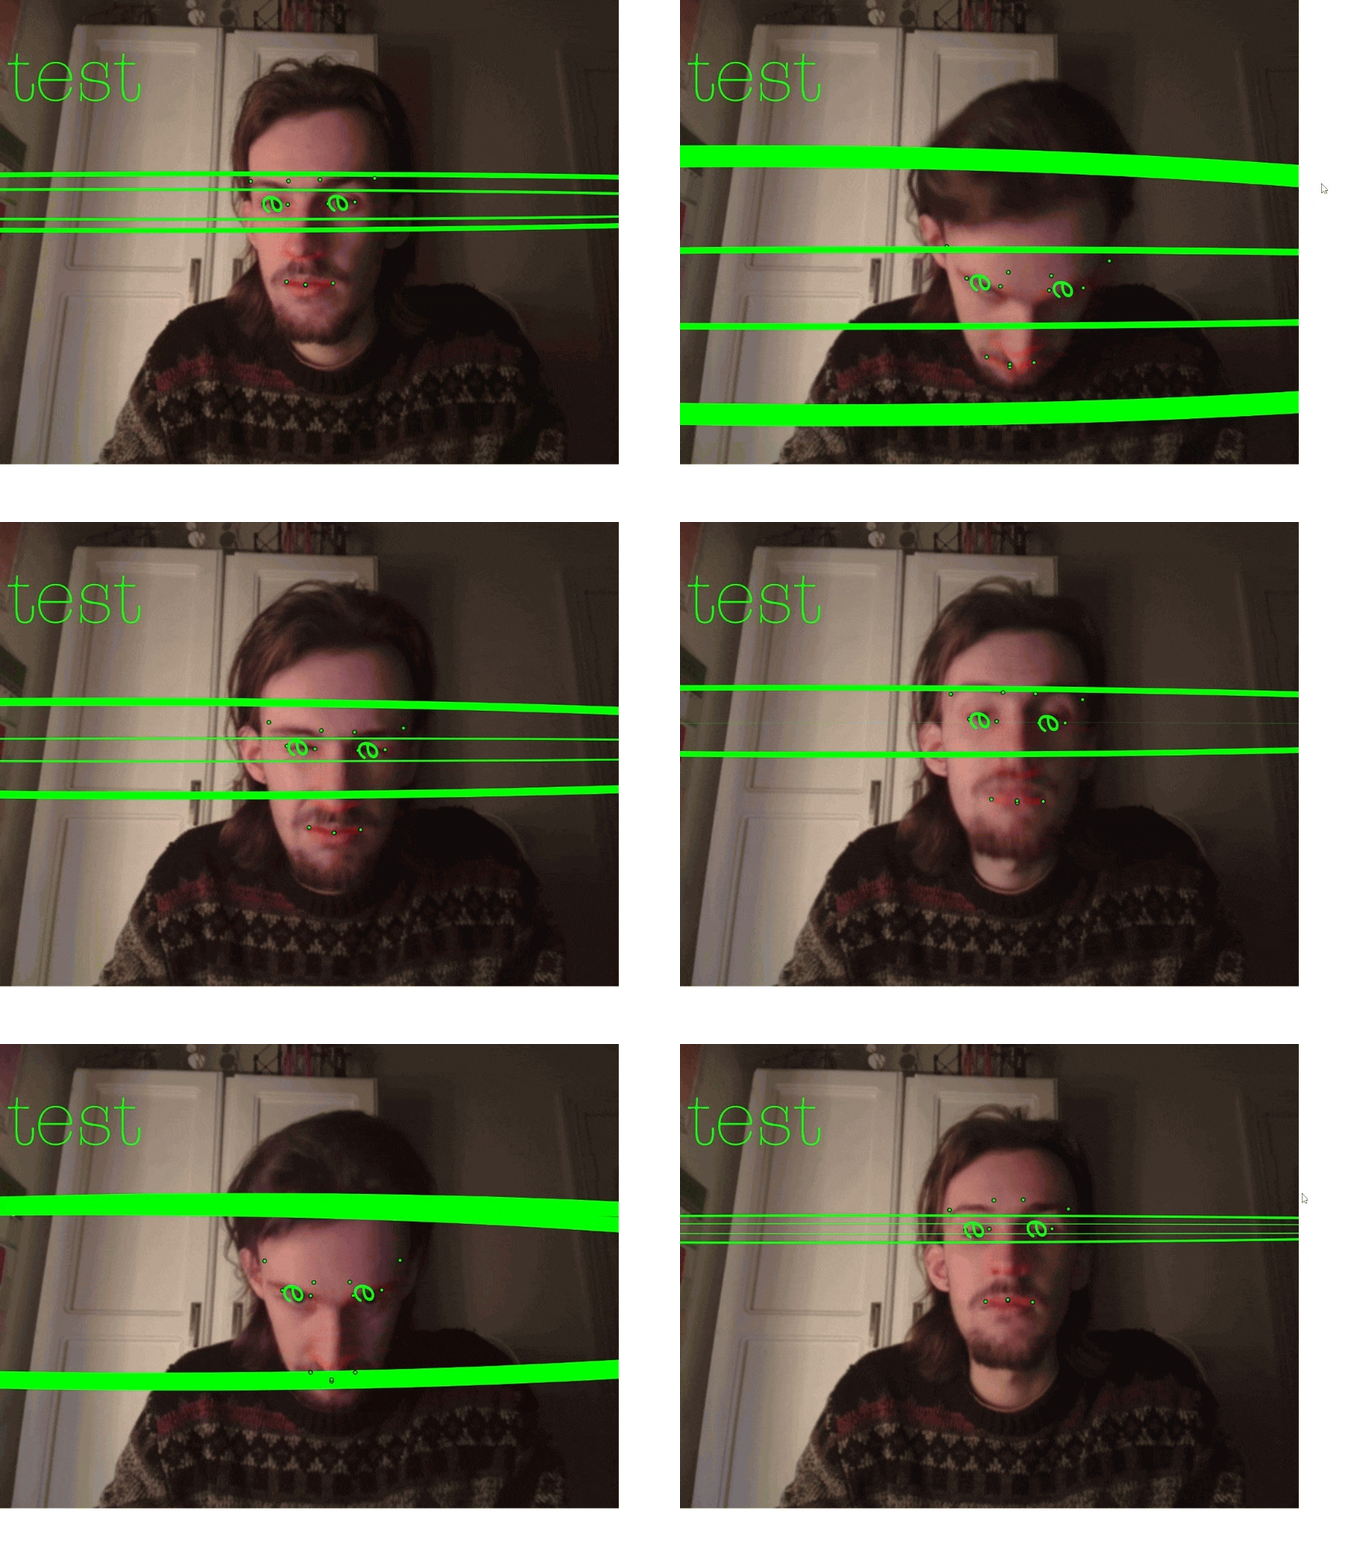
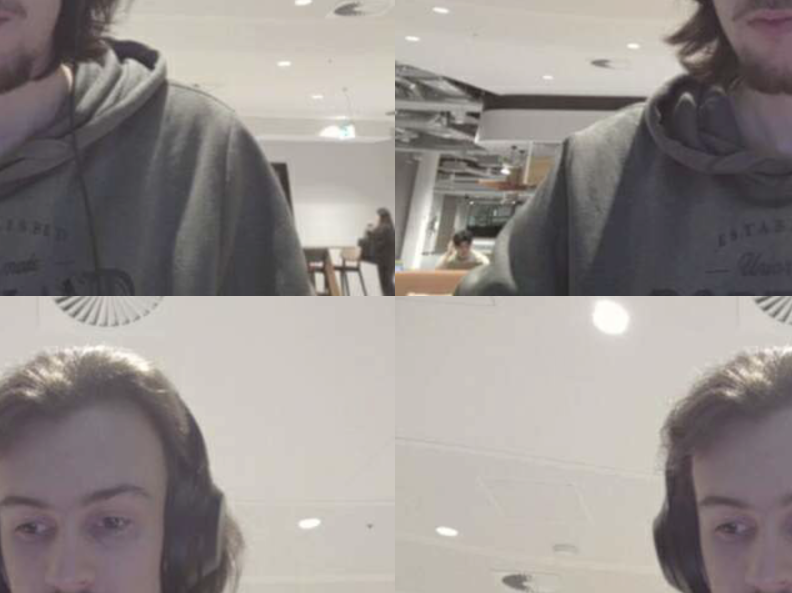
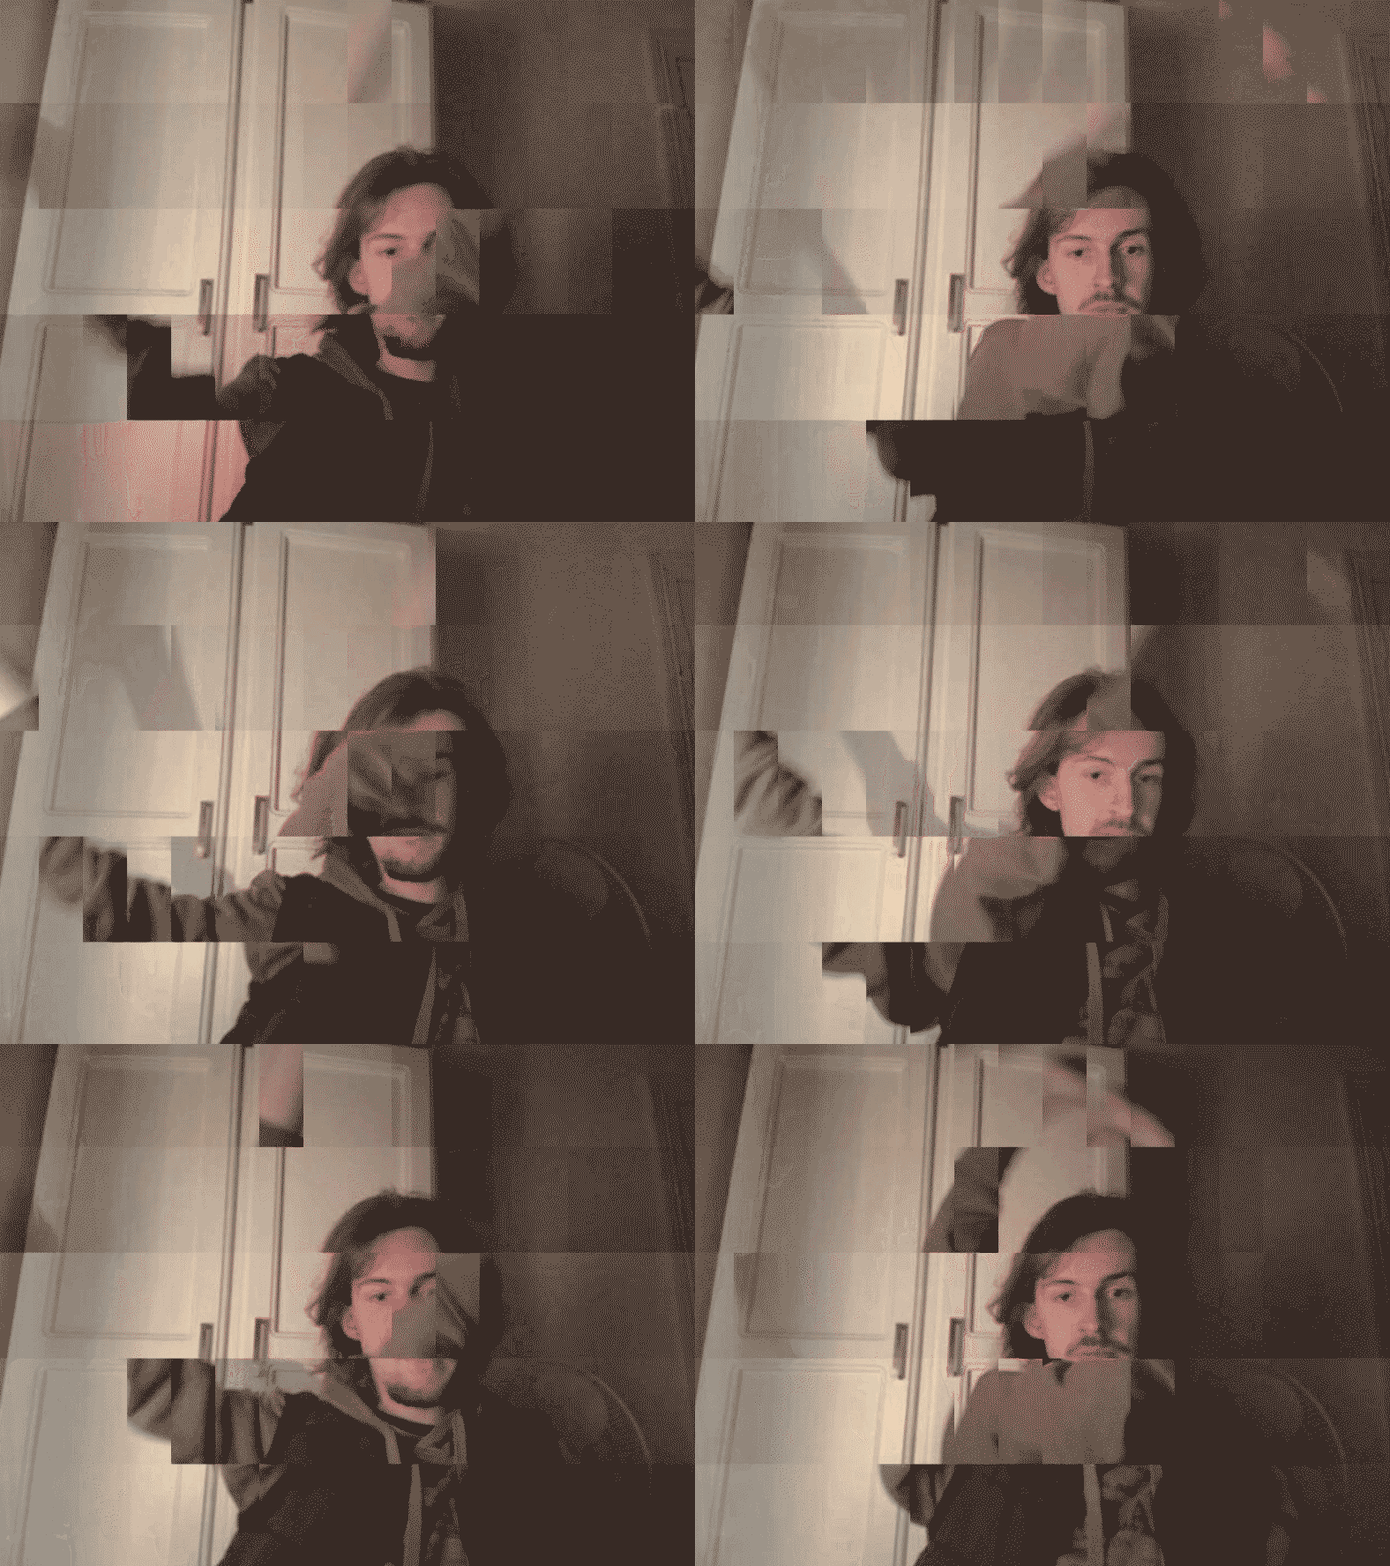
The two things I needed to know to make this kind of work were to find a way to crop live video, and also to store each frame for latter recall. A video by The Coding Train on how to create live slit-scan images introduced me to the copy() function. Allowing me to slice up an image into distinct section, and to rearrange them however I liked.

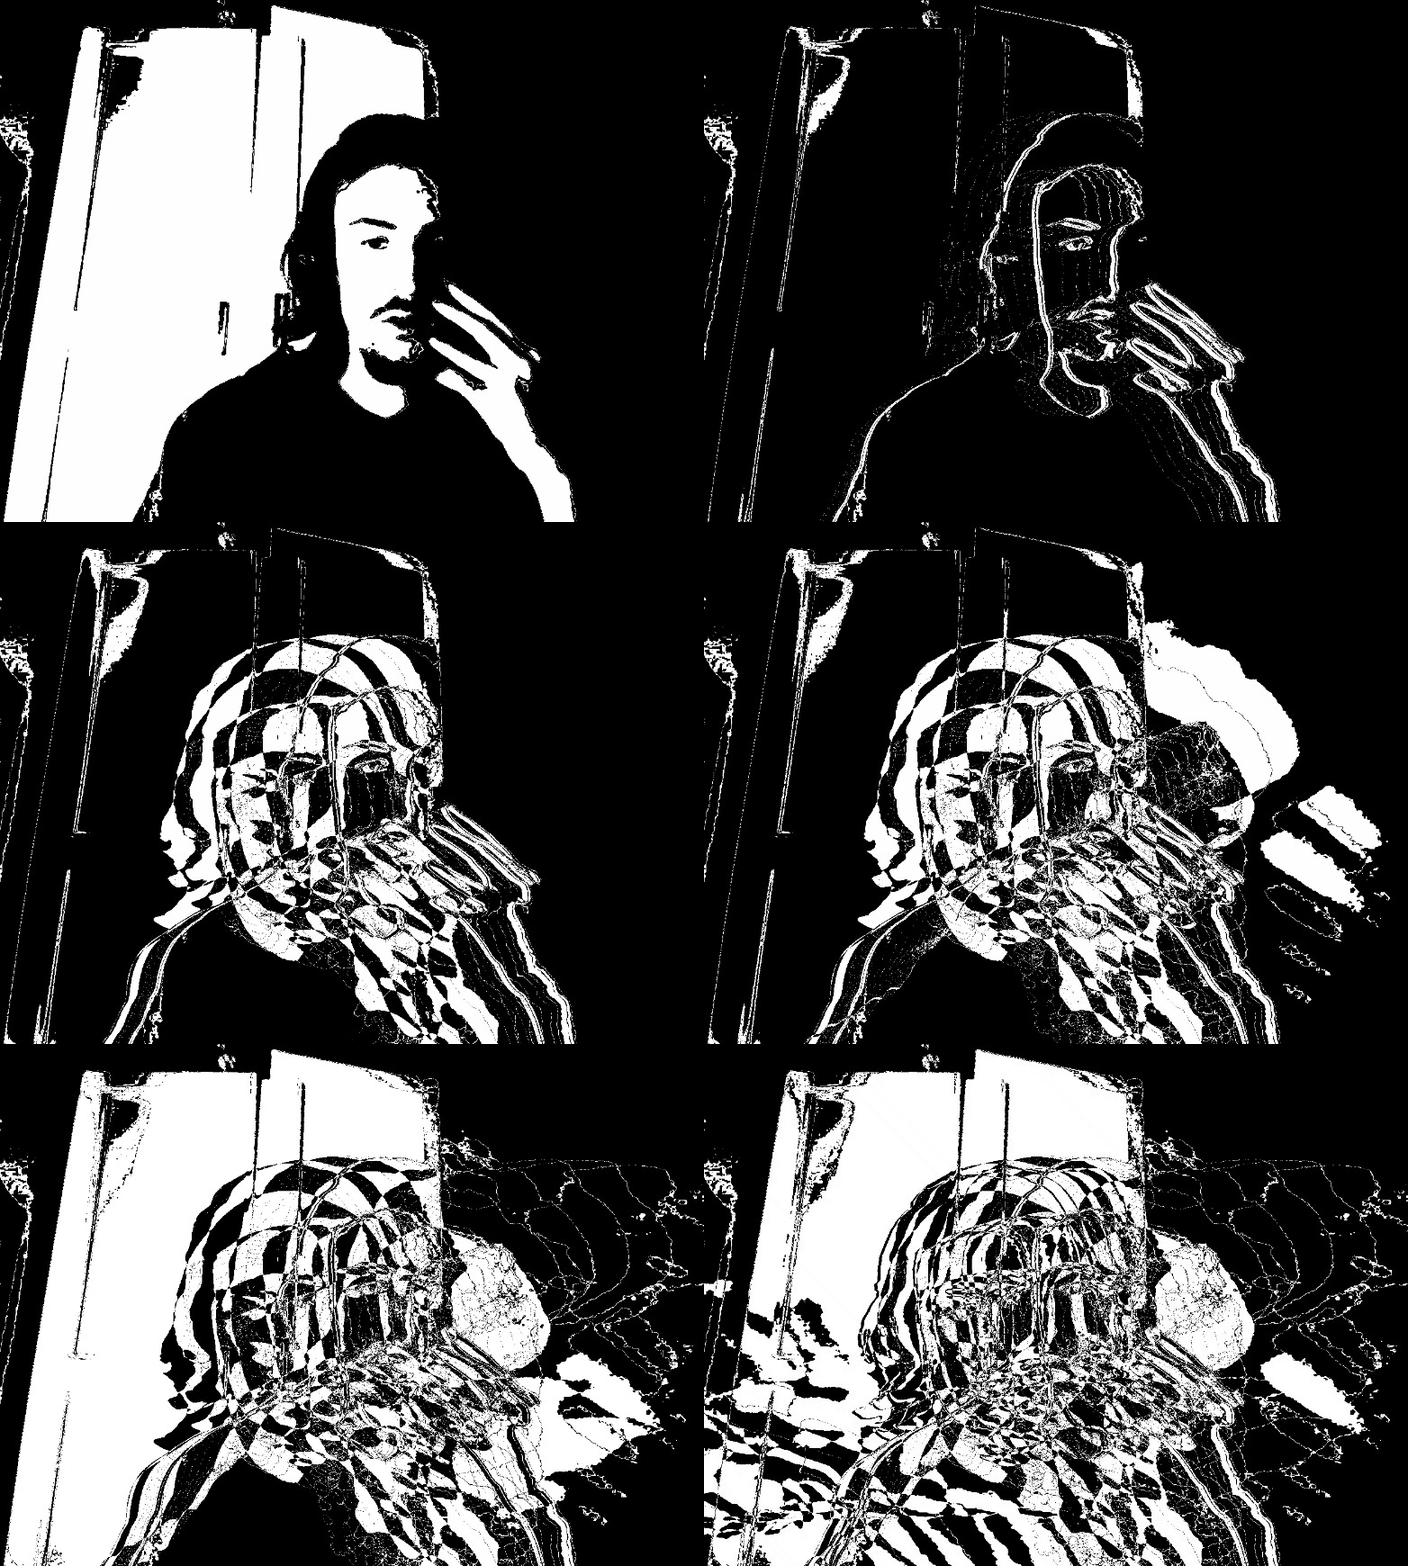
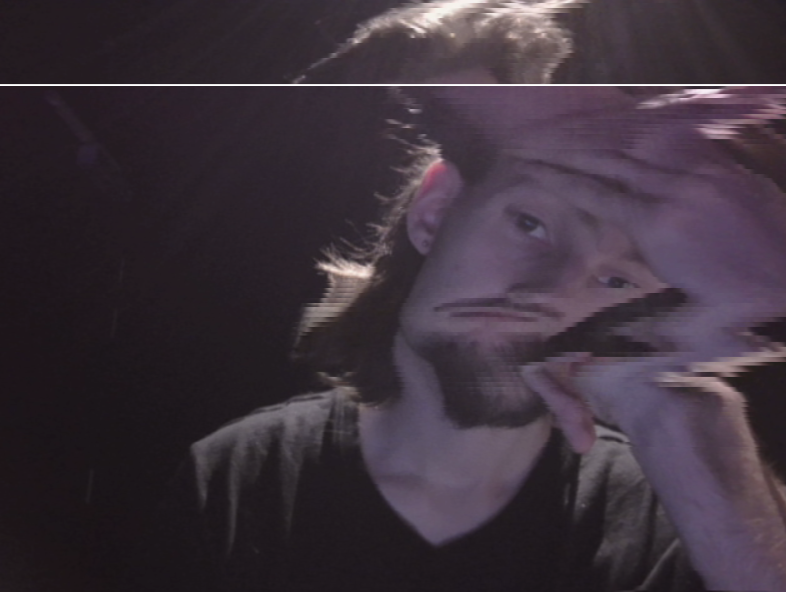
Using this function I made a sketch where only one row at a time would update. To create a normal image with it you have to stay perfectly still, as any movement distorts the image like in early photography.

Finding a way to save live frames was a bit harder than I expected. My first attempt at just passing the capture image into an array didn’t work, as every image in the array was the live image. The solution was from another Coding Train tutorial on creating a photobooth out of p5. In it they explain the reason just passing the capture DOM element doesn’t work. Which I don’t understand as I still have no clue what a DOM element is. However the video presents the get() function as a working alternative. With get() and copy() I was able to recreate Daniel Crook’s work with live video, which was a lot of fun to play with.


|
|
|
|
|
|
|
|
|
|
|
|
|


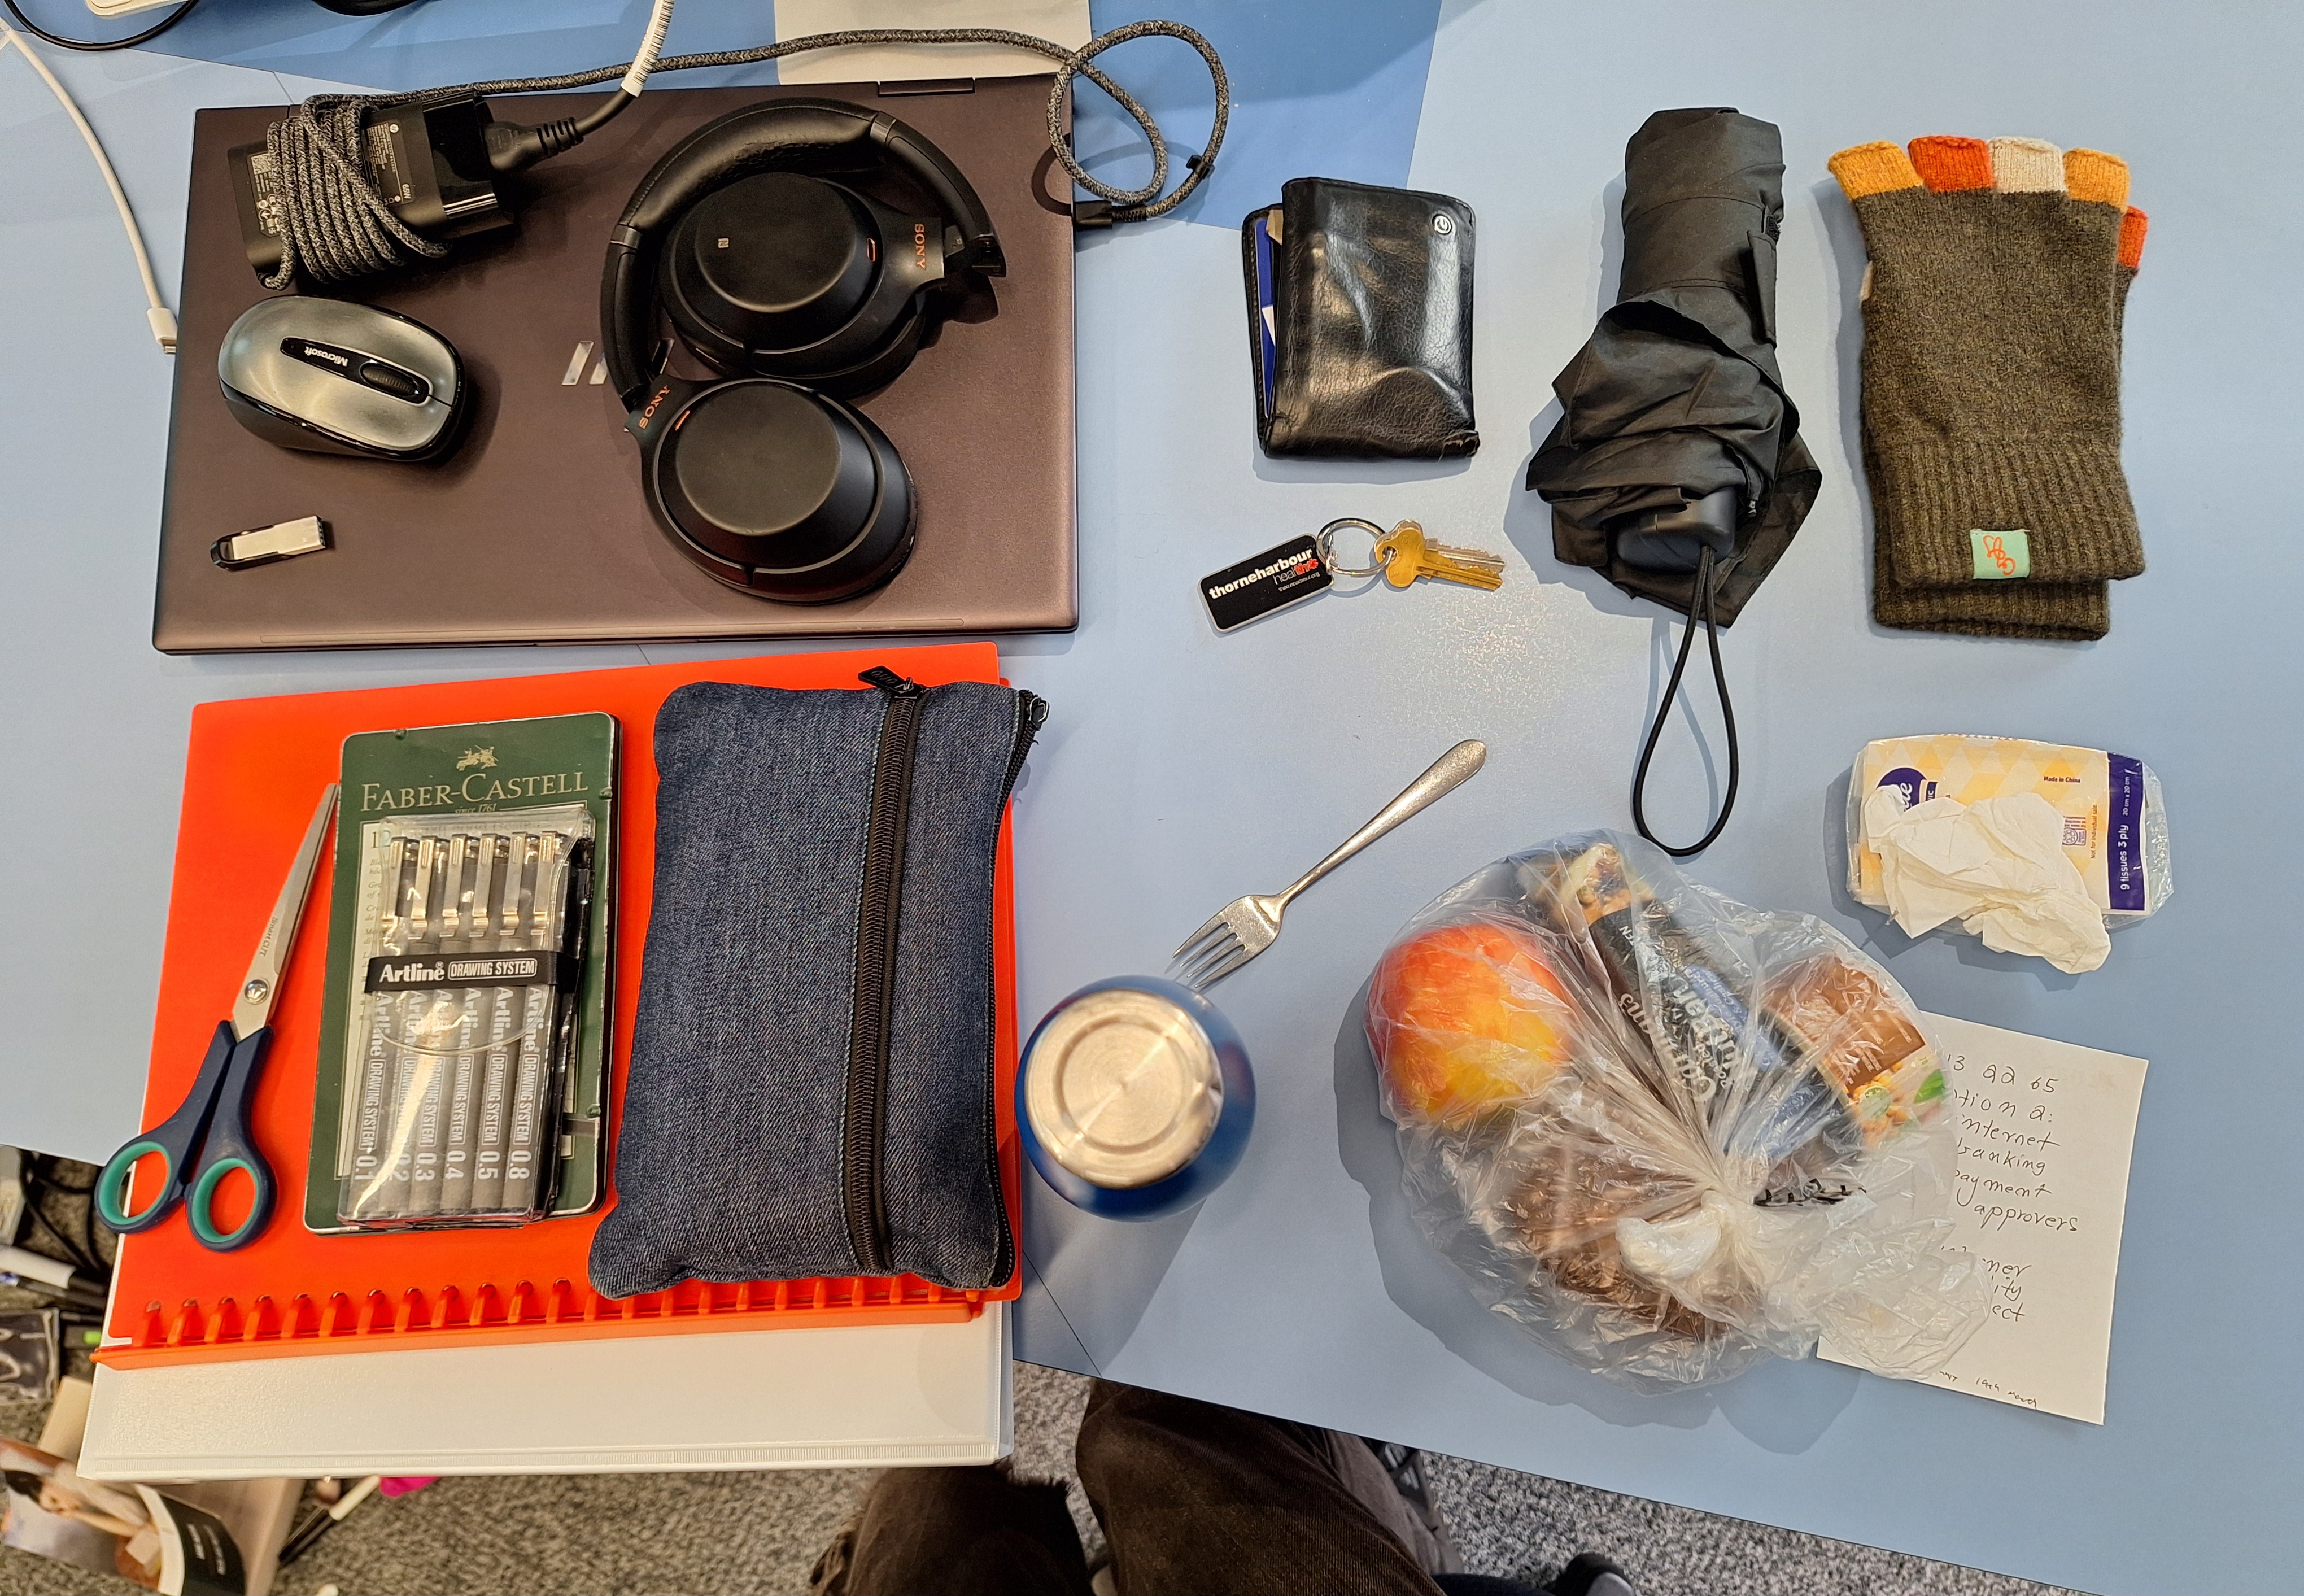
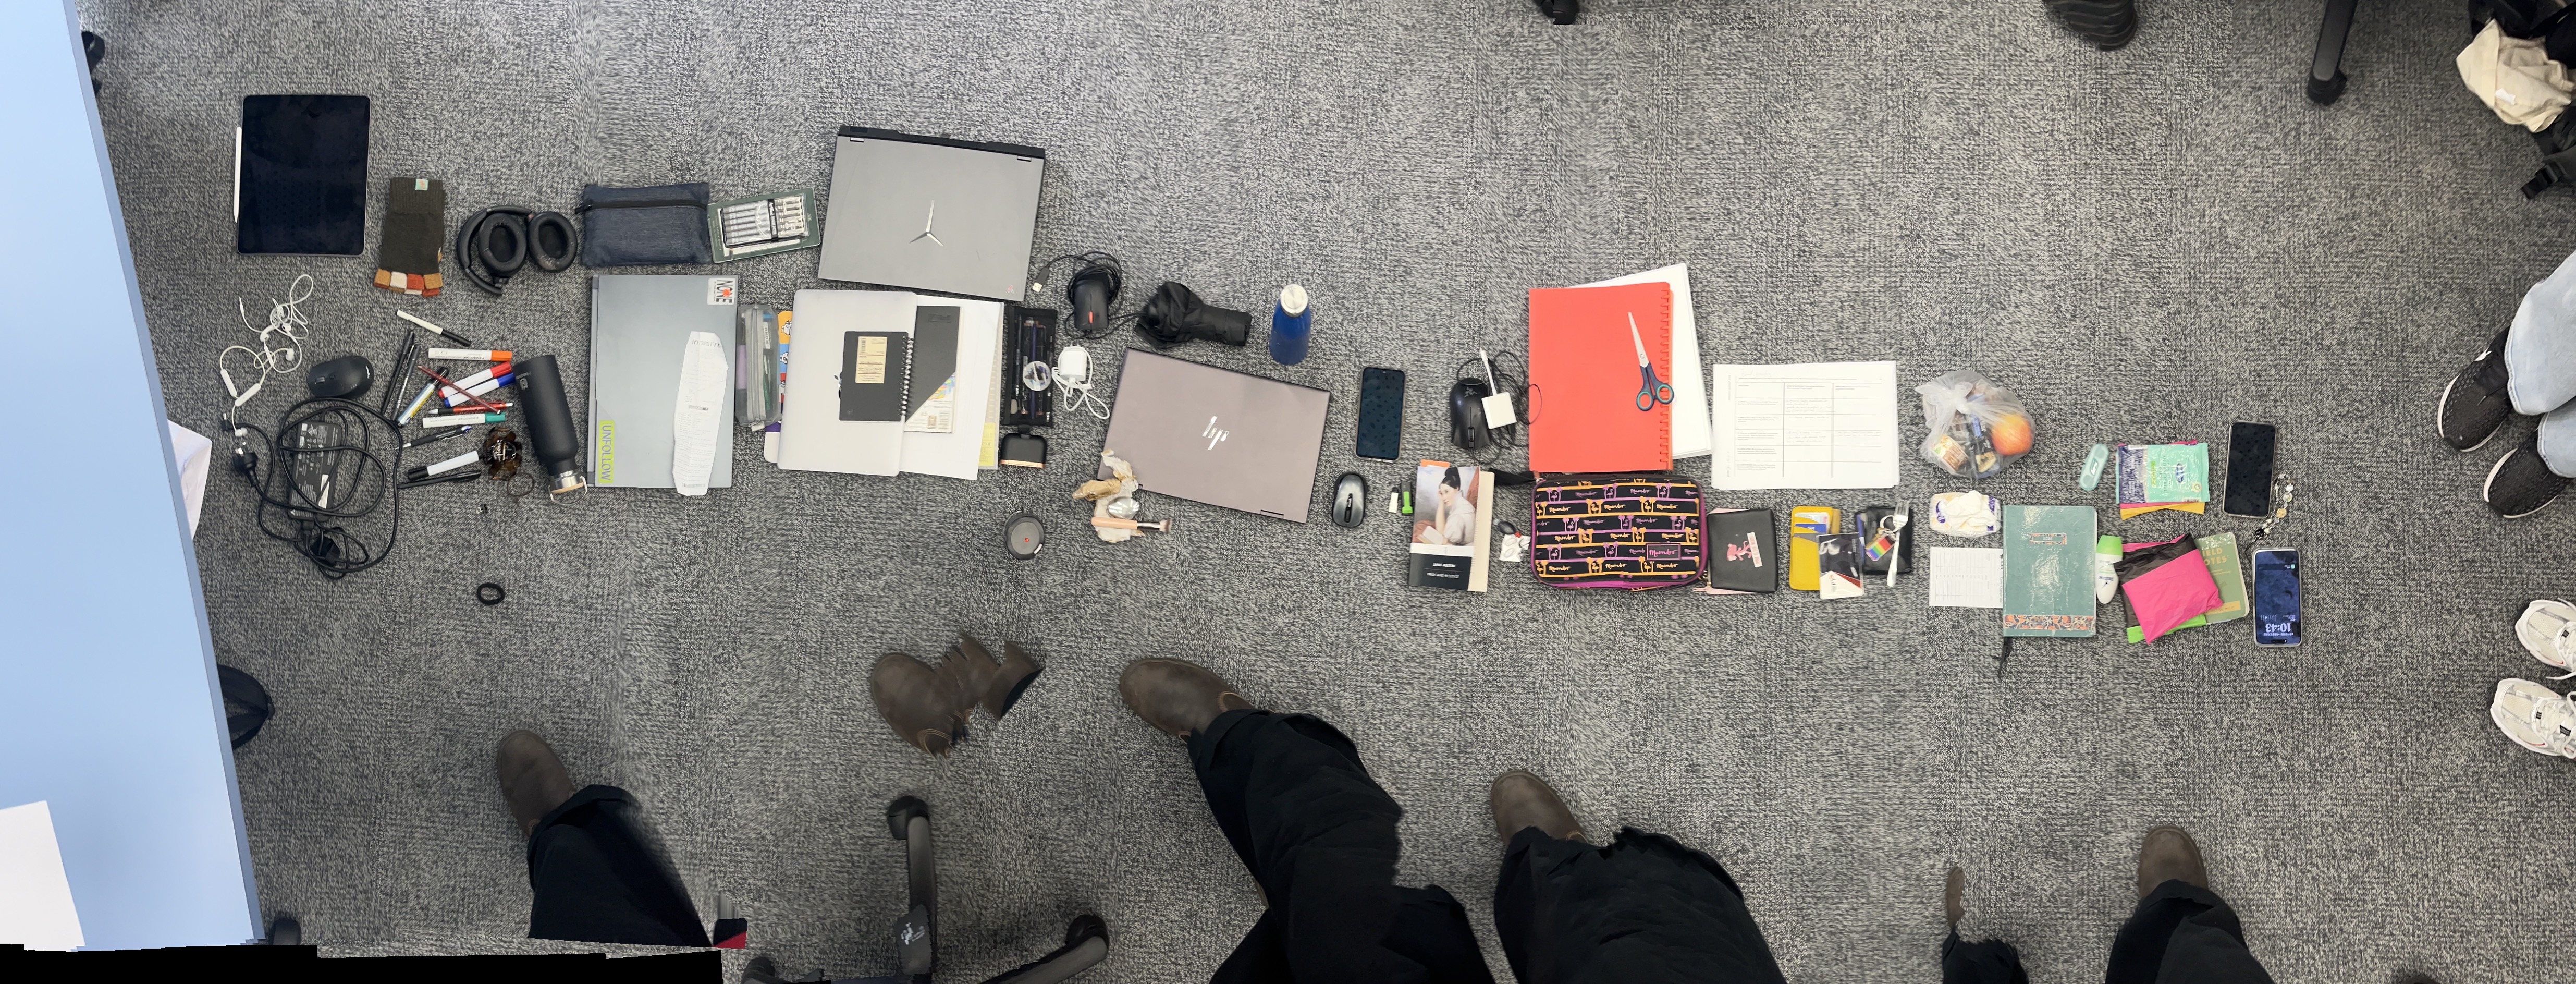
This week’s class was on data. Ways meaning is both inherit in it, and how meaning can be extracted from it. How data is actually treated in data farms and the stories data can tell. There was a large class activity where we all emptied out bags and pockets, and had to find meaning in the contents.

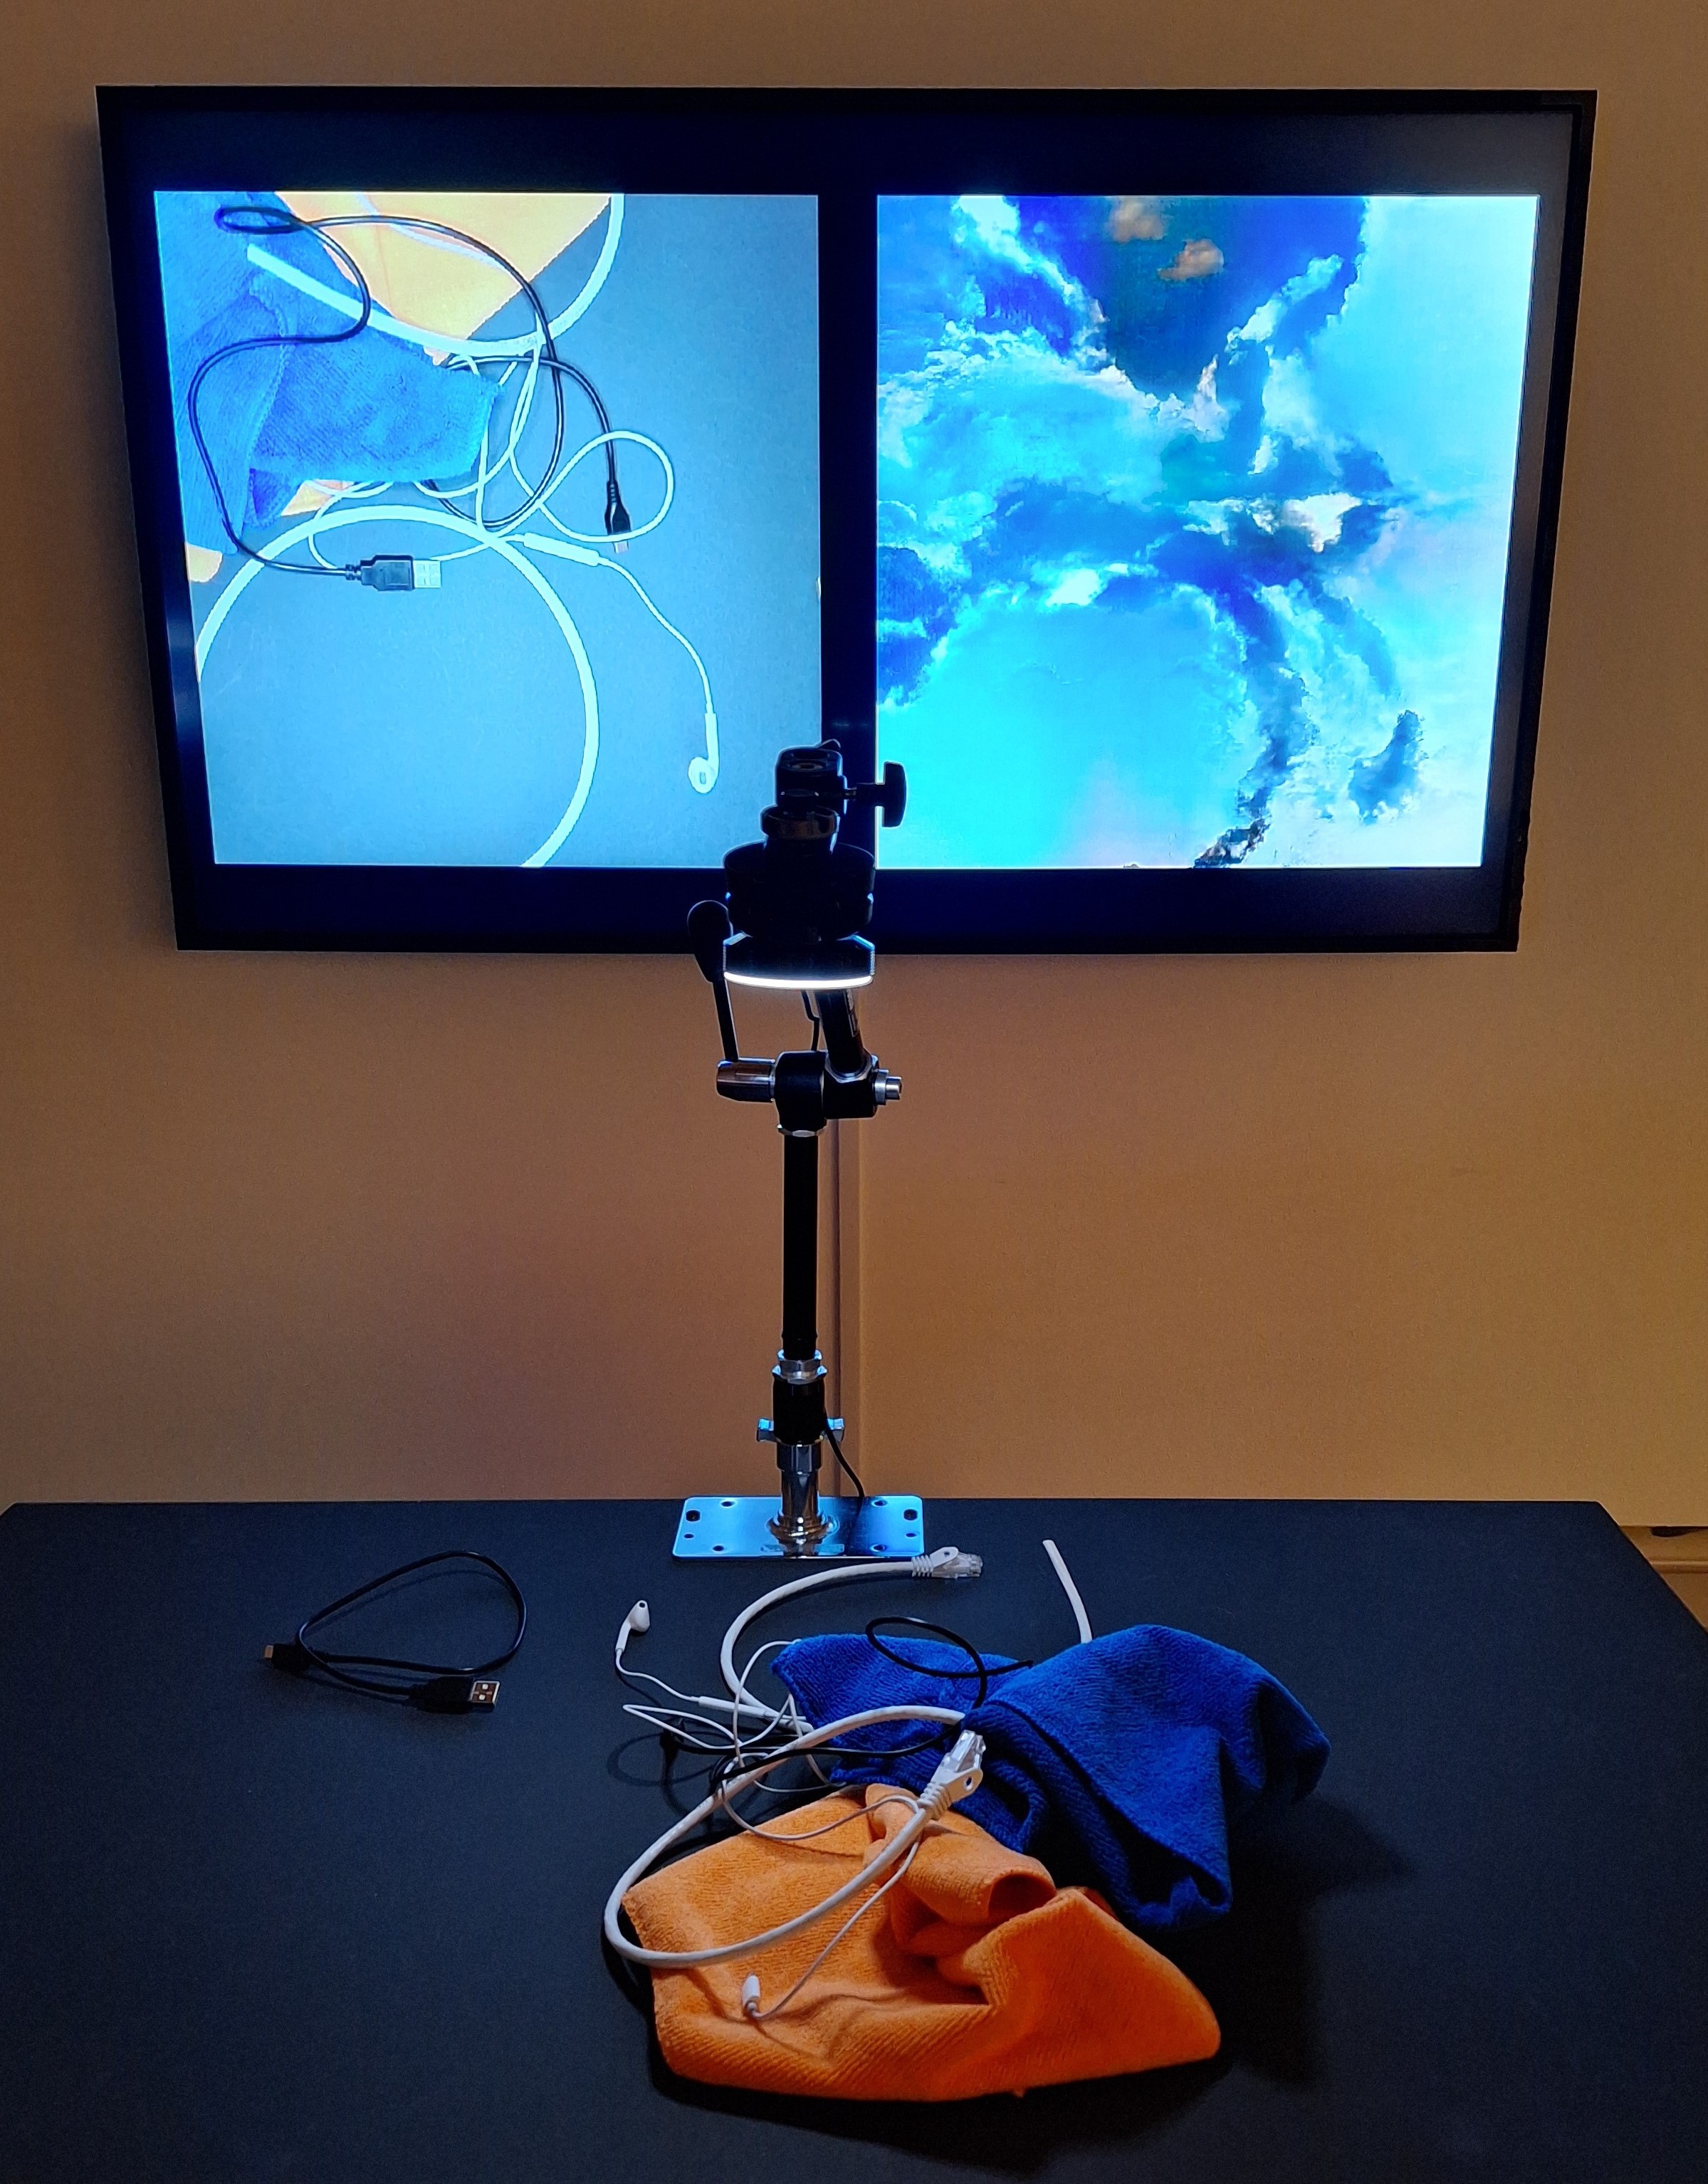
As groups we then collated all the stuff from our bags and had to find a way to arrange it all. We arranged it,


From Most Public


To Most Private

This activity took up much of the class, meaning much of the PowerPoint for this week was skipped. Looking through it now there is so much cool stuff in it that I just don’t have time to look at now T_T. Particular the live data sources. I might be coming back to the content for this subject over the semester break….


|
|
|
|
|
|
|
|
|
|
|
|
|


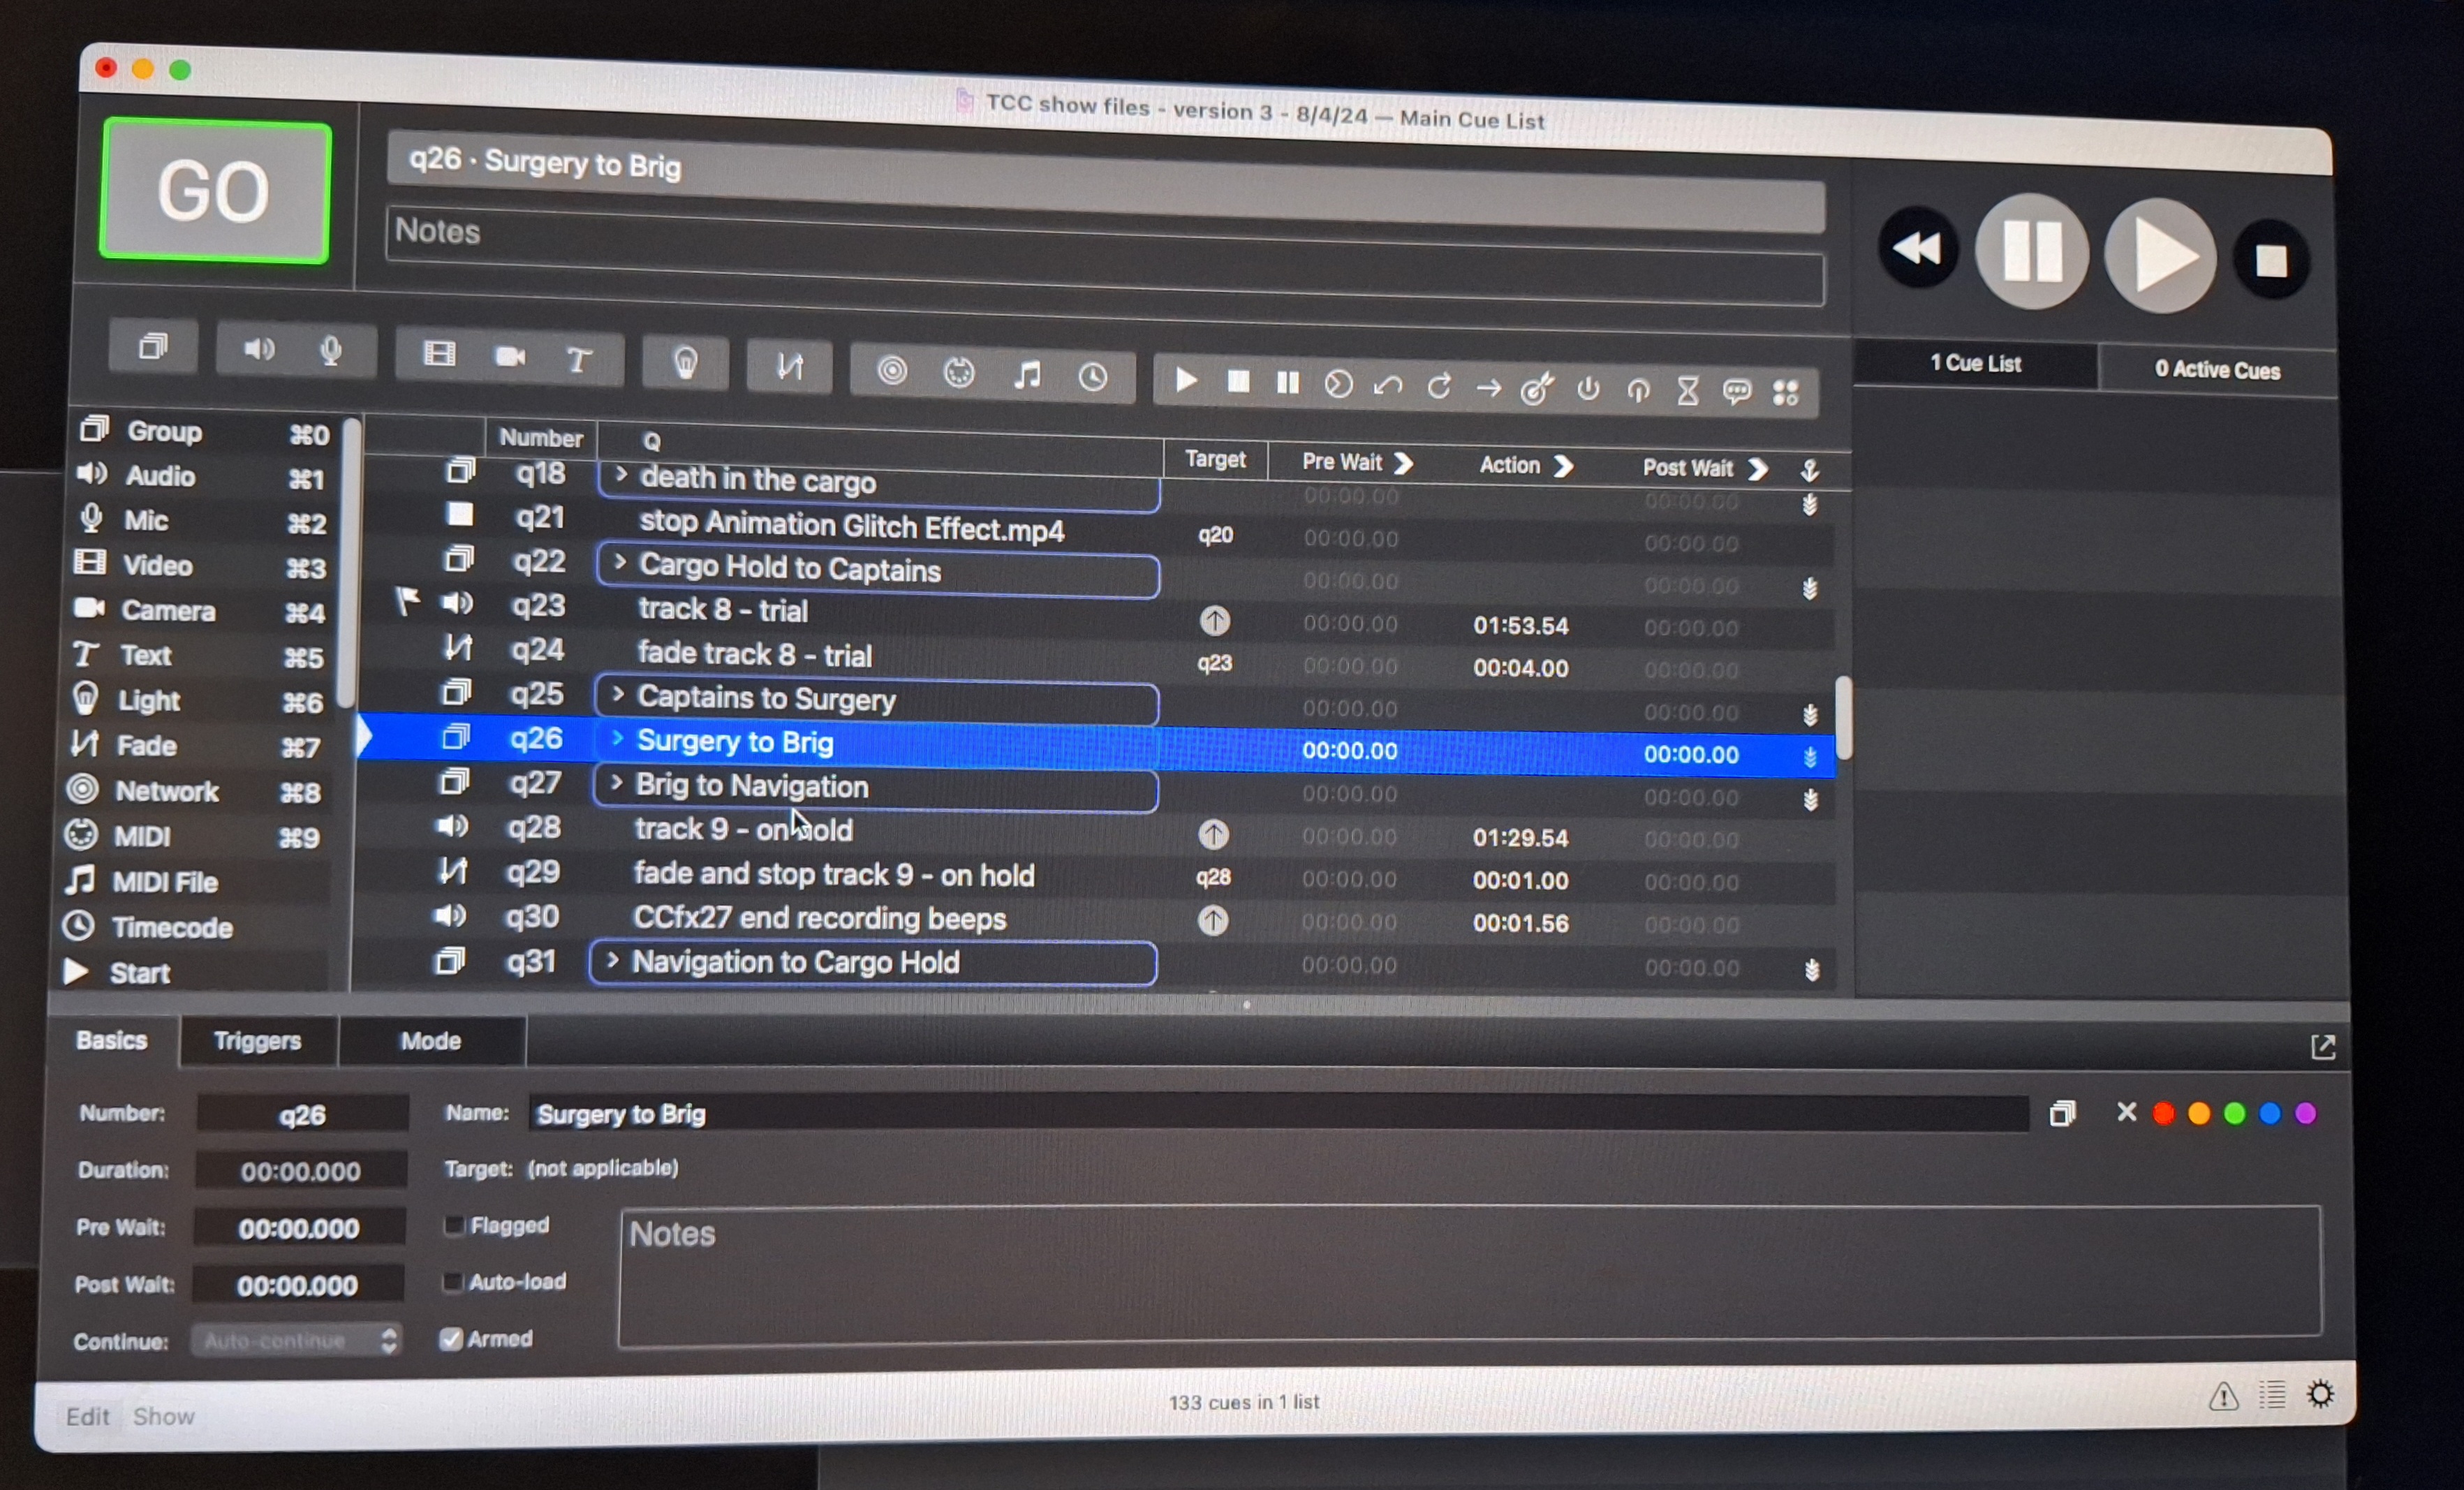
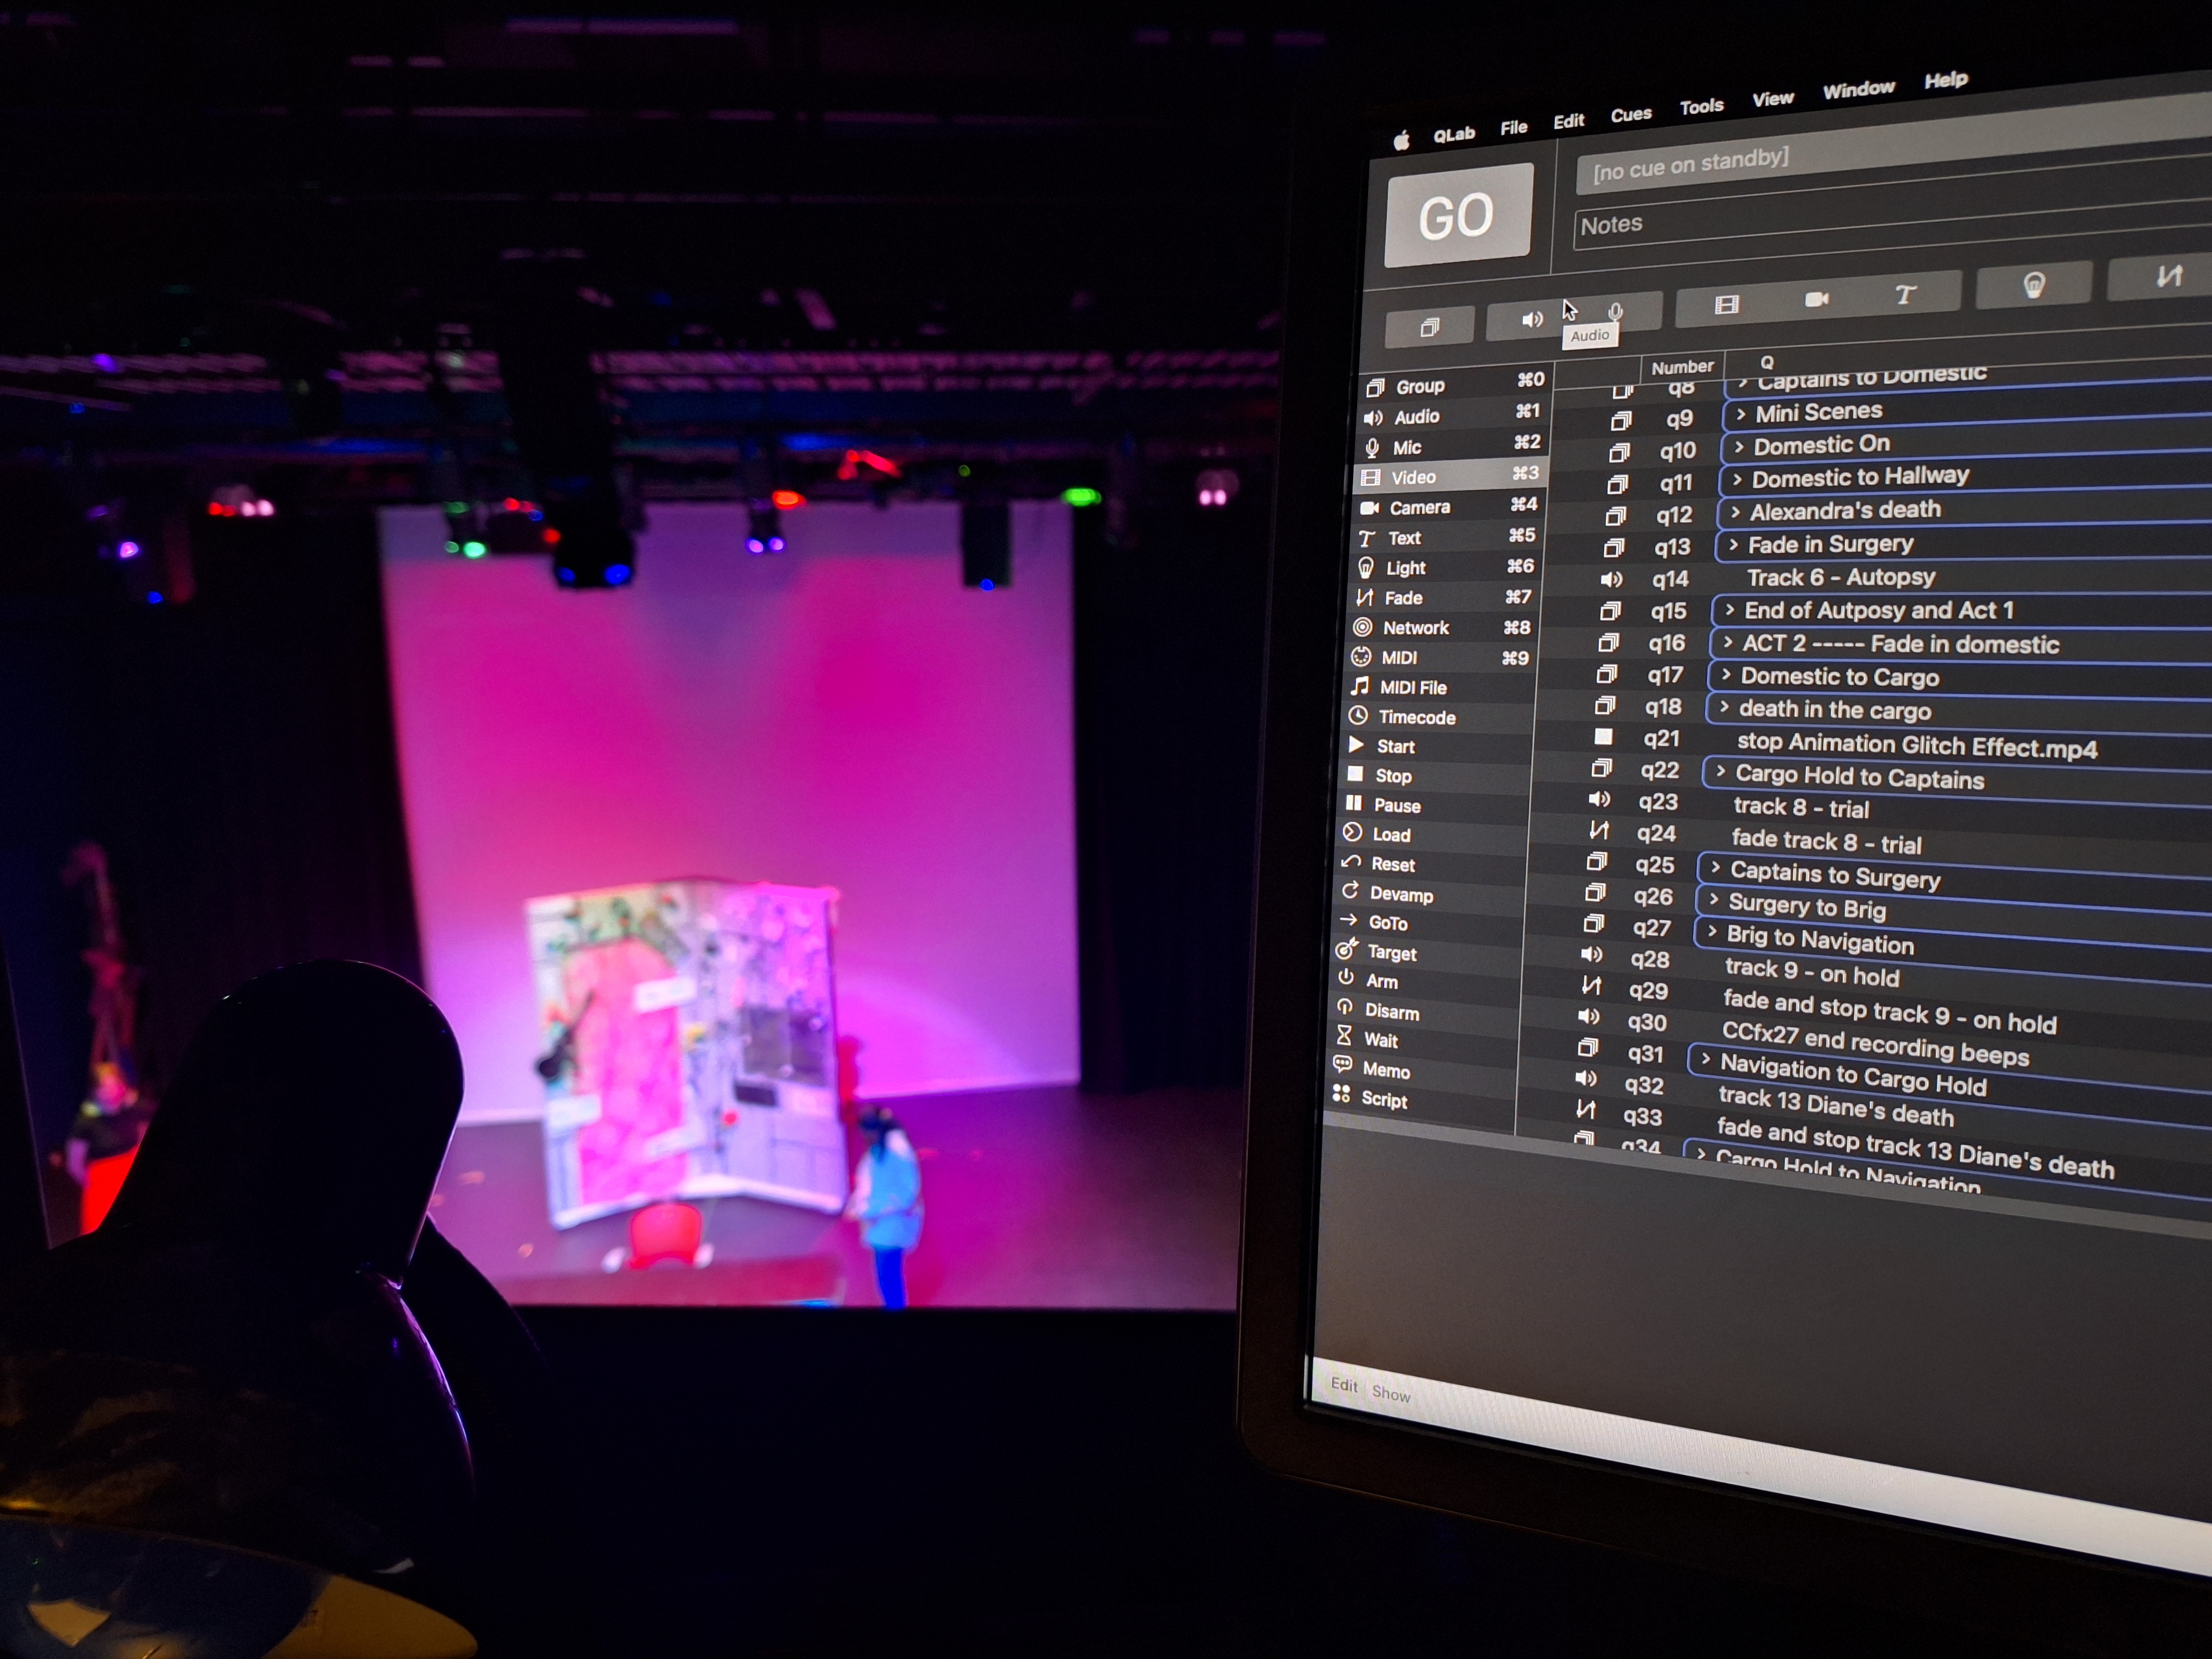
The reason I had no time for anything this semester was because I was operating sound and AV for a student theatre show. They where both controlled by Qlab, software that reduces the complexity of controlling multiple speakers and projectors down to pressing spacebar. For every cue in the show, press the space bar, and the appropriate actions will occur. Want a sound file to start? Press space bar. Want to stop a sound file? Press space bar. Want to stop one sound file, start another, and change the projection? Press space bar. So long as you set up the file correctly…..

Reducing the interface for control down to a single button created it’s own kind of stress.


|
|
|
|
|
|
|
|
|
|
|
|
|


The last bits of time I had for this week where spent on tidying up this website for submission. Adding a page for the p5 sketches took the most time. I wanted the layout to match this page, but on clicking a button the background would change to the relevant p5 sketch. The first attempt was to load them all in and use ‘display-style: none’ to hide sketches. This didn’t work and just made the entire canvas disappear entirely.

I then went on a Jquery/AJAX wild goose chase trying to load in the scripts dynamically. This should have worked but for some reason when loading in the code this way it didn’t recognise/include any of the p5 functionality. It would run the JavaScript fine but unless setup() and draw() where explicitly called they would not run. I had considered using iframes with ‘display-style: none’ but it just seemed messy in my head.

Hours later I noticed the src attribute. I come across Jquery code that would change this attribute. I could have one iframe and simply change which html script it was displaying. In the end I didn’t even need Jquery to change the src.

Other changes to the site where less drastic, adding titles to images, a favicon and checking links worked. I edited the p5 sketches to use the full window width, and also to sit in the middle of the screen. This did break some of the sketches until I fixed them, but some of these ‘broken’ versions looked quite good.

The other major change was to add a landing page. I wanted to be able to link to the research journal from the workbook (now called weekly journal) but still store it’s html and images in a separate folder. Github’s requirement to have a index.html in the first level of the repo made this difficult. Without the landing page there would be a workbook folder and a research journal folder but no index.html. I actually quite like having the landing page now. It clues in the viewer that the aesthetics of the site are one of it’s focuses.

  Week 7

|
|
|
|
|
|
|
|
|
|
|
|
|


This Week we began the next section of class, Physical Computing. Heralding this shift class was held within the Telstra creator space. It seems to be part of the unimelb facilities… but it is very much it’s own space. It’s probably quite useful, with a lot of good tools, I’ve just never felt the need to use them.


.
.
.
.
.
.
.
.
.
.
.
.


The lecture part of class went over examples of physical computing, which seems to entail anything that does something in meat-space via electronics. With this vague mostly useable definition there’s probably a lot of work we’ve already seen for this class that counts as physical computing.


.
.
.
.
.
.
.
.
.
.
.
.


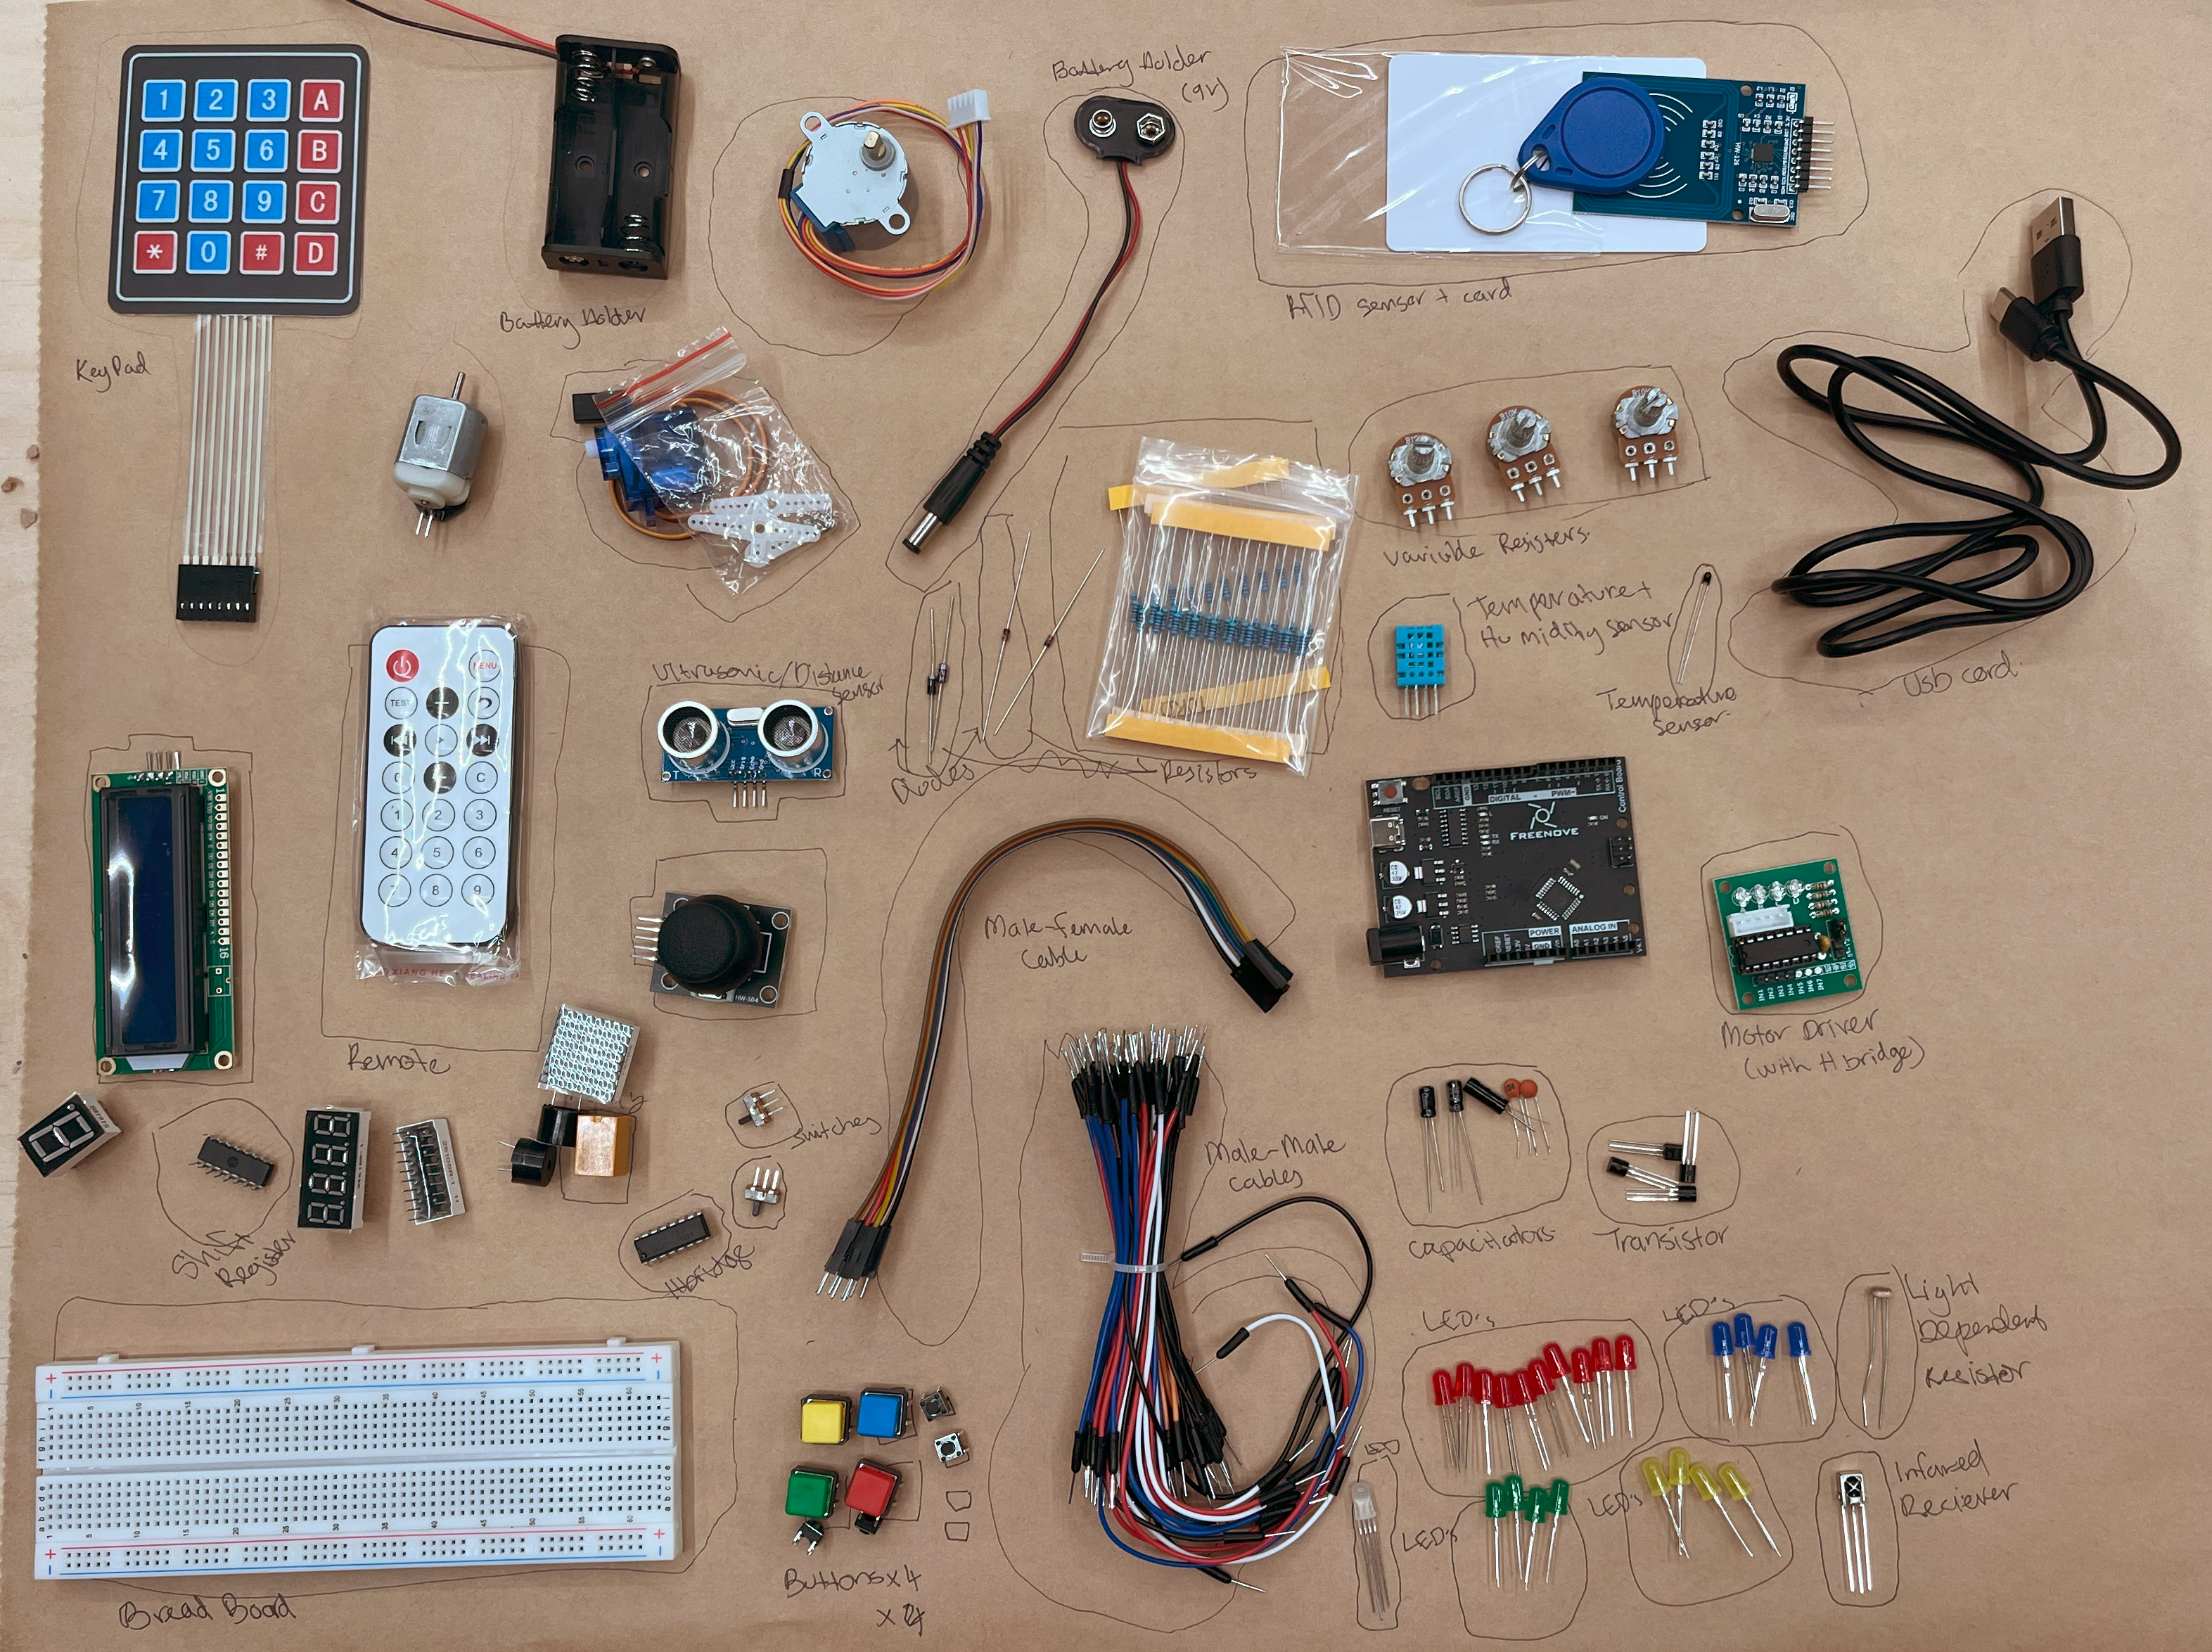
To get us used to handling electronic components the was first activity was to pull out absolutely everything from the Arduino kits and try to name it. My first instincts were to;

a) think it was impossible as how can we know what something is if we’ve never used it before?

b) be really hesitant to touch anything because it’s electronics and I could break it.

After getting over both of these points this was a really good introduction to electronics. Getting to know the components first made seeing how they combined make more sense. It also made building the first circuit more approachable. I can see how this same method was used to introduce html, in providing an overview of tags and attributes, but that still felt much more like diving in and trying to figure it all out.


.
.
.
.
.
.
.
.
.
.
.
.


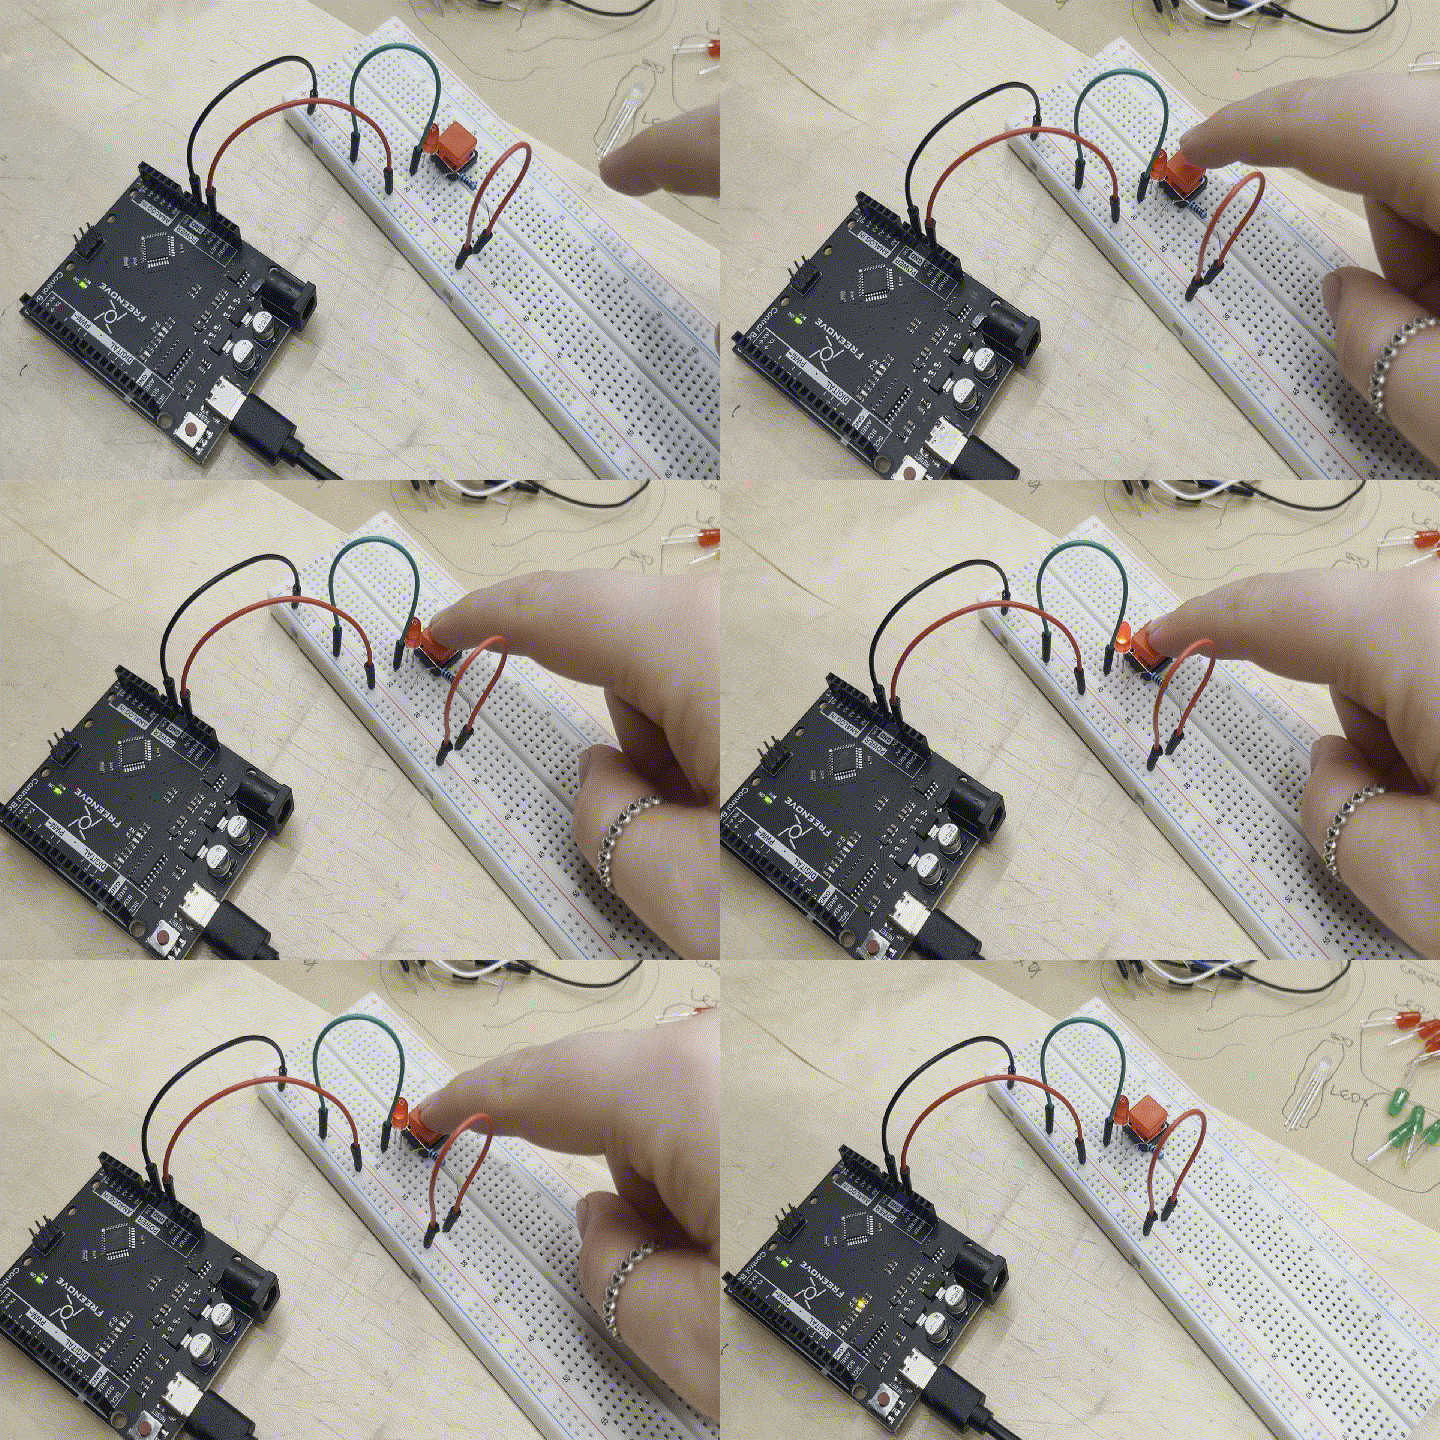
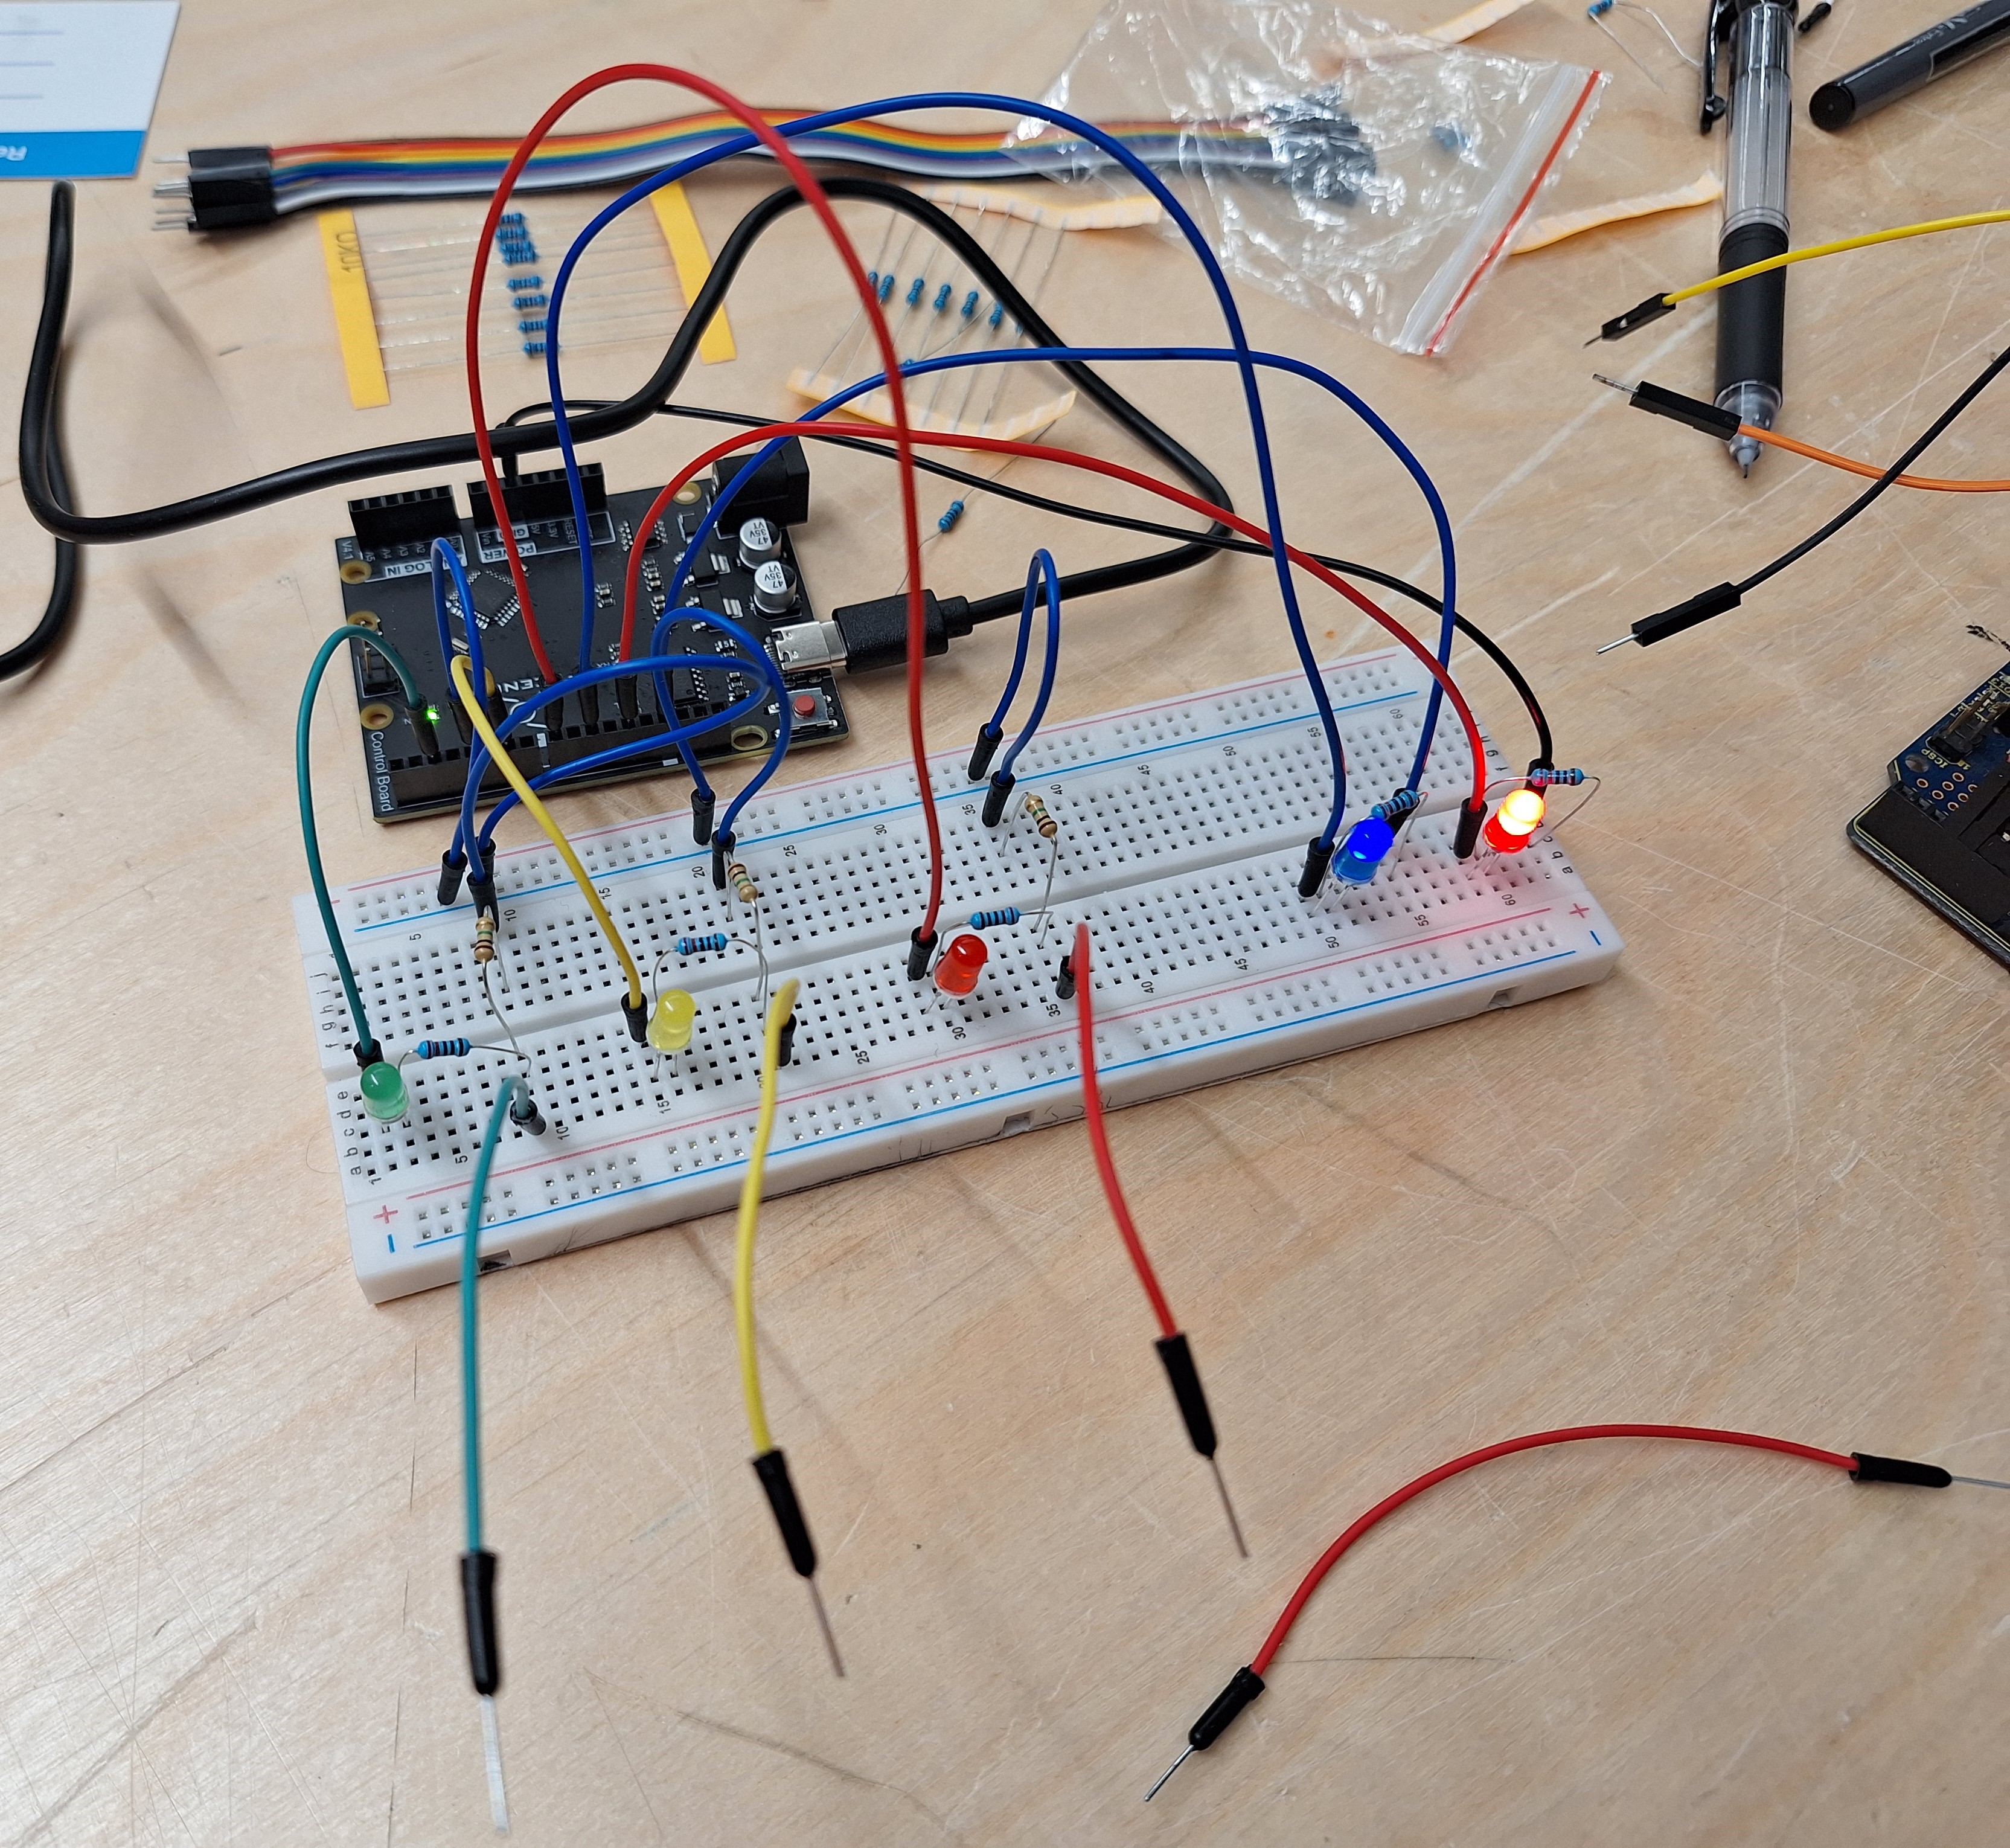
After this we built a few circuits.

The first was to have a light turn on when a button was pressed.

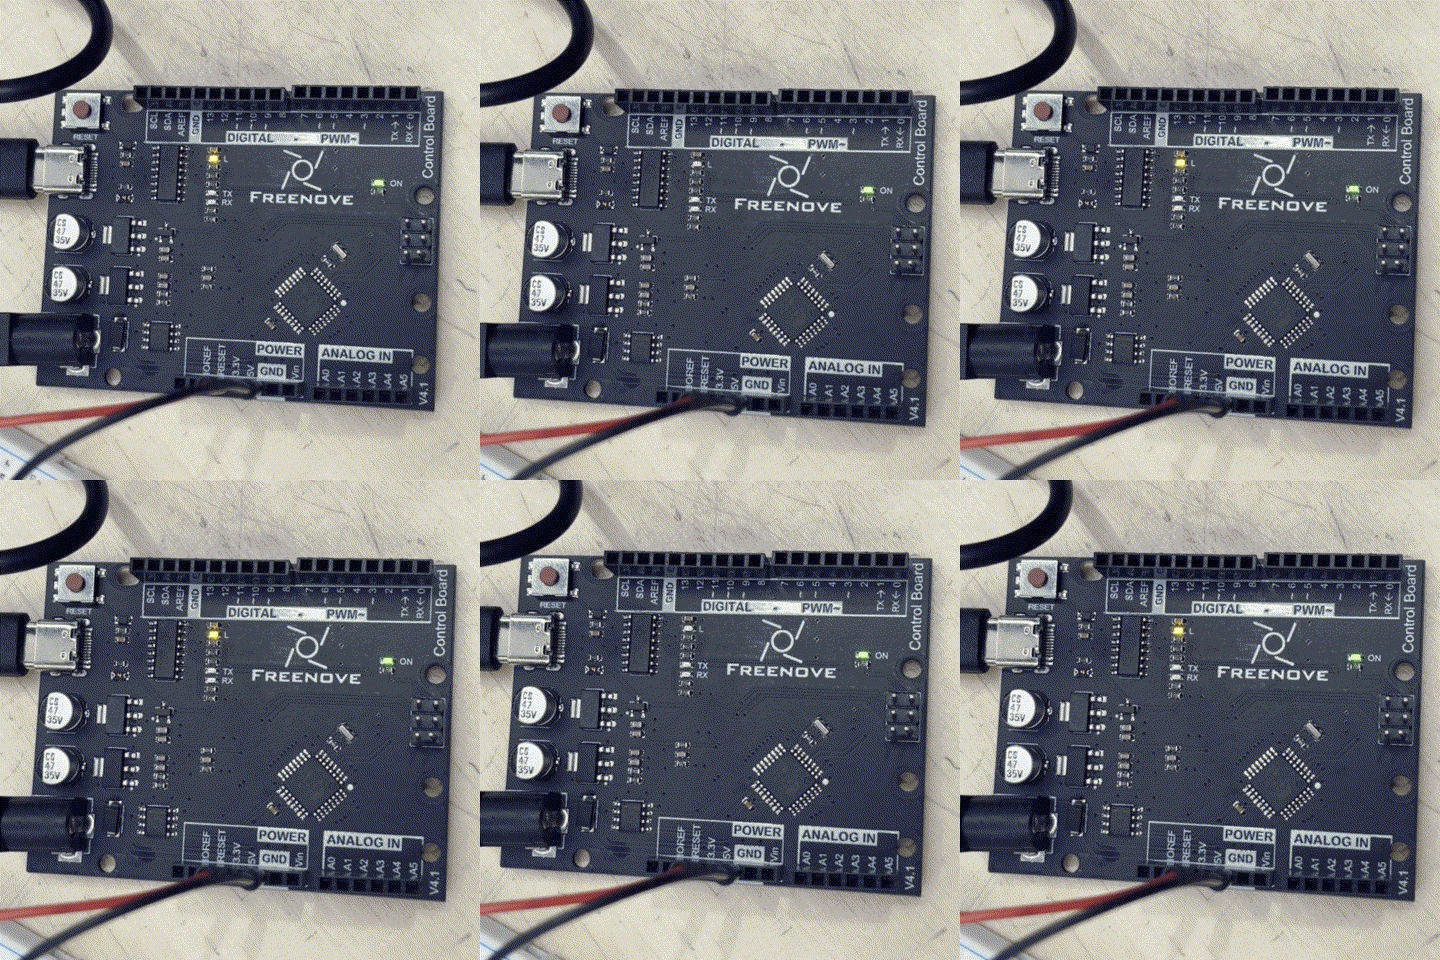
The next task wasn’t a circuit but did get us to use the Arduino IDE to upload code to make a light blink. Which we played with a little.

We were also shown how to change the output from the inbuilt led on the board to the pins, and power and external led. Which I didn’t grab any footage of : (

The final little build for this calss was to use the ultrasonic sensor to beep when it detected something in range.

  Week 8

|
|
|
|
|
|
|
|
|
|
|
|
|


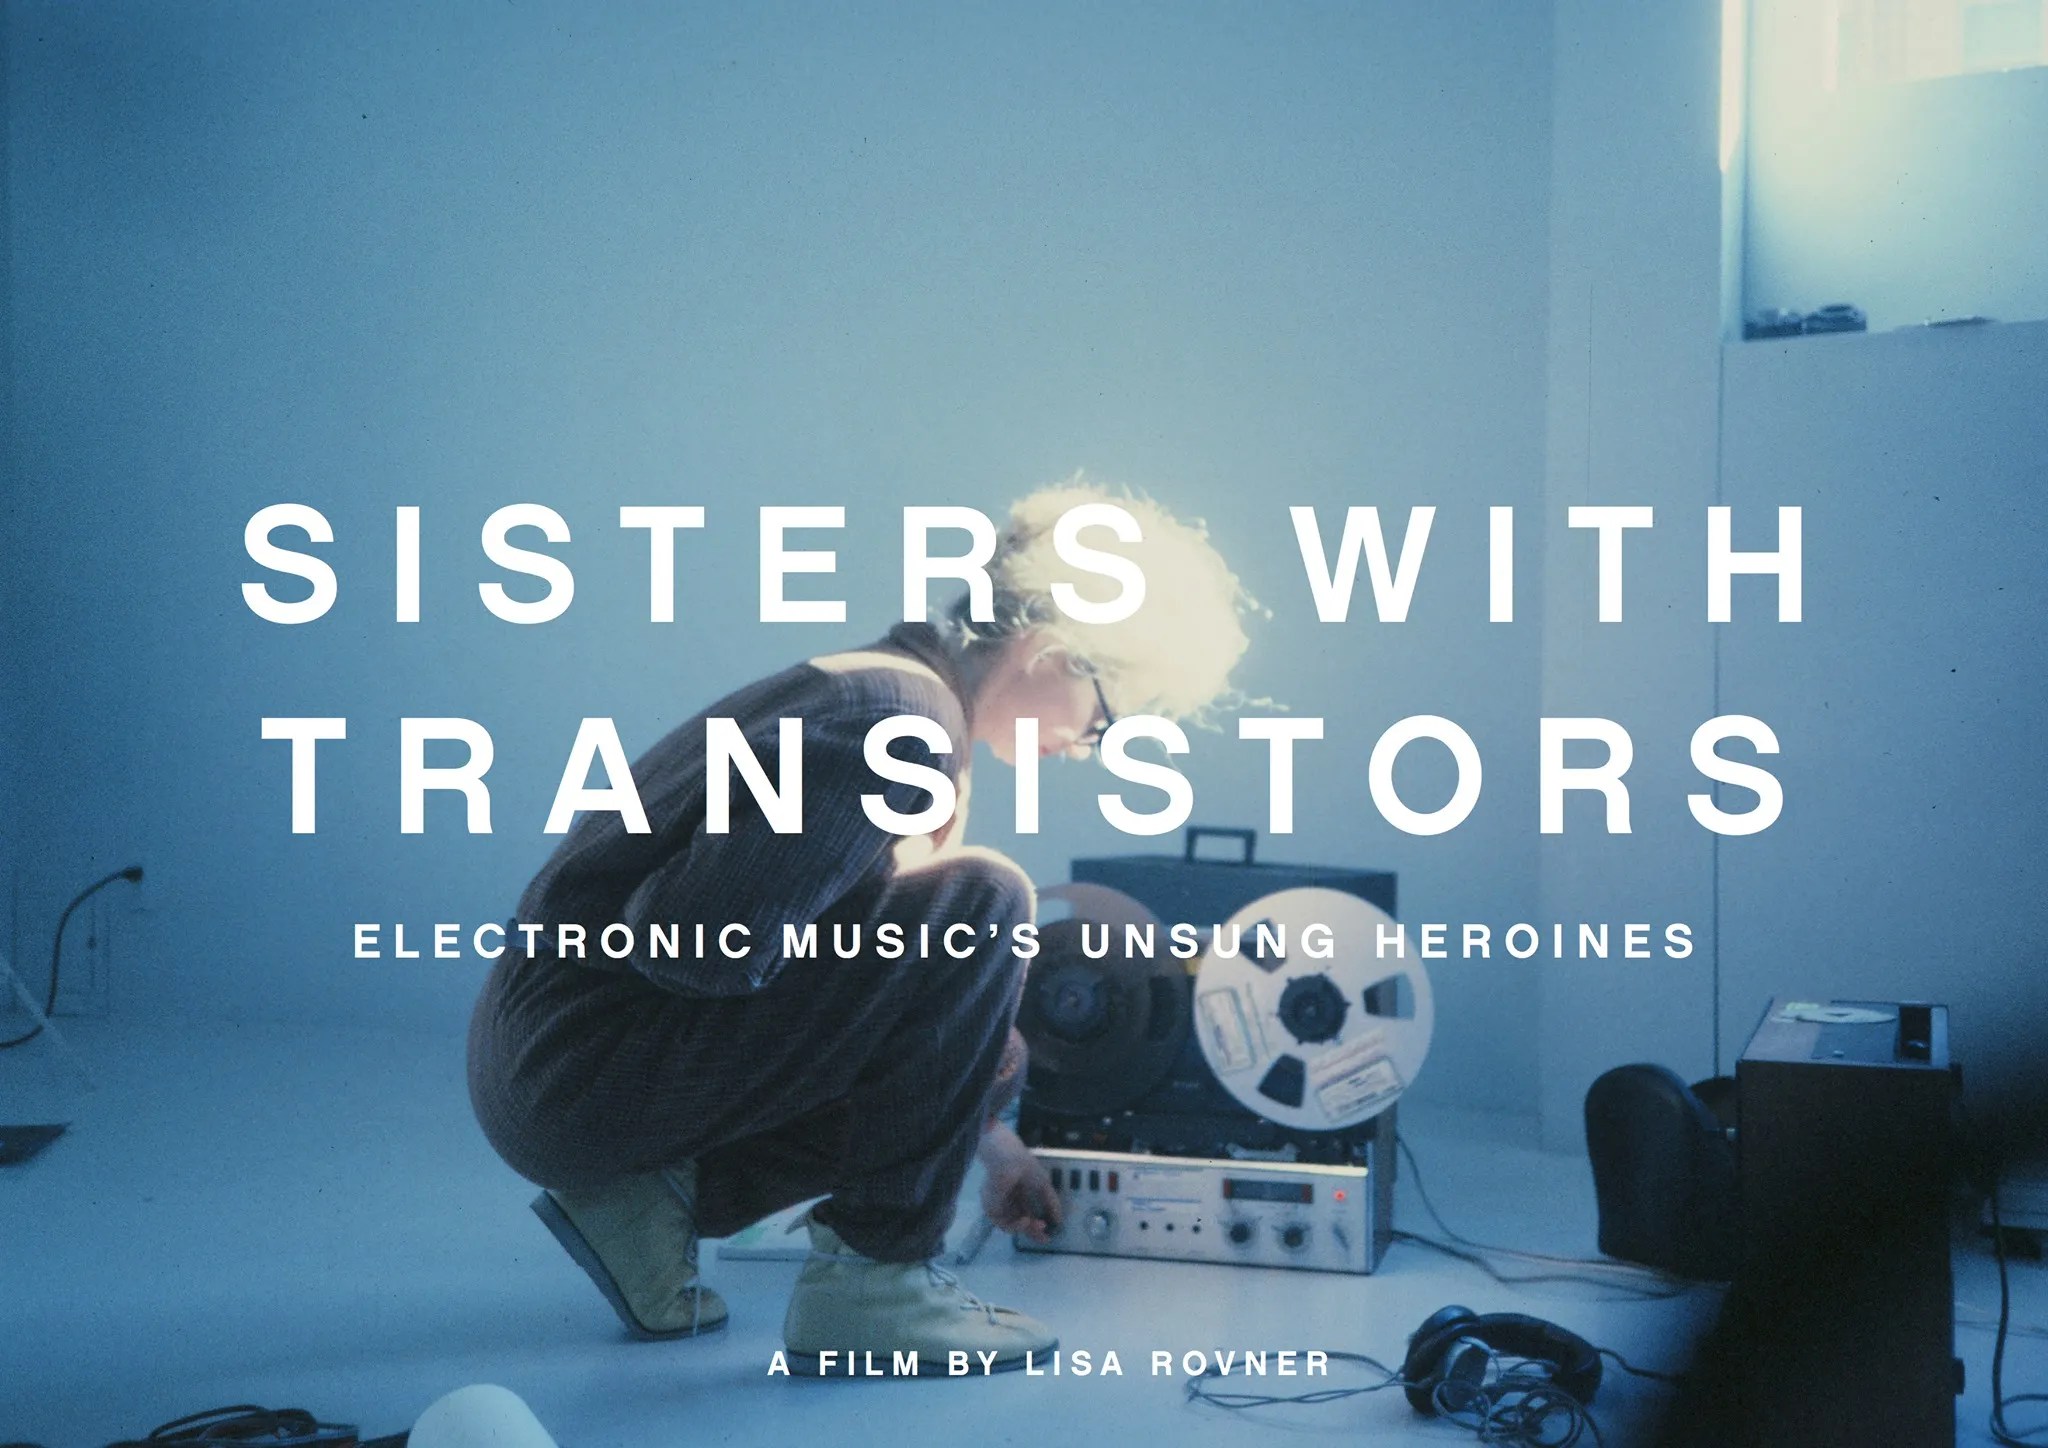
Under the recommendation of our tutors I watched the documentary ‘Sisters with Transistors’. The music they created is incredible, and feels just as radical and experimental today. The film moves mostly linearly through history. Presenting the female artists working at that time and their music, methods, practice and politics. The film never forgets the political and cultural forces that many of these women had to contend with, and it is a tragedy that I had never heard the names of any of these pioneers before this film.

|
|
|
|
|
|
|
|
|
|
|
|
|


Class for week 8 was supposedly going to be a drop in/drop out session. So I dropped in to find everyone else halfway through a lecture. From there we moved downstairs and got into playing with the Arduino starter kits. Unlike last class we only made two builds because we absolutely overreached on the second.


.
.
.
.
.
.
.
.
.
.
.
.


First thing was a build called ‘Fish Playground’. Having missed the lecture I had no clue why until a classmate Cat explained that it was for a fish tank, and when the fish swam into some seweed the device would wobble them. This was not to hard and pretty good consolidation from the previous week. We had to build the circuit, we had to upload some code, and the result was interactive.
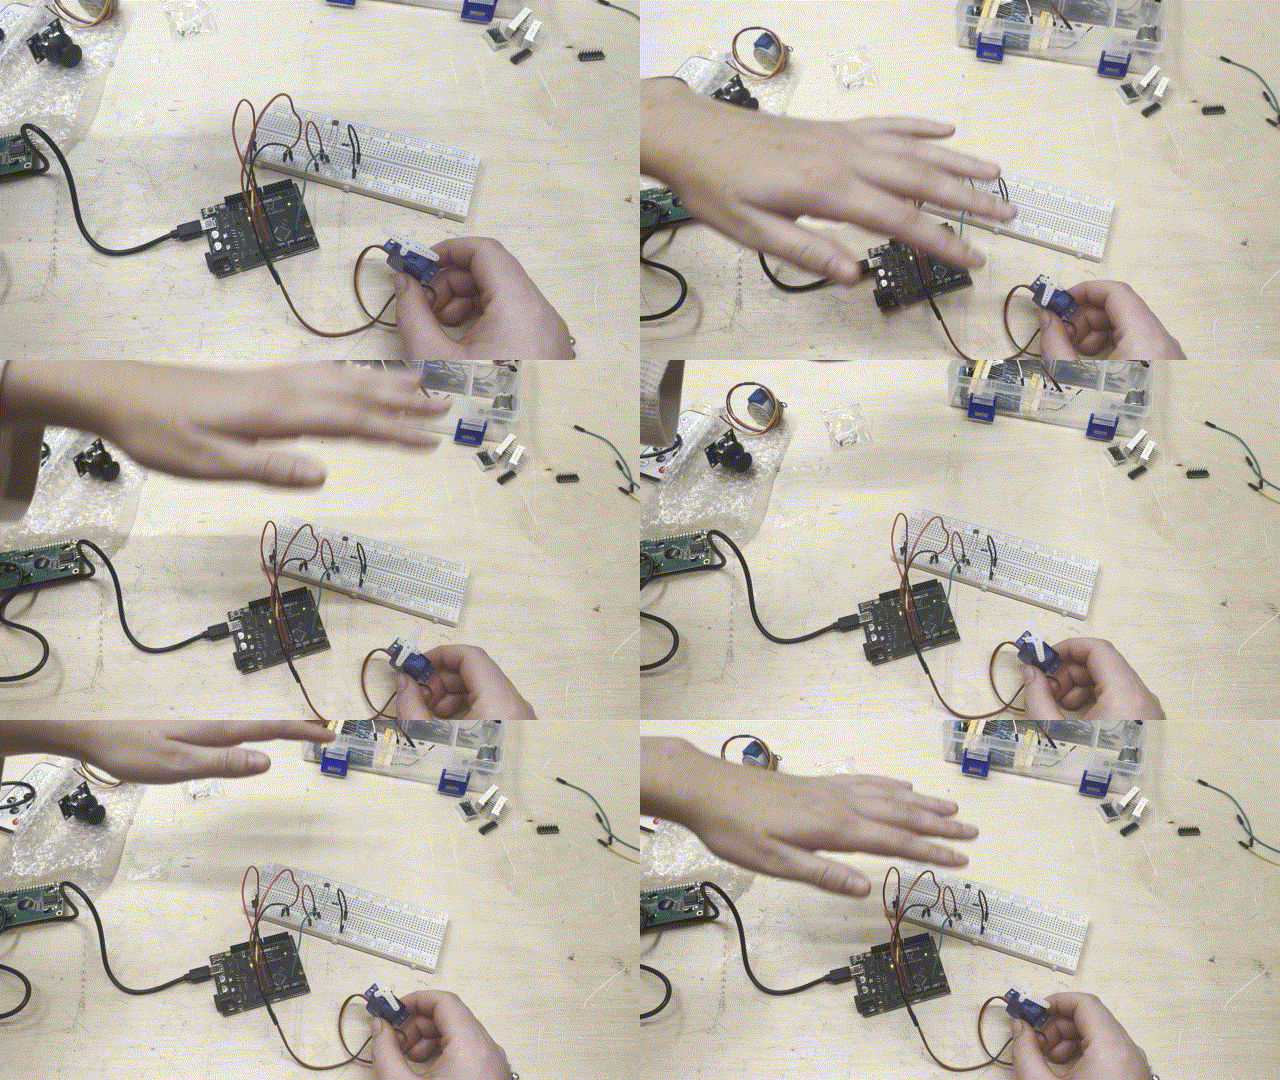
The two main parts are the Light Sensor, and the Spinny bit. When something moves over the Light Sensor and casts a dark enough shadow over it, the Spinny bit rotates 180 degrees. We played around with how dark the shadow needed to be, and made it more sensitive. This mostly resulted in the Spinny Bit vibrating between on and off as seen in the video to the left.


.
.
.
.
.
.
.
.
.
.
.
.


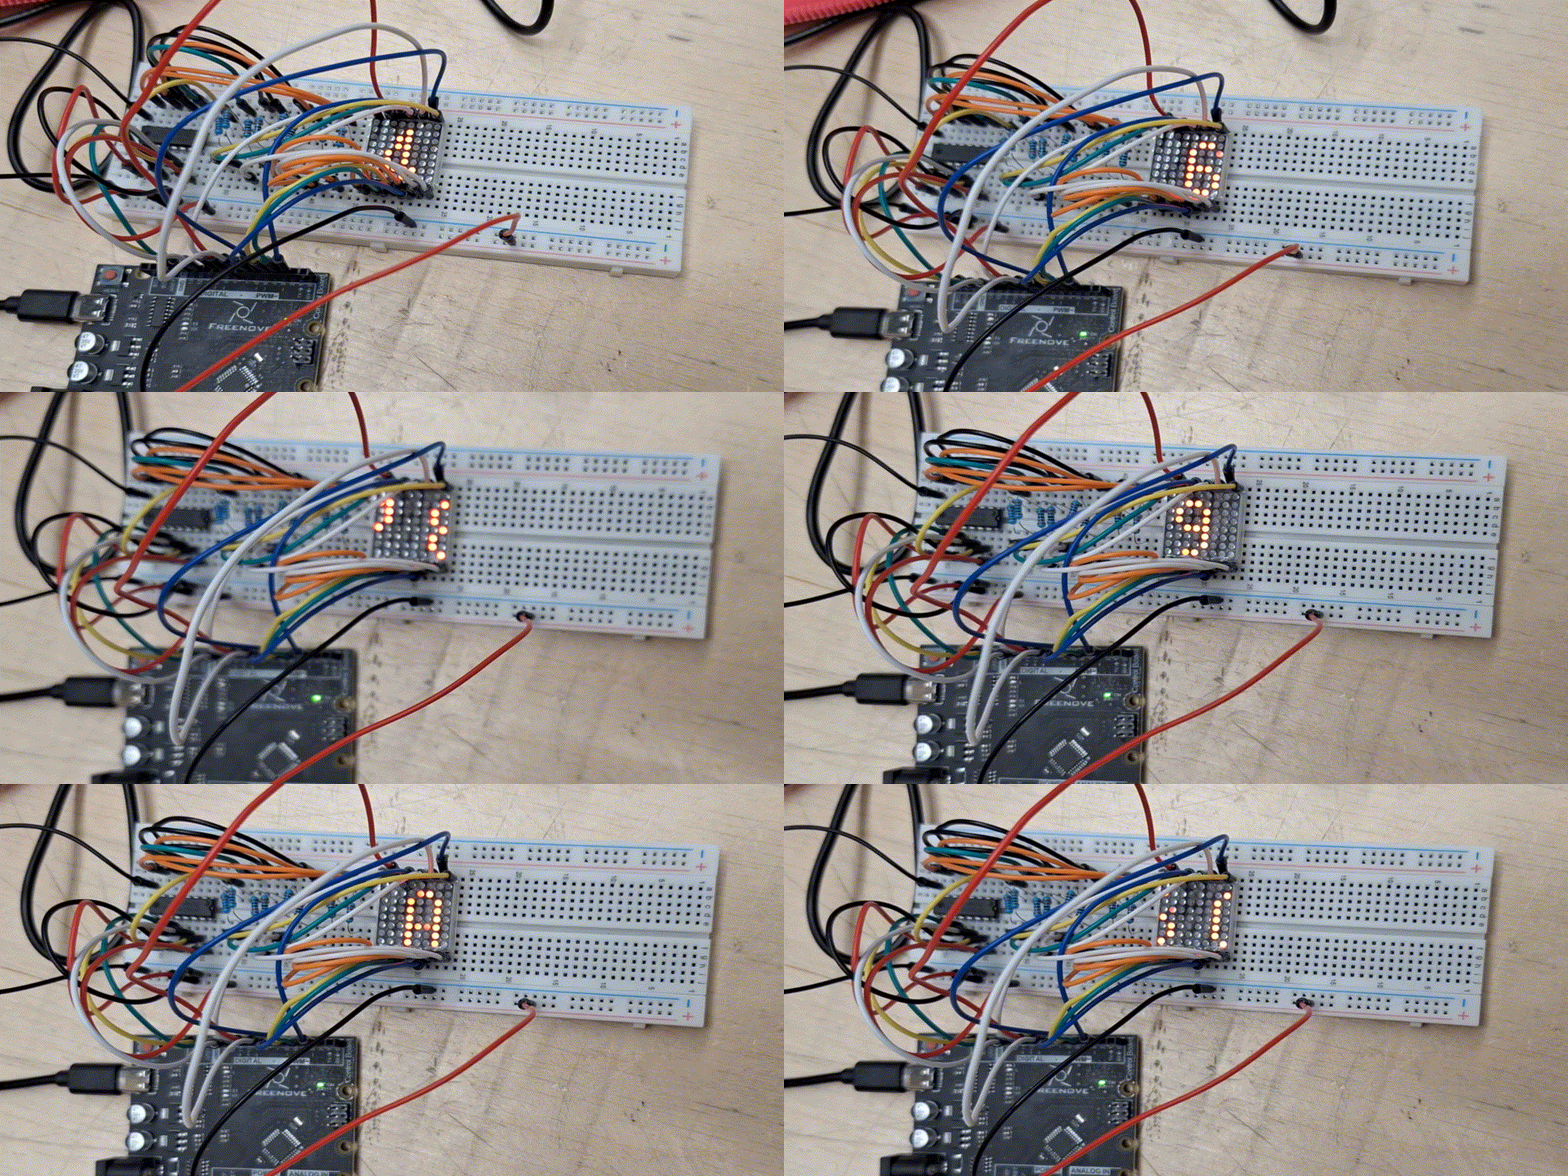
The second build was following the FREENOVE_USERGUIDE from the lms, a quite useful document with specifications on all the different components in the kit we were using, with example builds. The one we (me, Ashlea and Cat) made was on the 8x8 led display. The amount of cables required to power that thing is horrifying, and I don’t think any of us understood what half of the cables where for.
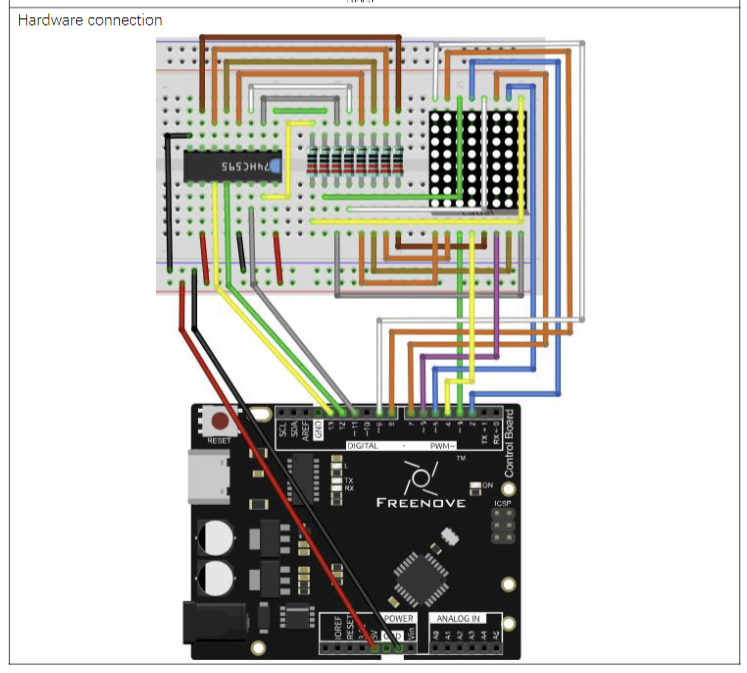
When building this circuit we made the call to space out the resistors by one place as we were afraid of the wires bumping into each other. However on the parts of the circuit I worked on I forgot we had done this and instead of lining up the wires to the resistors I lined them up as they appeared in the diagram. This completely messed up the display until Cat realised and fixed it, however it still wasn’t working properly as some rows would not light up. We think the problem was with the resistors as it magically started working after we poked the resistors a bit. We didn’t change anything we just poked them and voila, it worked.
We then tried to make our own images display on the chip. Which took the rest of the class and fried our brains a little. First thing was to design the image, I made some random horizontal lines as the image was scrolling to the left. To turn this image into a form that the Arduino code could use each horizontal (vertical?) row had to be converted into a 4 digit code. Through the subject resources we found a site that would do the conversion for us. It kinda sucked as the only way we could get the right output was to give it an image of 8x8 pixels. Photoshop was not made to edit images this small and working at this scale was not fun.

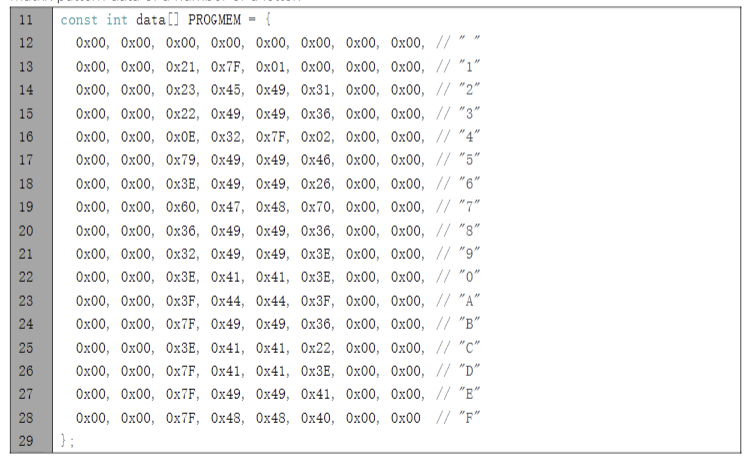
We put this into the code, It didn’t work. We changed the image encoding from horizontal to vertical (I’m 90% sure vertical worked correctly) and it was better. We tried to reduce the number of images in the code. The default was to scroll through a blank image, then 0-9, then a-f. To the right is the code for this sequence, each row is one frame.
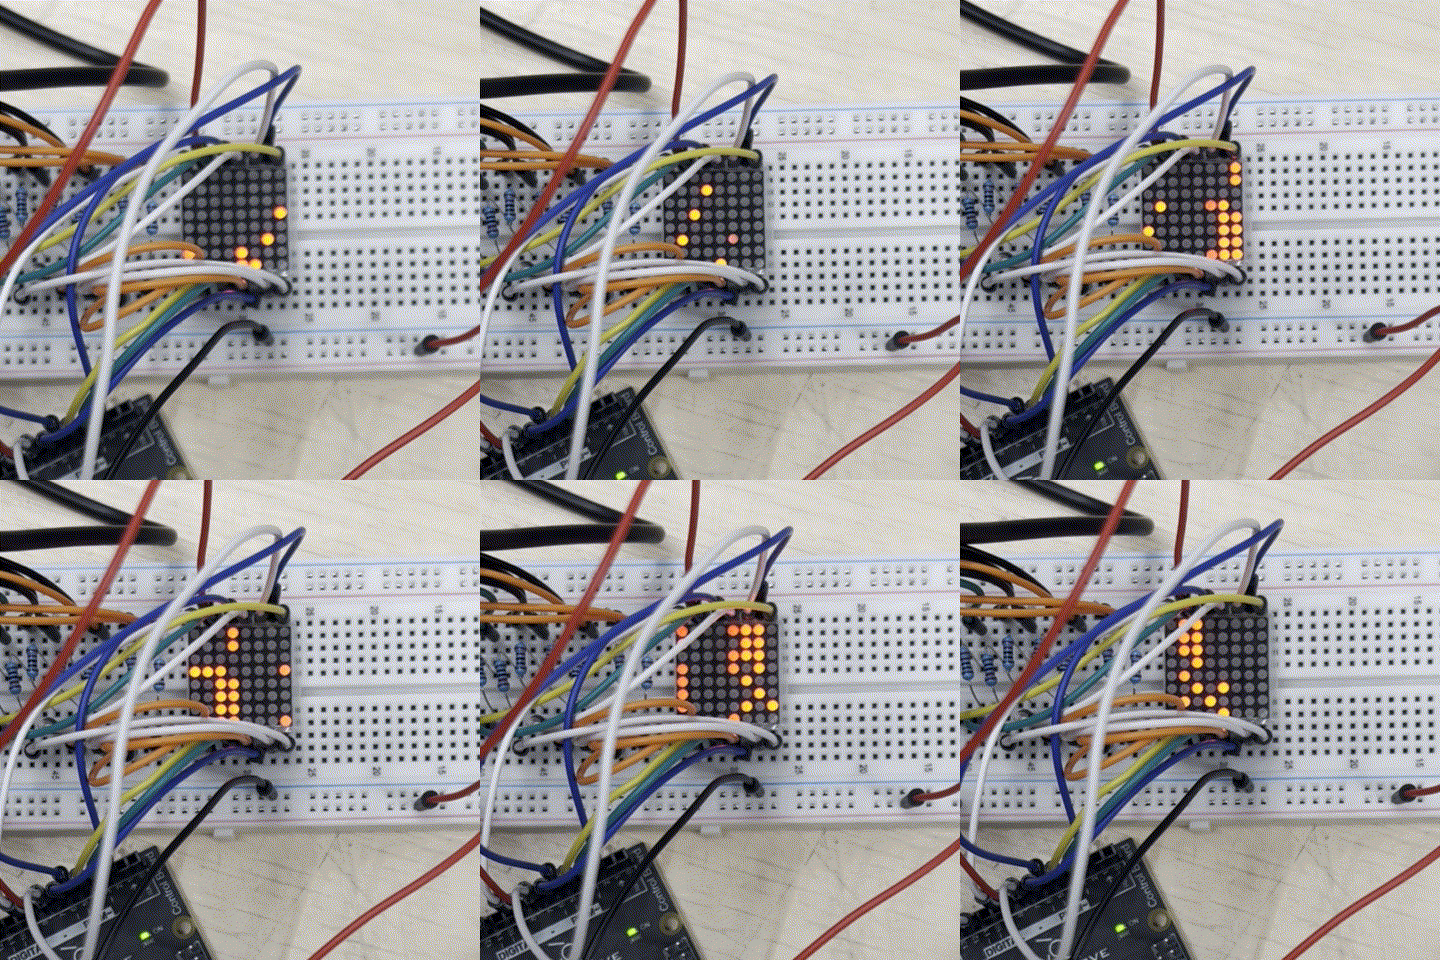
What we wanted was to scroll through a blank image, then our image. So we added our image after the blank frame, and commented out all the other frames. This didn’t work and really broke the code. It would show nothing, then our image would scroll in, then it would move through a random sequence of pixels. Interestingly it was the same sequence each time.
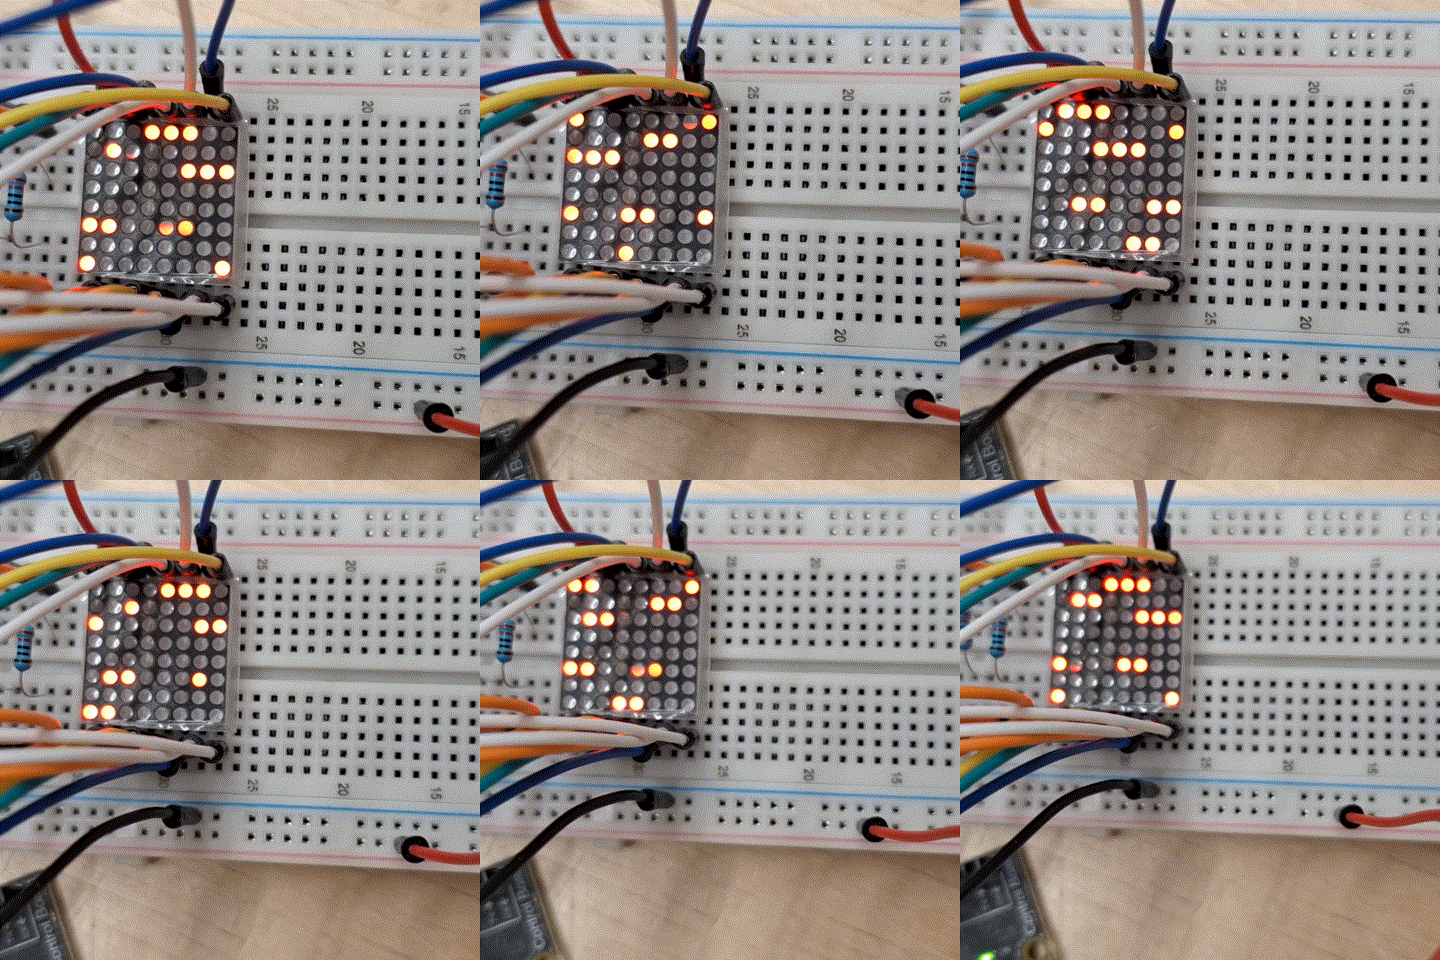
Cat and Ashlea fixed it by replacing all of the original images with our custom image. In the code that looked like an array with 18 elements which were all identical. This made our image loop forever and seamlessly, creating a wave/water like effect.

|
|
|
|
|
|
|
|
|
|
|
|
|


I also found time this week to visit Not Natural, the current exhibition at the Science Gallery in Melbourne. The theme for the exhibition was about our relationship to nature. Particularly focusing on our control over it and whether that separates us from nature, or if it is just another natural process. Humans manipulate the environment, but so do beavers and ants.


.
.
.
.
.
.
.
.
.
.
.
.


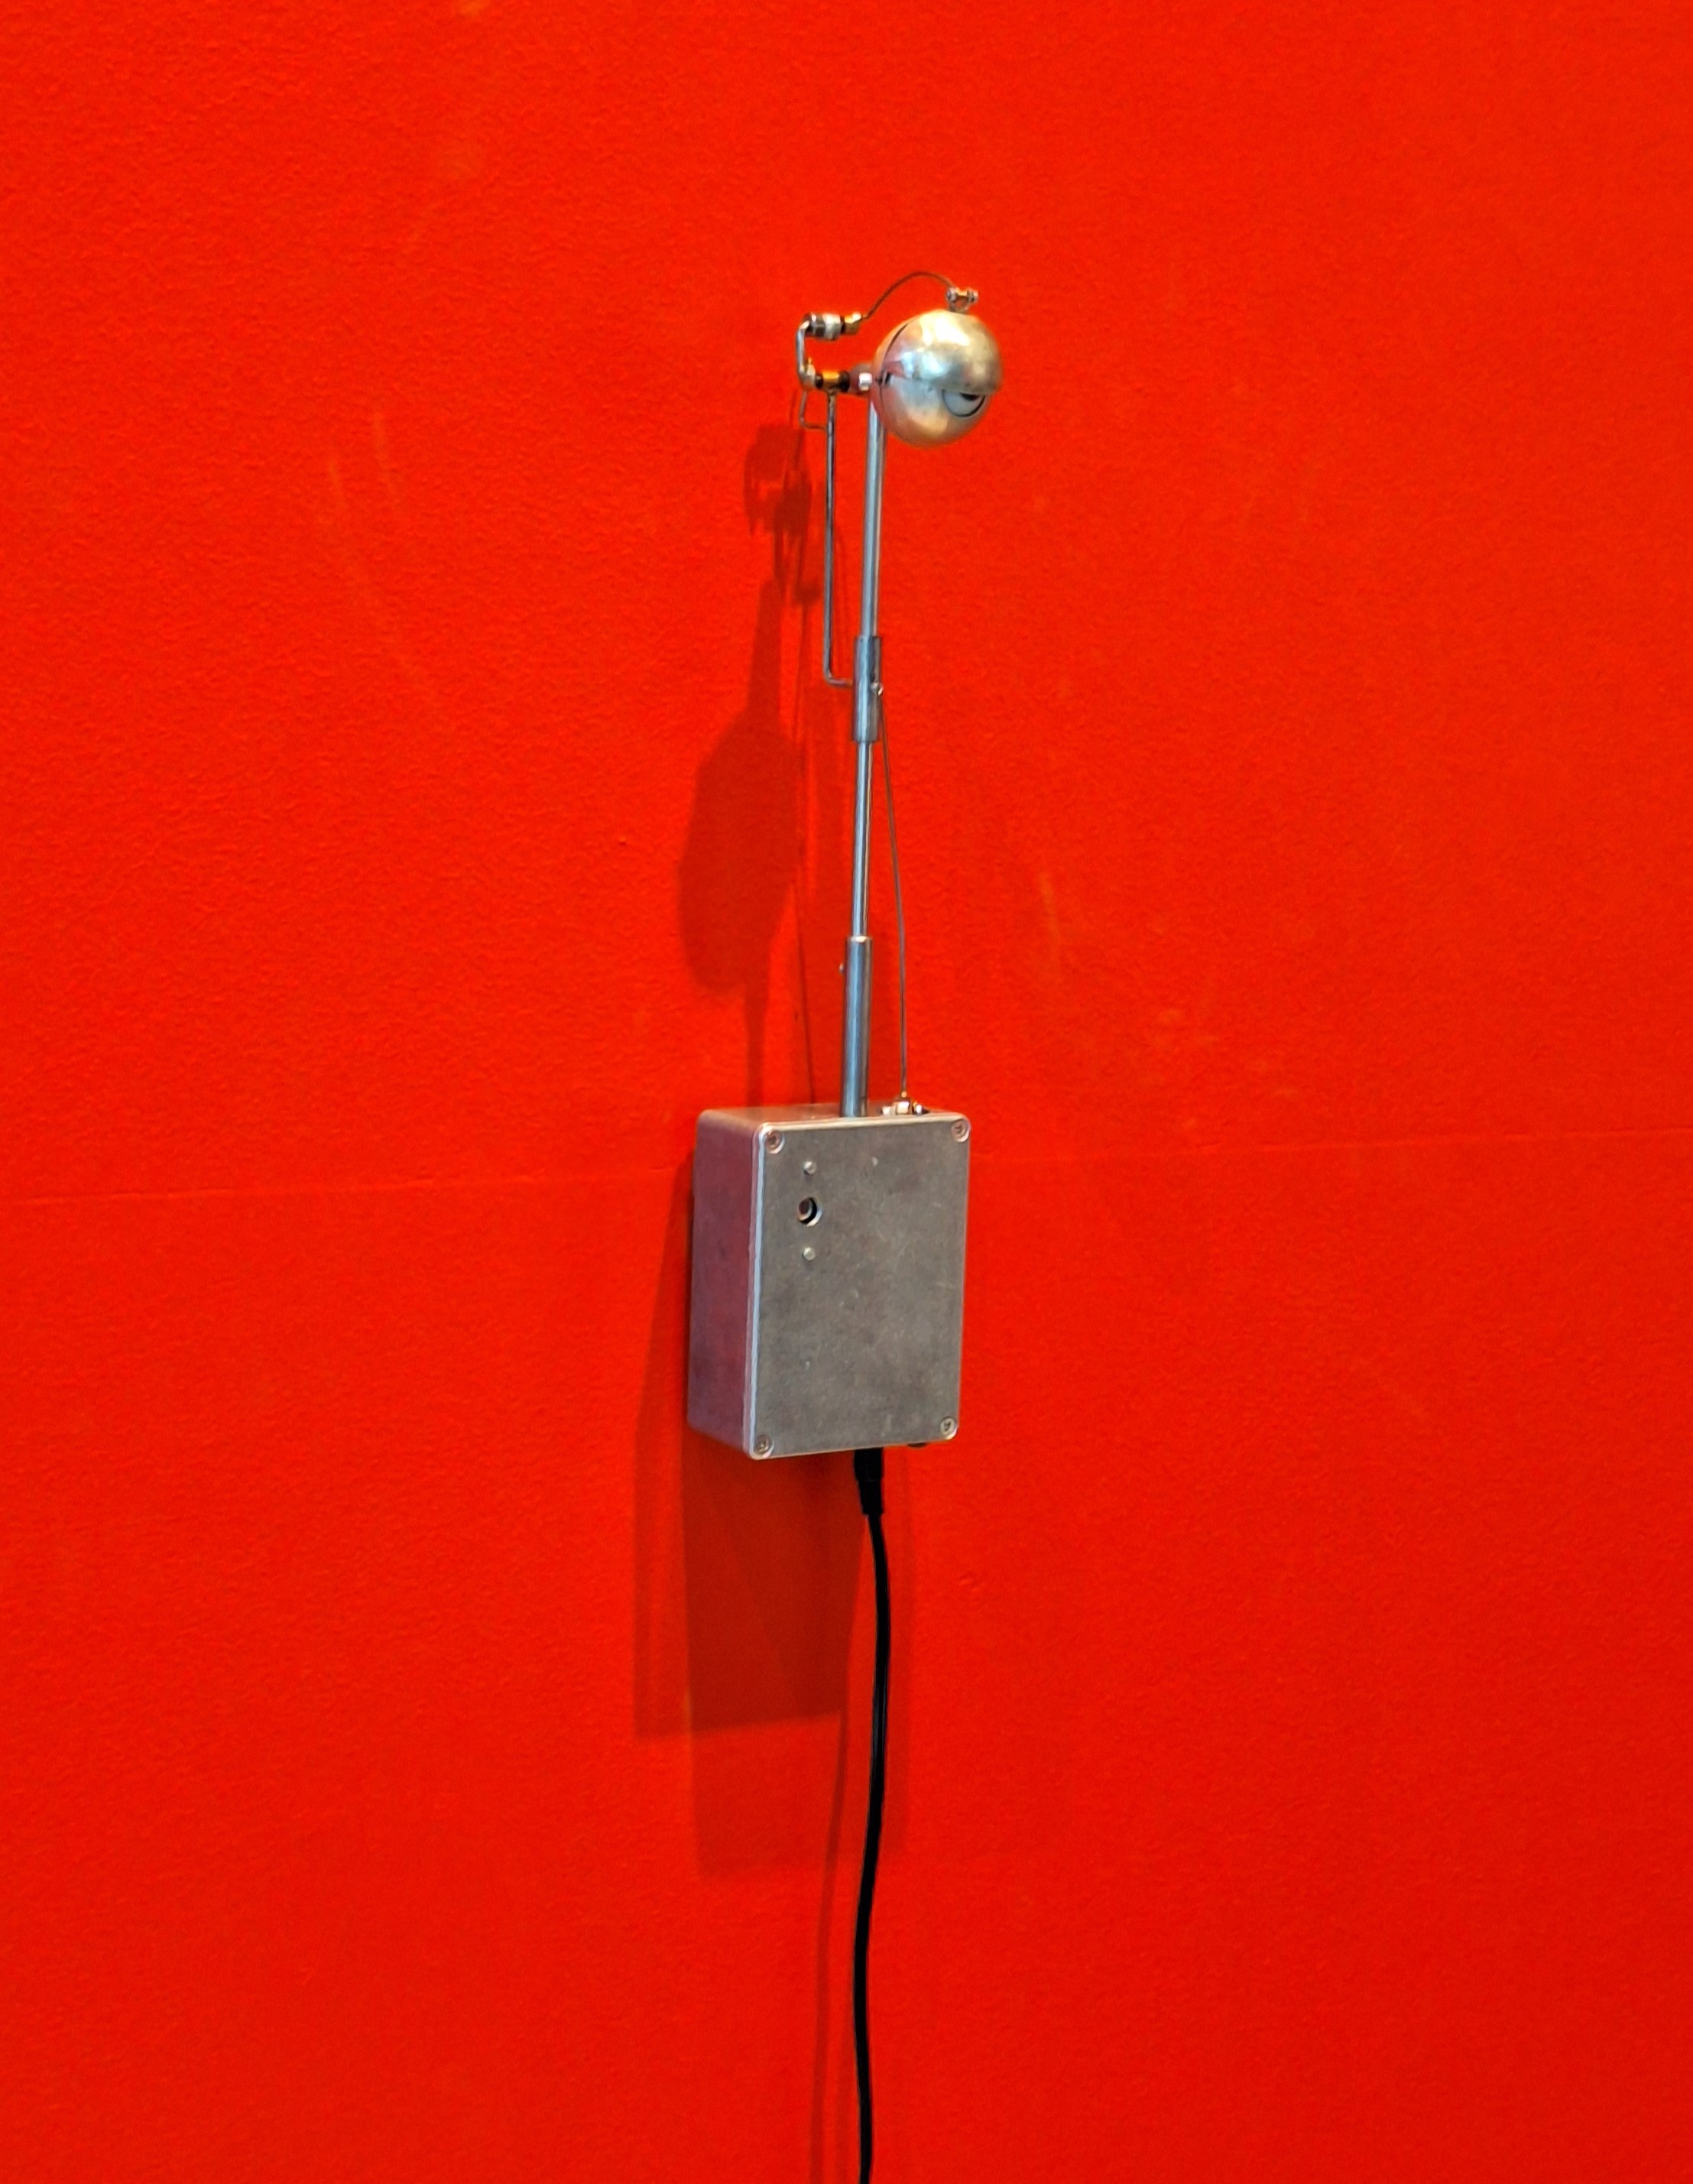
Blink, Jim Bond

This was the work I had the most engagement with. While the sculpture of a robotic eye doesn’t move, I could hear a randomised tick coming from within every few seconds. While reading the description I realised I hadn’t heard that tick/blink in a while, so as was suggested I entered a staring contest with the eye. It didn’t blink. It’s unexpected change in behaviour from the regular, if erratic, tick to silence as I stared was oddly discomforting.
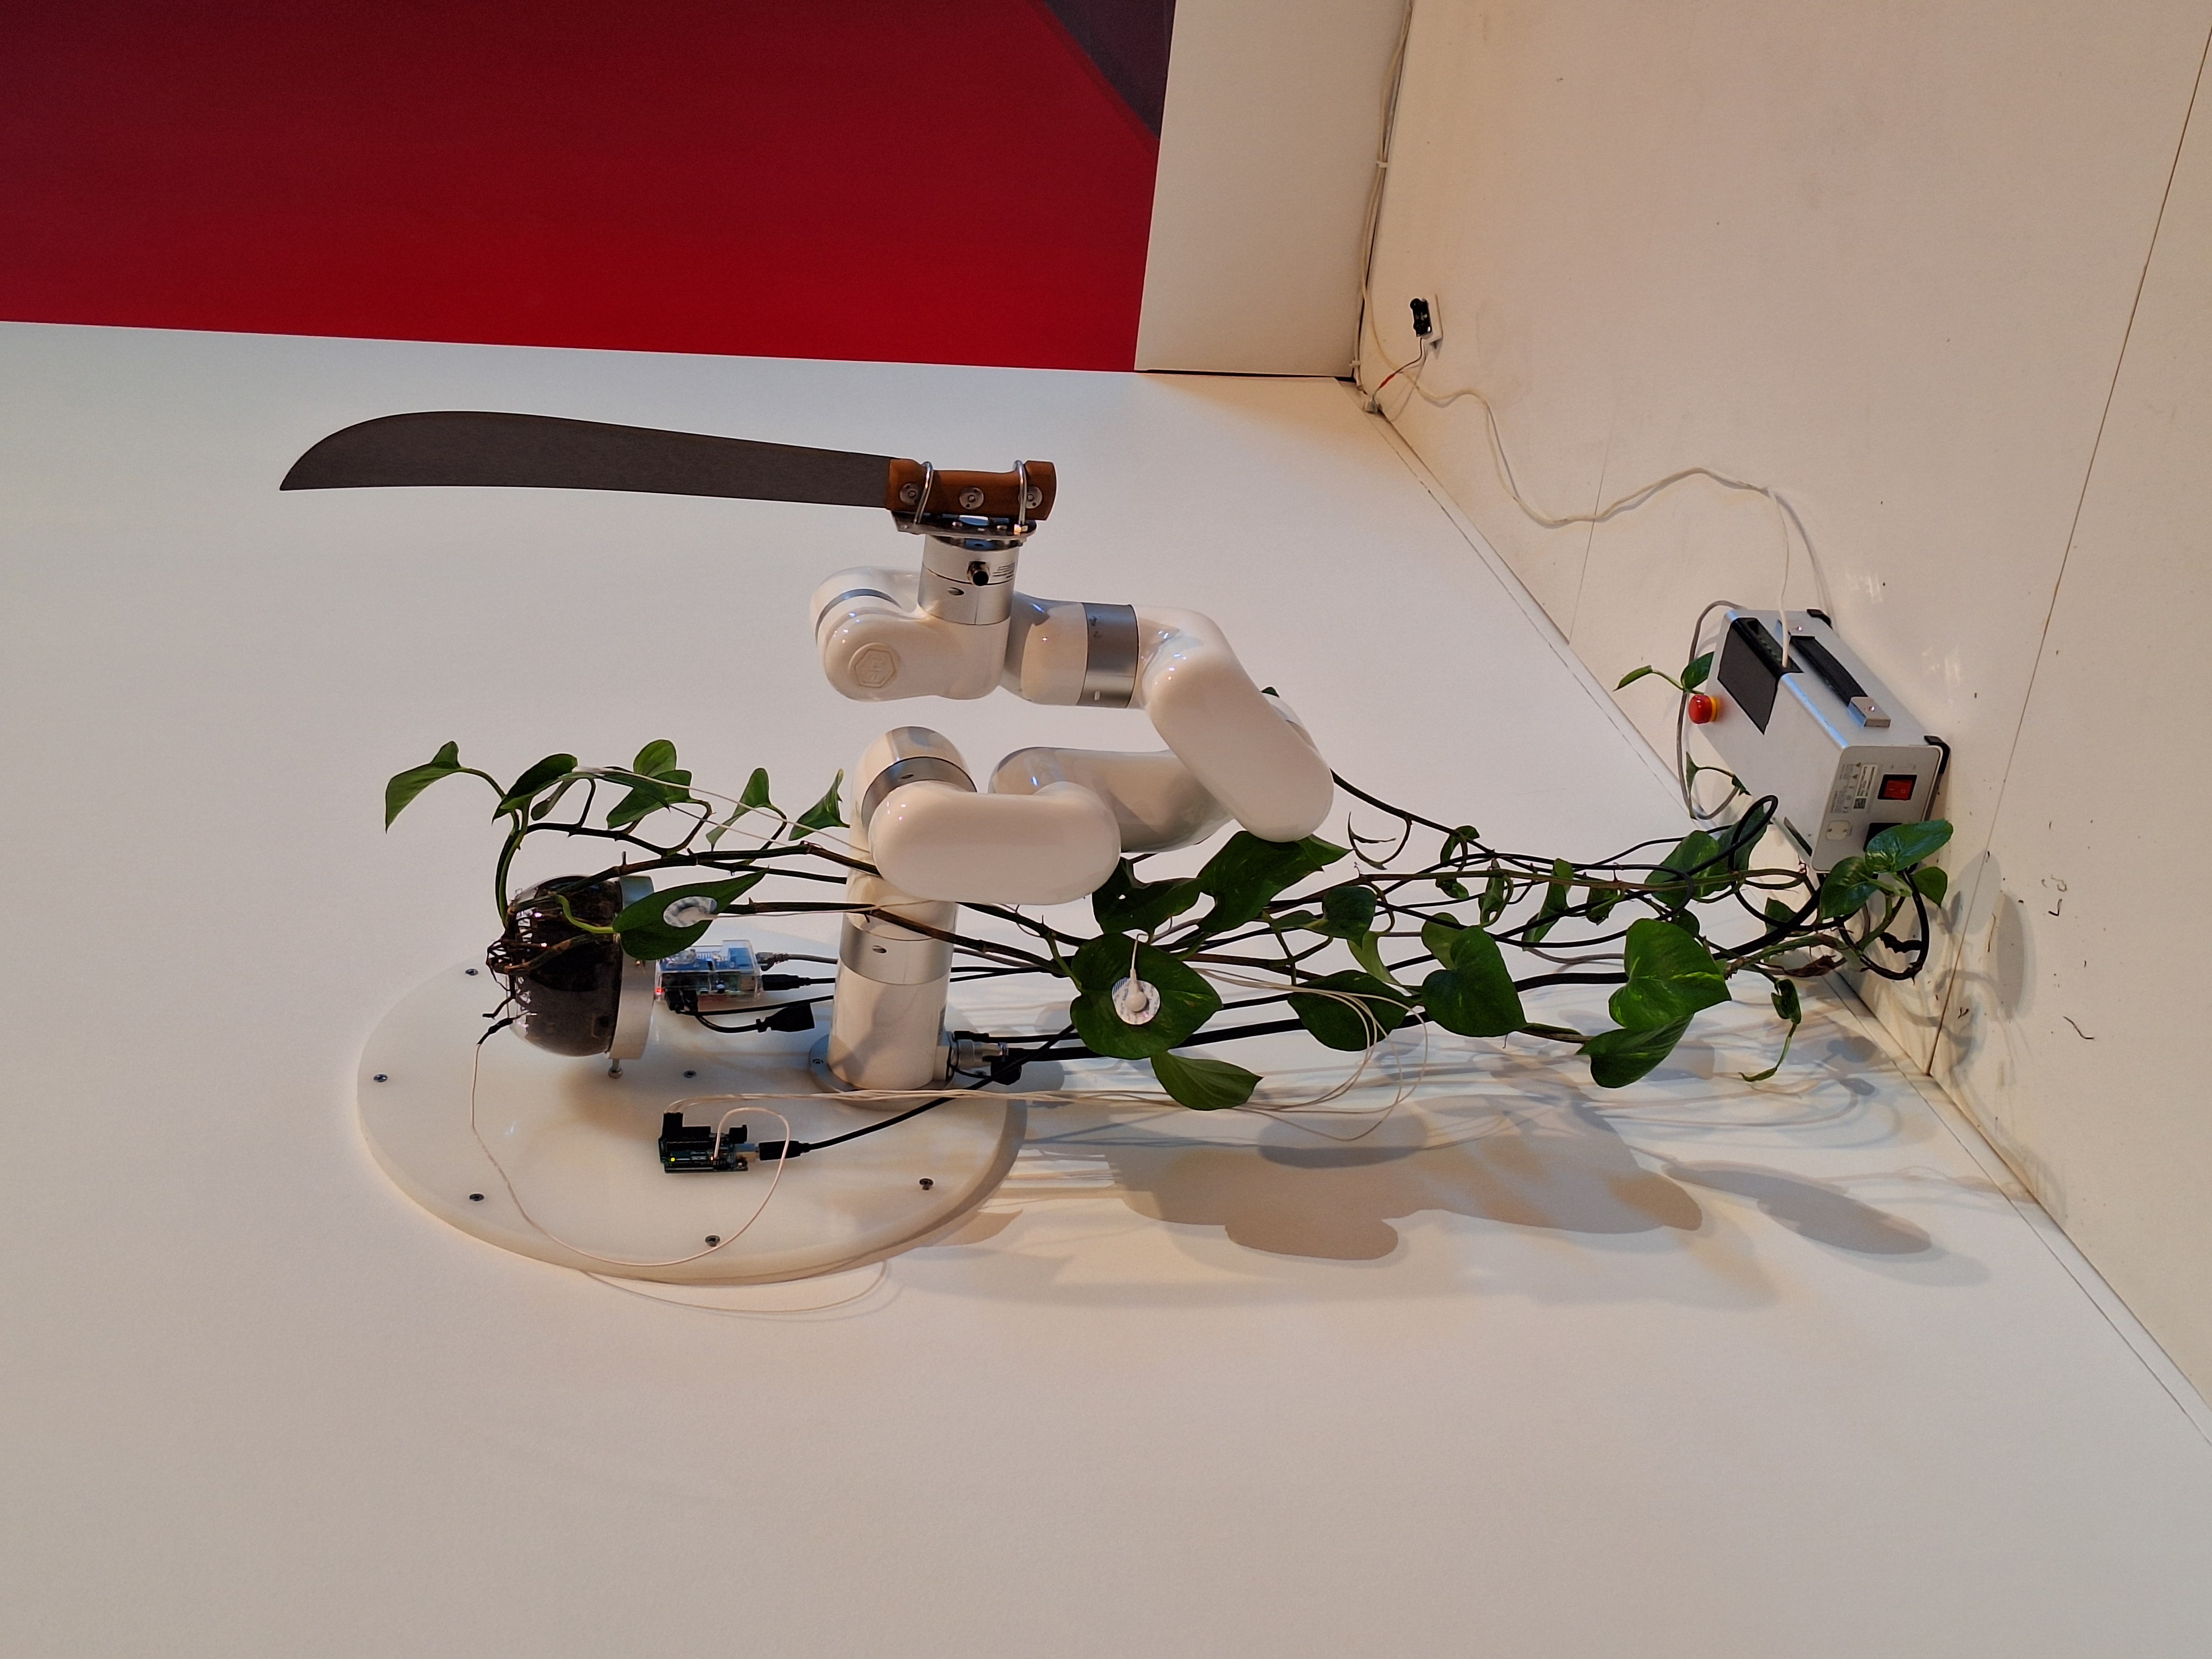
Plant Machete, David Bowen

Another cool work, but I really wanted to see the plant move the machete. Supposedly the plant can use the machete to defined itself if anyone approaches, and the sensors attached to the plant further suggest it’s own agency. However the area around the plant is sectioned off so no one can approach close enough to trigger it. And I could see other spatial sensors which I assume is what would trigger the plants response. Which makes me question if the sensors on the plant functional or if they are merely sculptural. I wonder if they could have had the plant point the machete at guests when they approach, following them around the space as a menacing warning.
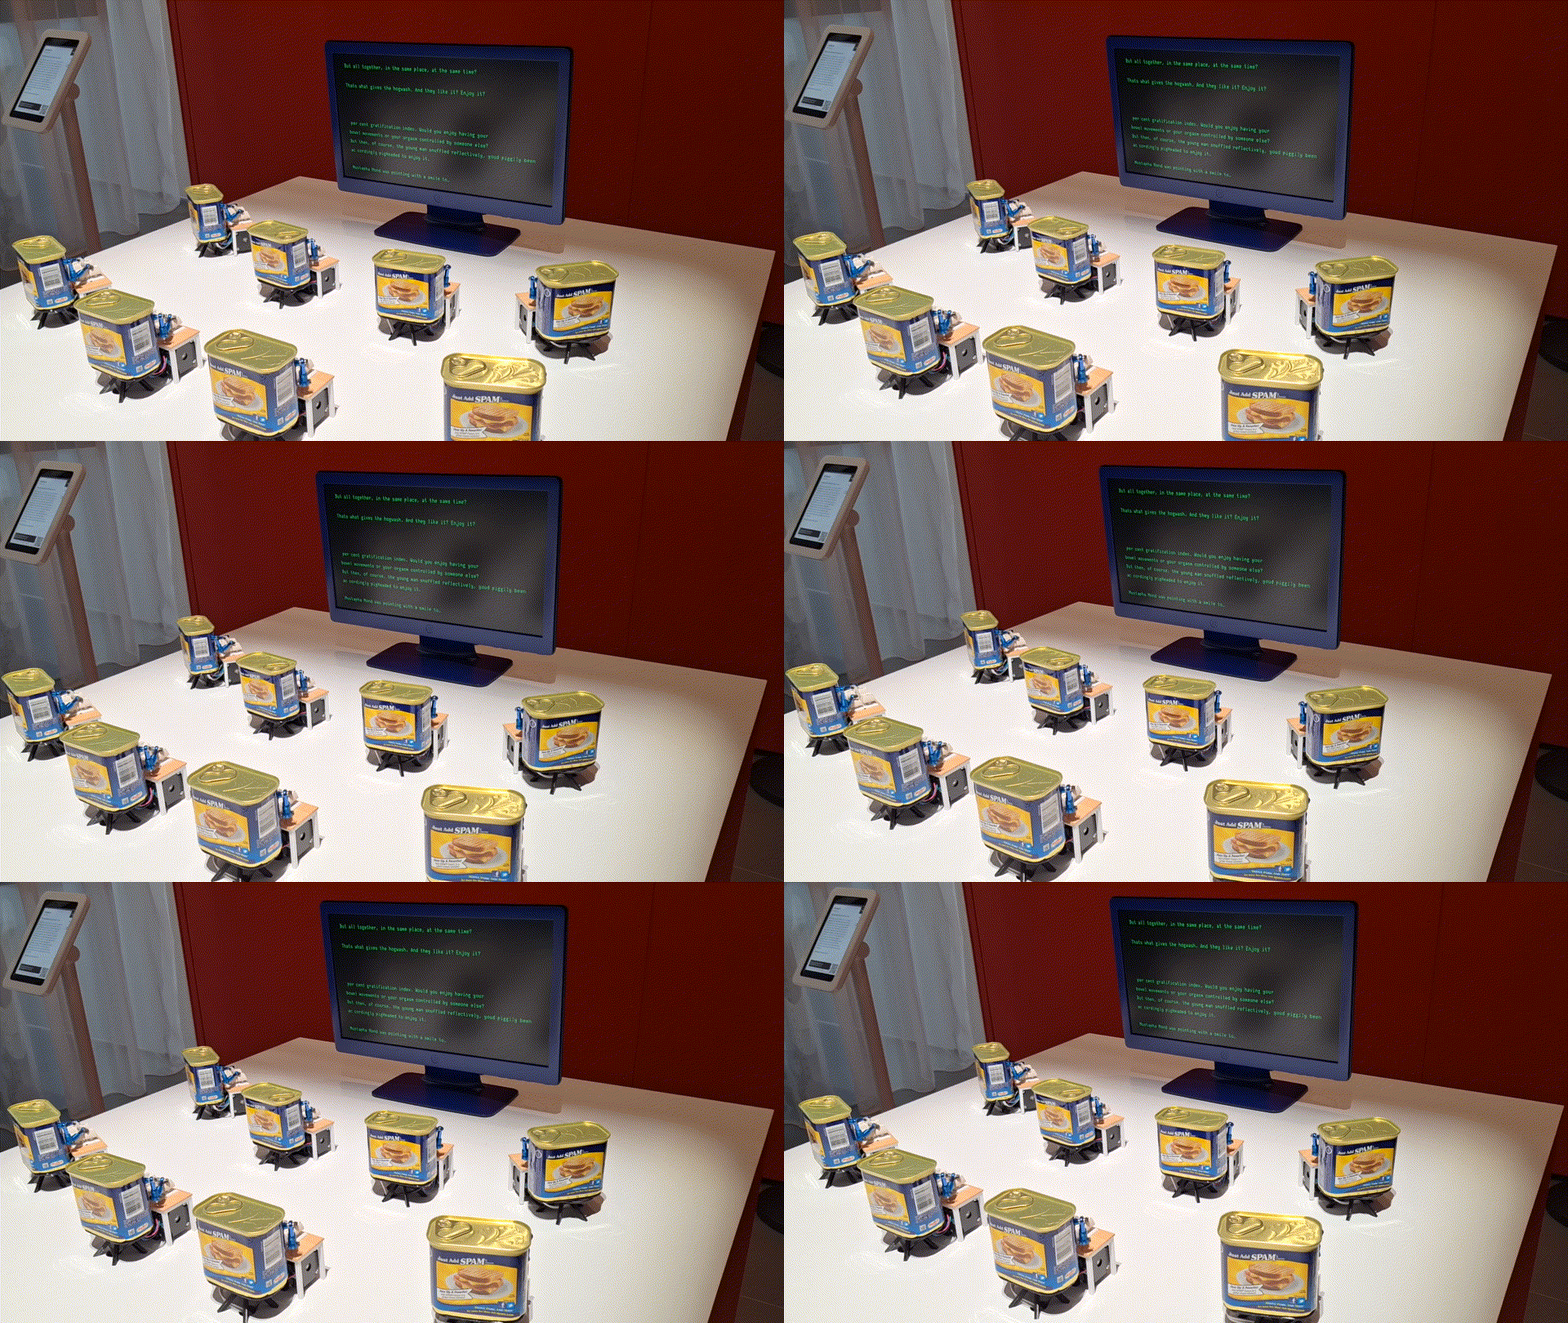
Spambots, Neil Mendoza

An adorable visual pun. Manages to connect to surprisingly grand themes in a fairly small and restrained presentation.
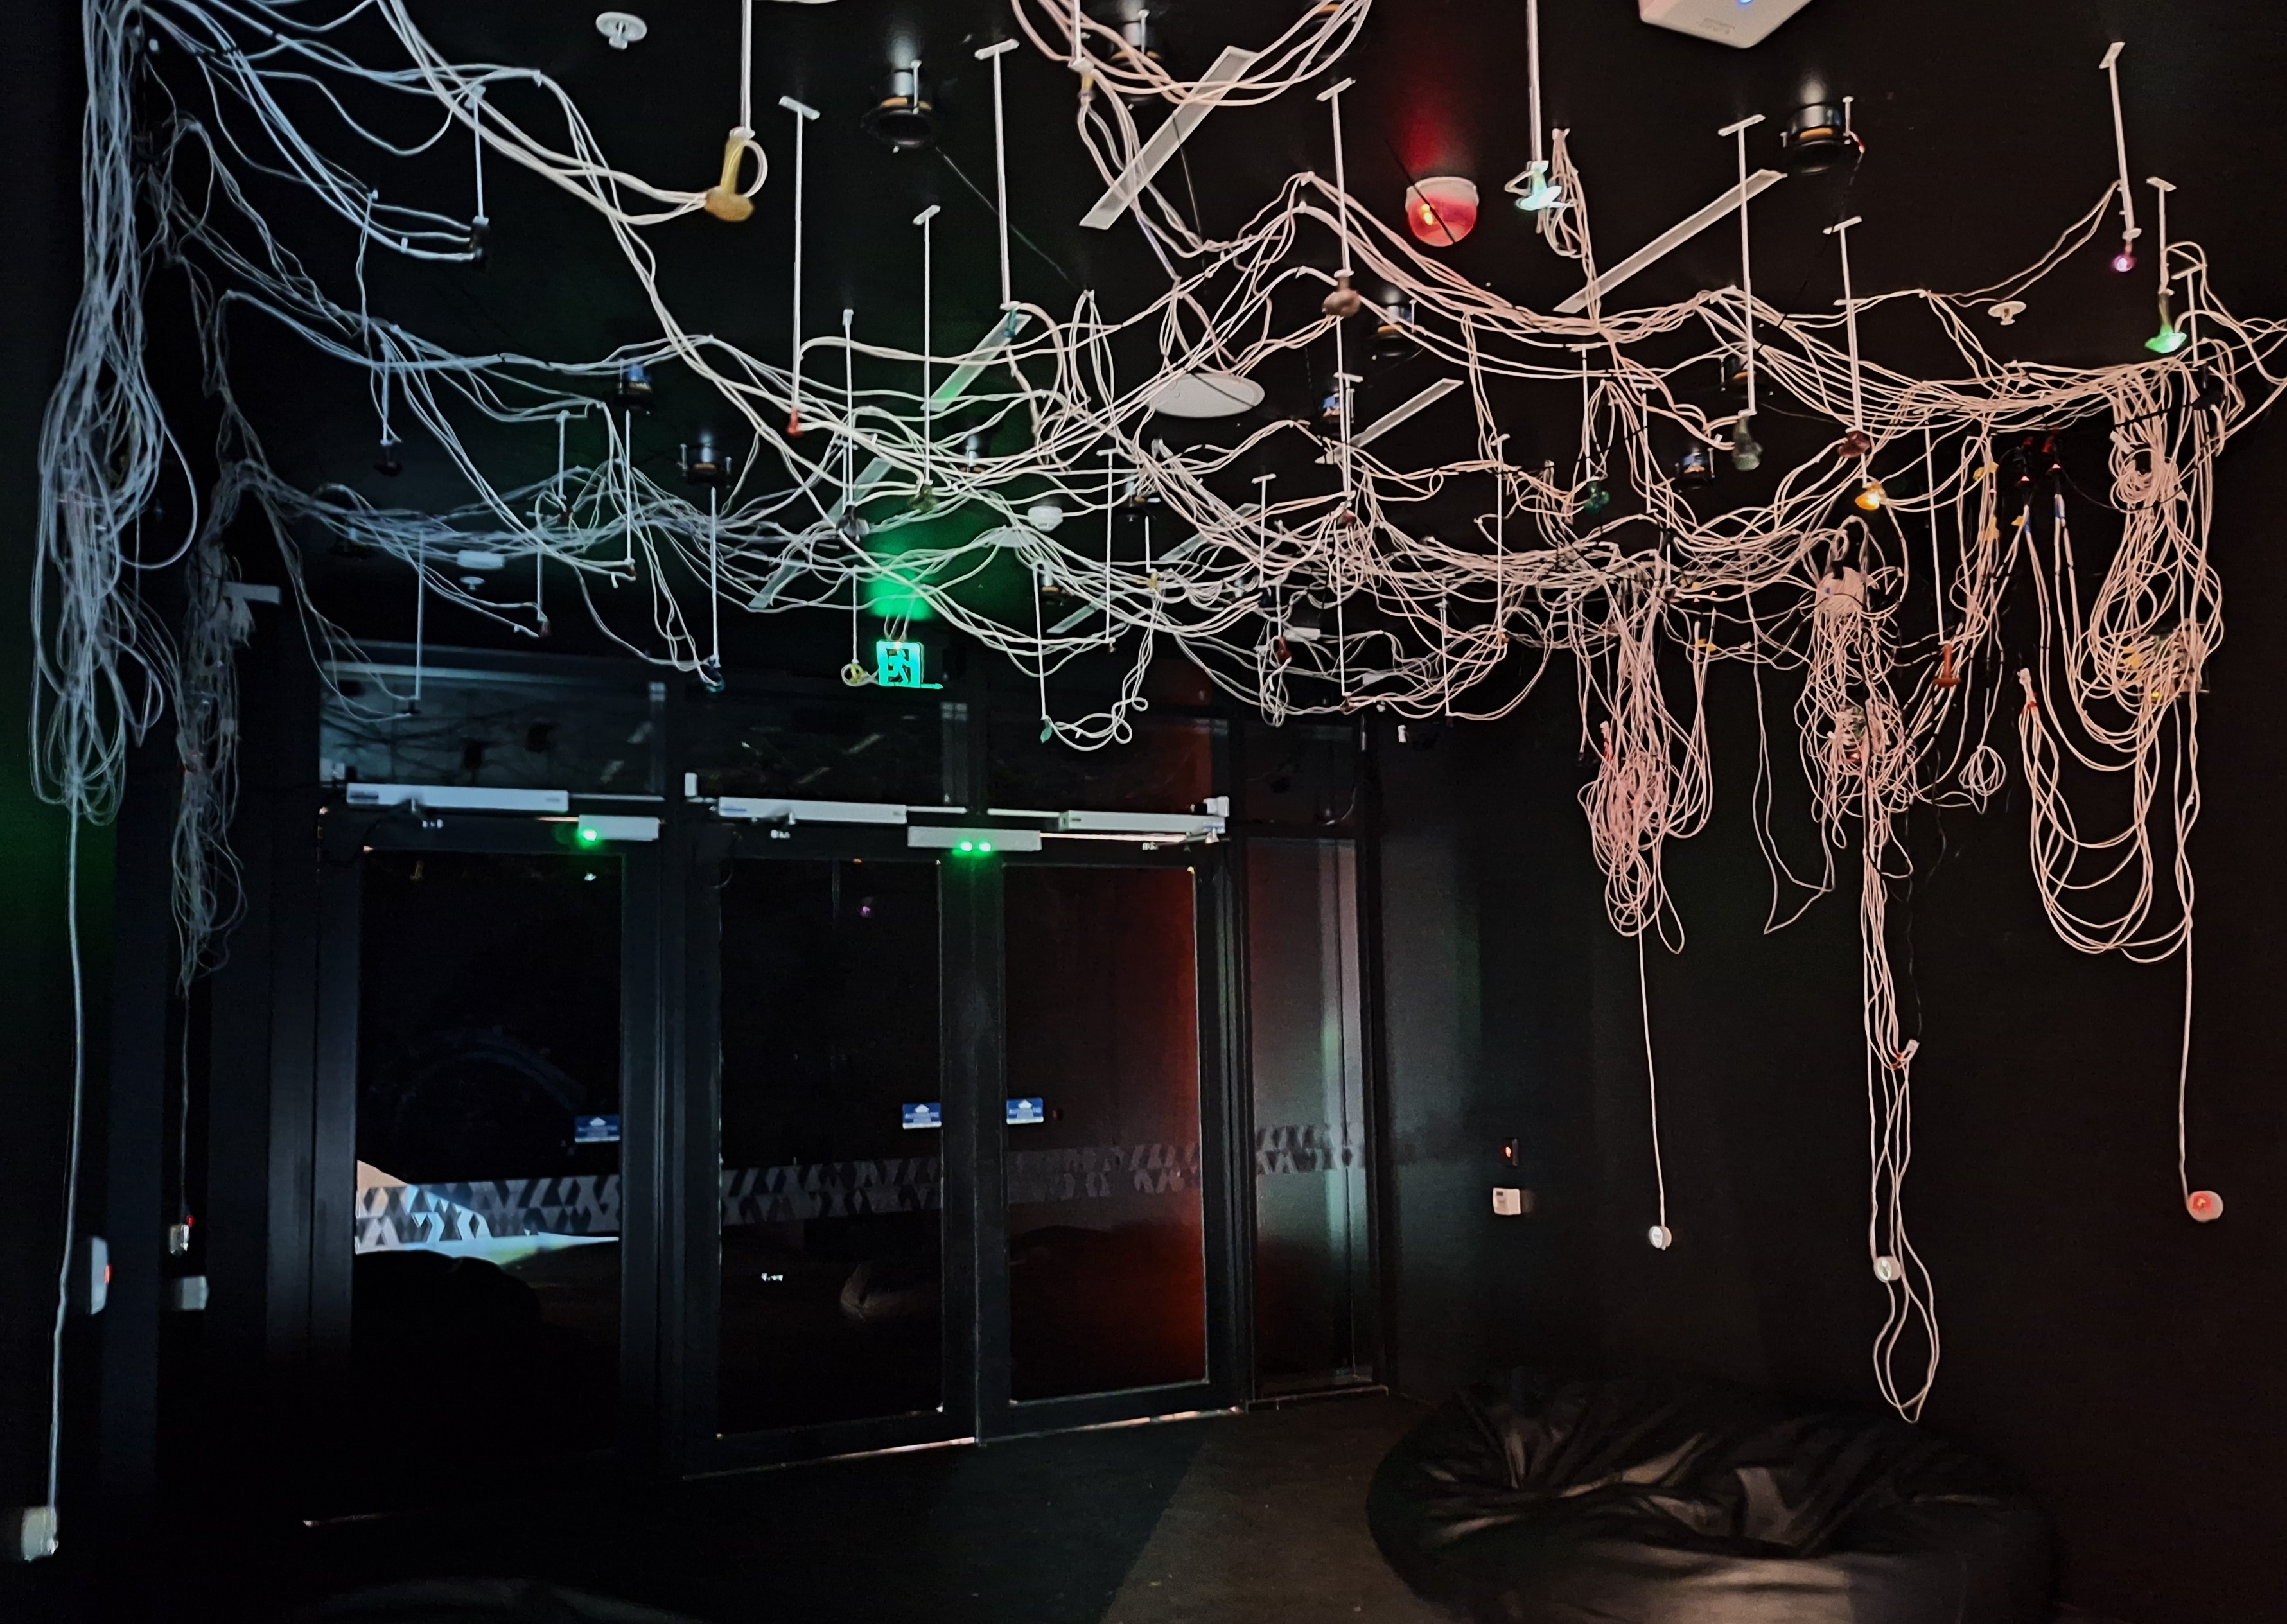
In Oscillation, Amélie Brindamour

A lovely work imitating the mycorrhizal network. Loved the sound buzz it had but the interactions seem under developed. Press a button and a light turns on.
  Week 9

|
|
|
|
|
|
|
|
|
|
|
|
|


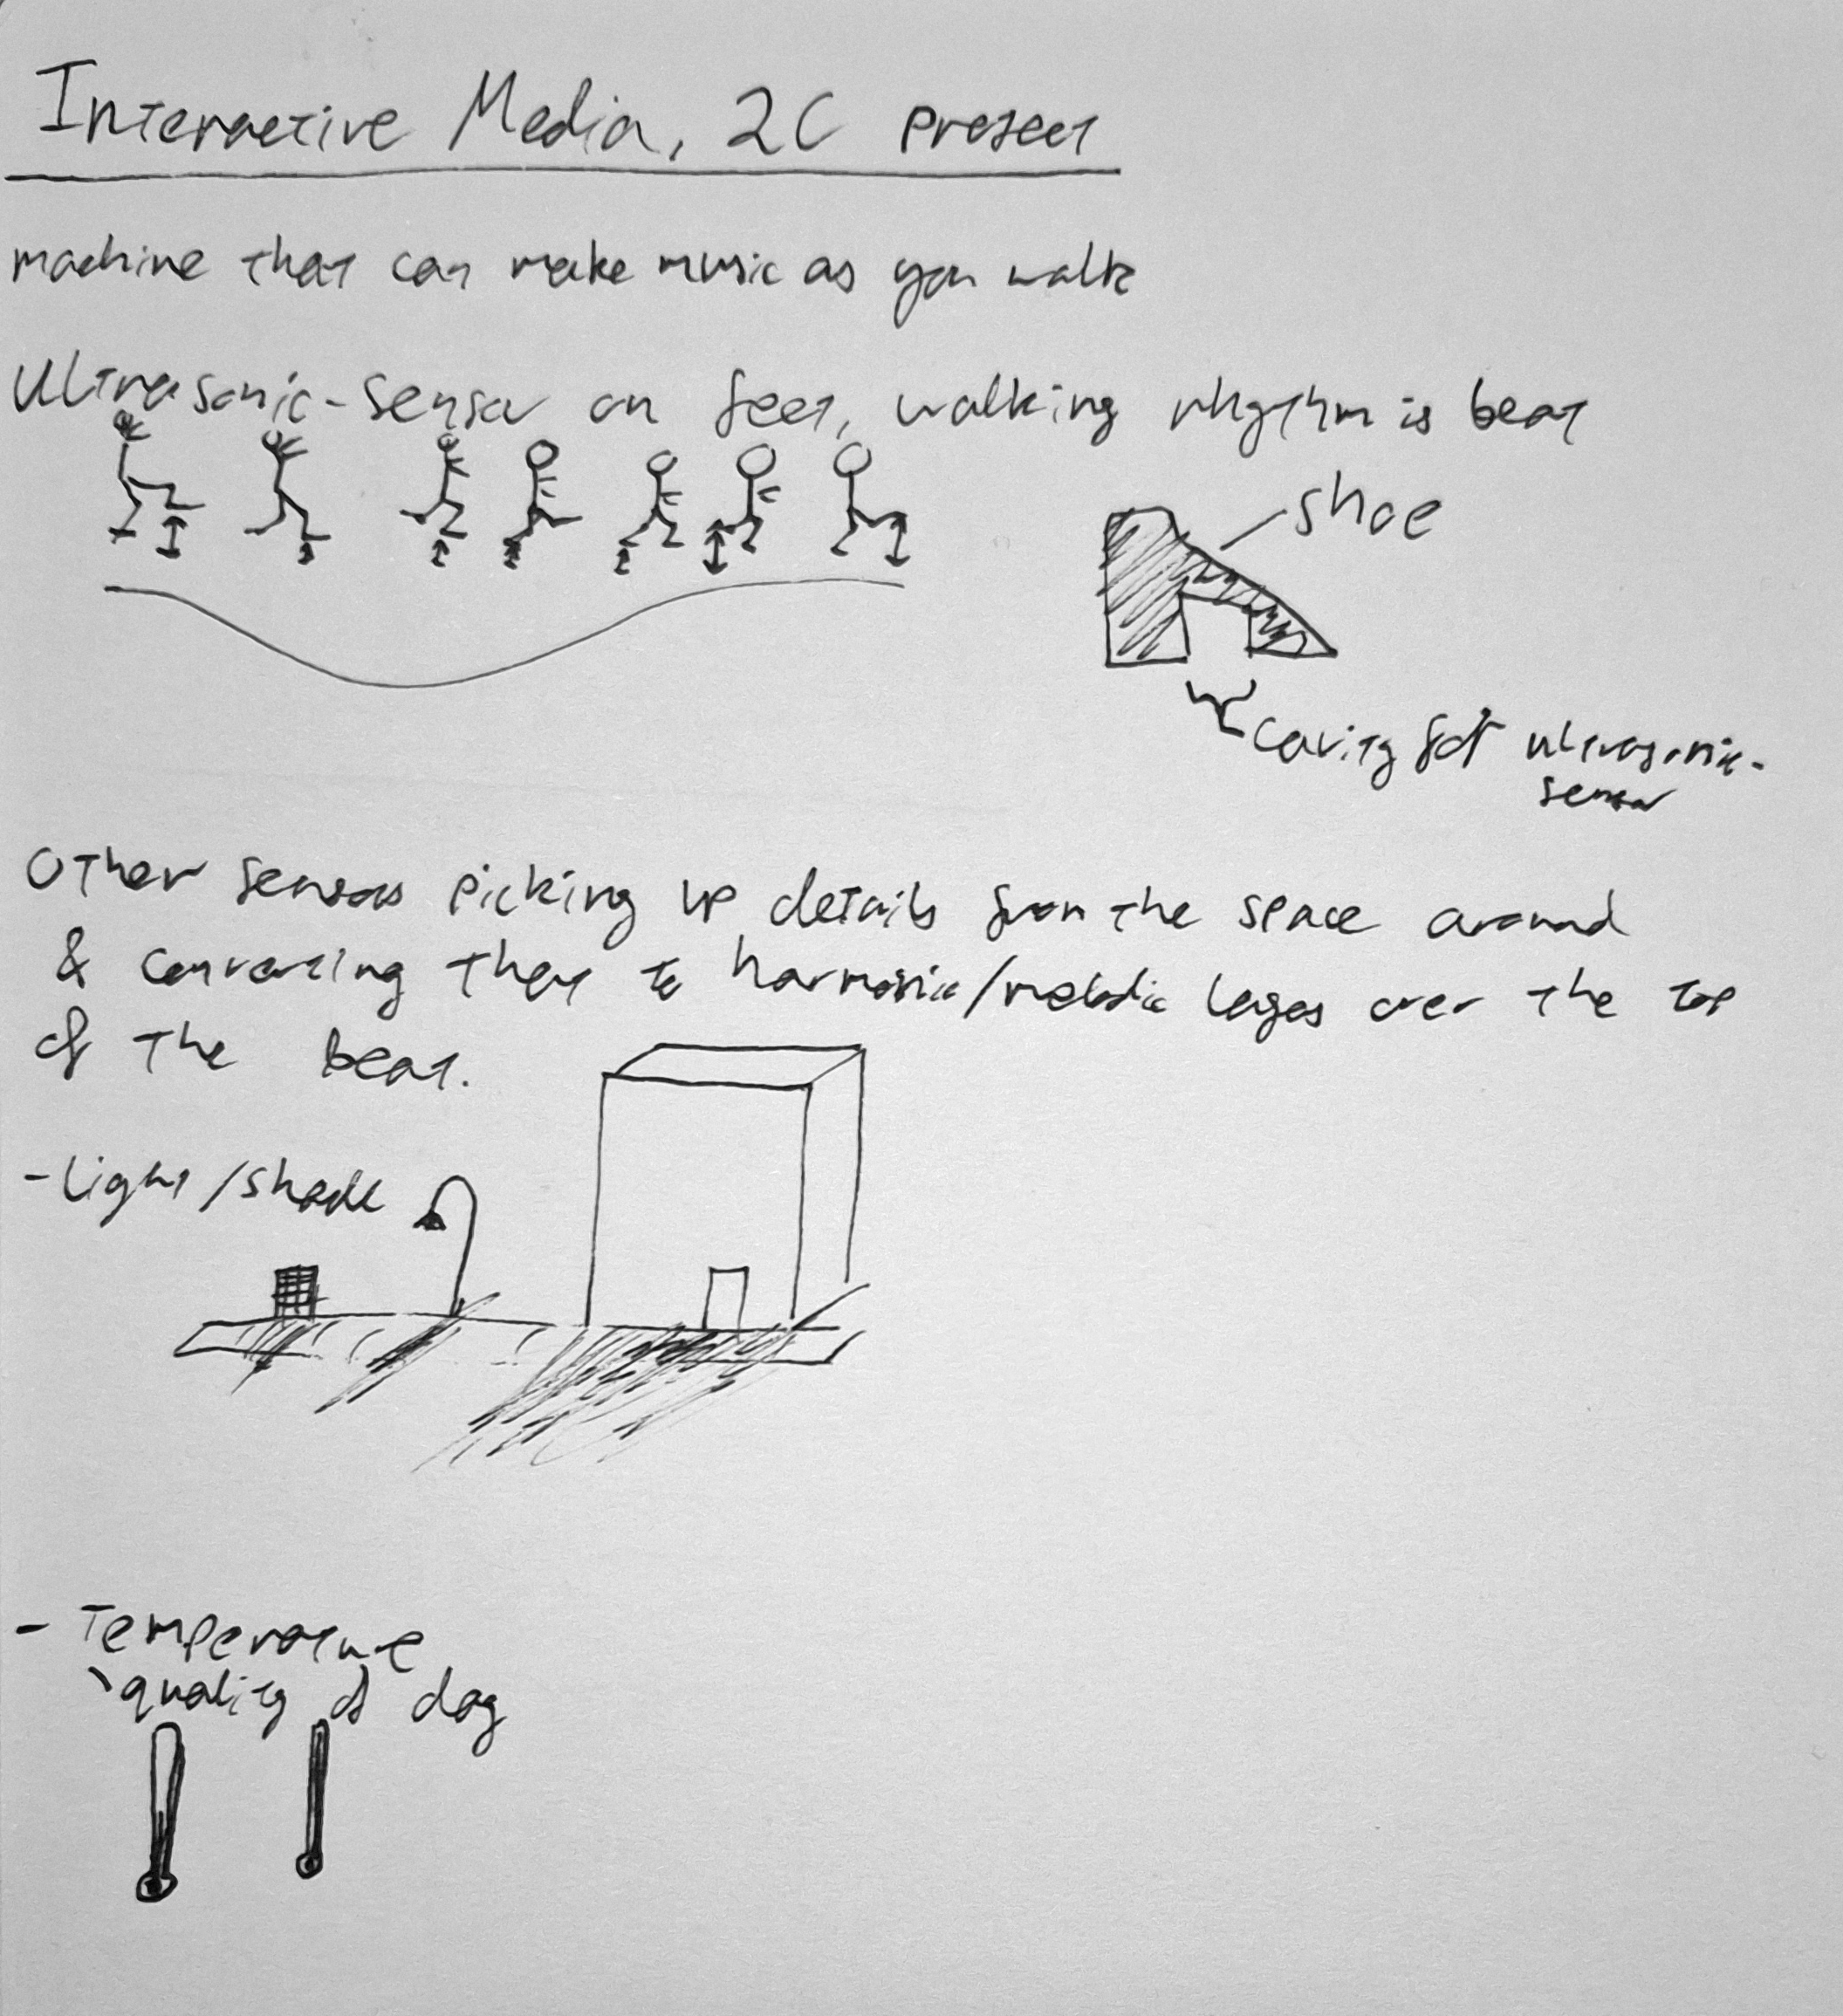
Somewhere around this week, as people began talking about the final project for this subject, I got it into my head that we had to create a final artifact for 2C/Physical Computing. After watching ‘Sisters With Transistors’ and going down a Youtube rabbit hole of algorithmically generated music, I imagined a device that would make abstract music using your stride to regulate the beat.

Ultrasonic sensors on the feet would judge distance from the ground to create smooth and rhythmic crescendos based on the foot's distance from the ground. A raised foot would be lower volume, a foot flat on the ground would be full volume, oscillating between these states as you walk. Other components to detected temperature and light could be used to alter the sound as you moved through the environment. Creating long changes over time as the weather changes over days and quick changes as you walk into and out of shadows.

It might be for the best I didn’t have to attempt this project because I don’t have a clue how to physically link and code all these elements all together. I think it’s very interesting and I would probably learn a lot in making it, But I would want a lot longer then a few weeks.


|
|
|
|
|
|
|
|
|
|
|
|
|


Touch was the idea played with in this week’s class. How just touching something, a wire, a person, a drawing, a banana, could trigger a change in a circuit. I still don’t fully understand how this work but it revolves around the idea of grounding. All objects have some ability to conduct electrons, and as such those that are more conductive can act as ground, I think. A rubber eraser would change very little, but a person would be noticeable by the circuit.

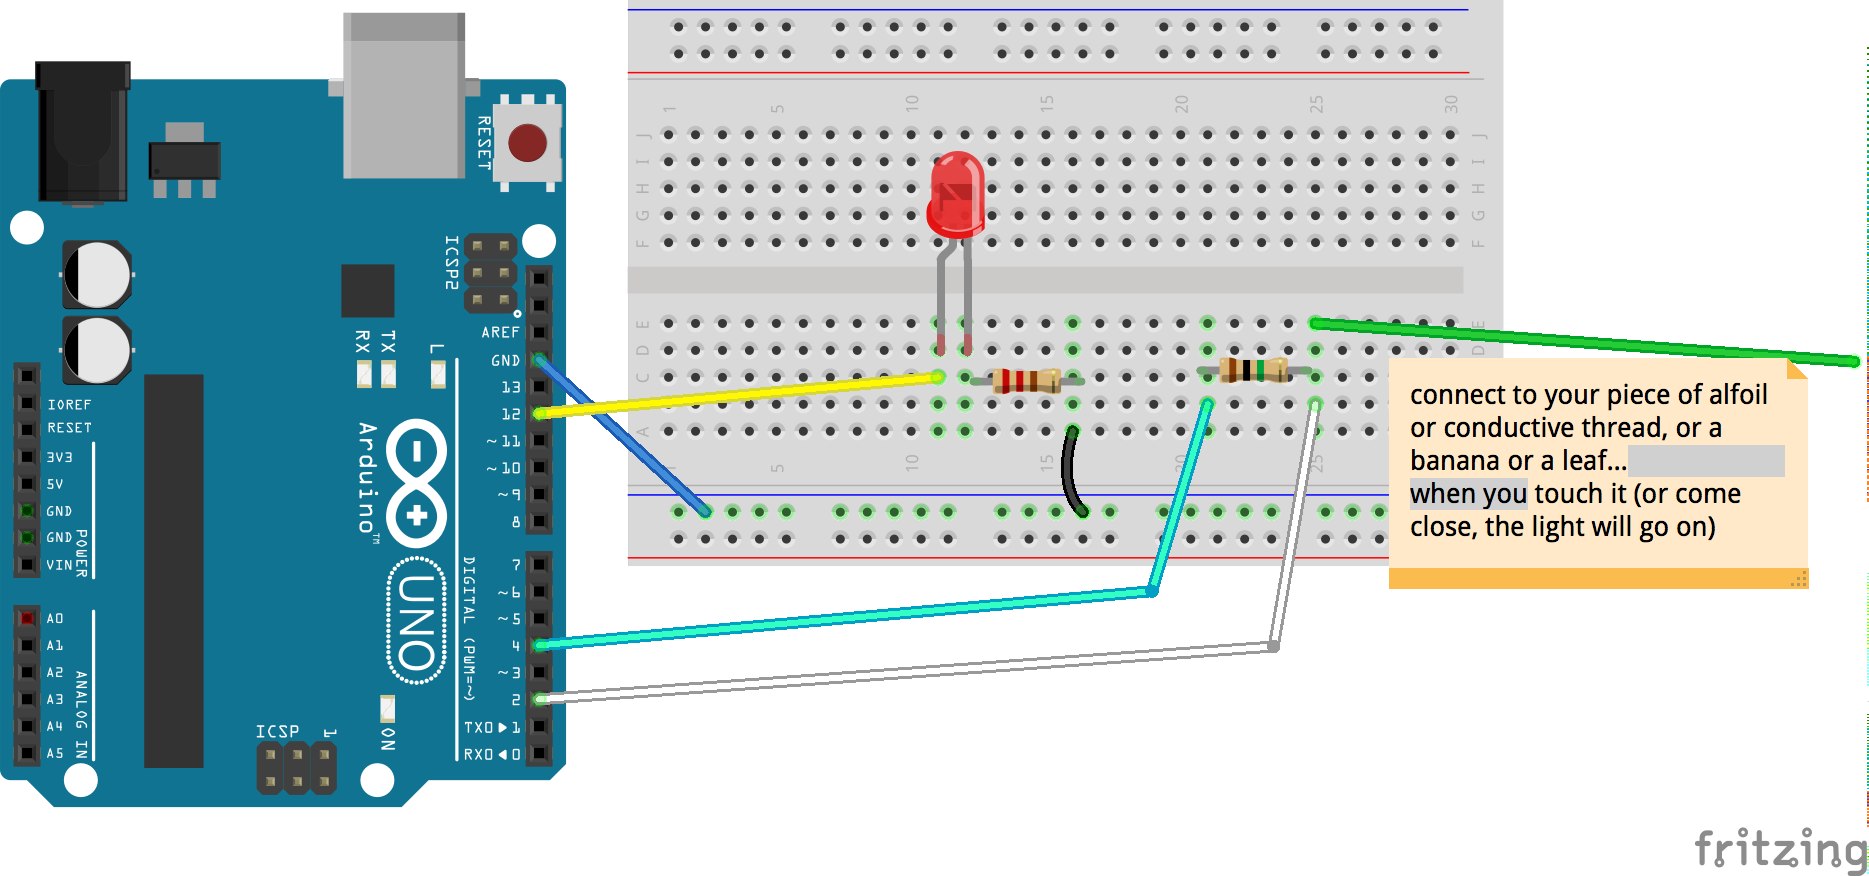
To the left is the diagram of the first circuit we built using this principle. What I believe is happening is that the Arduino is measuring the difference between pins 4 and 2 which is initially nothing. However when someone touches the exposed green wire some of the charge is redirected through them, and so less energy is received by pin 2 than was sent out at pin 4. As long as this difference is registered a charge is sent to pin 12, turning on the led. The result is that when the green wire is touched the led will turn on.


.
.
.
.
.
.
.
.
.
.
.
.


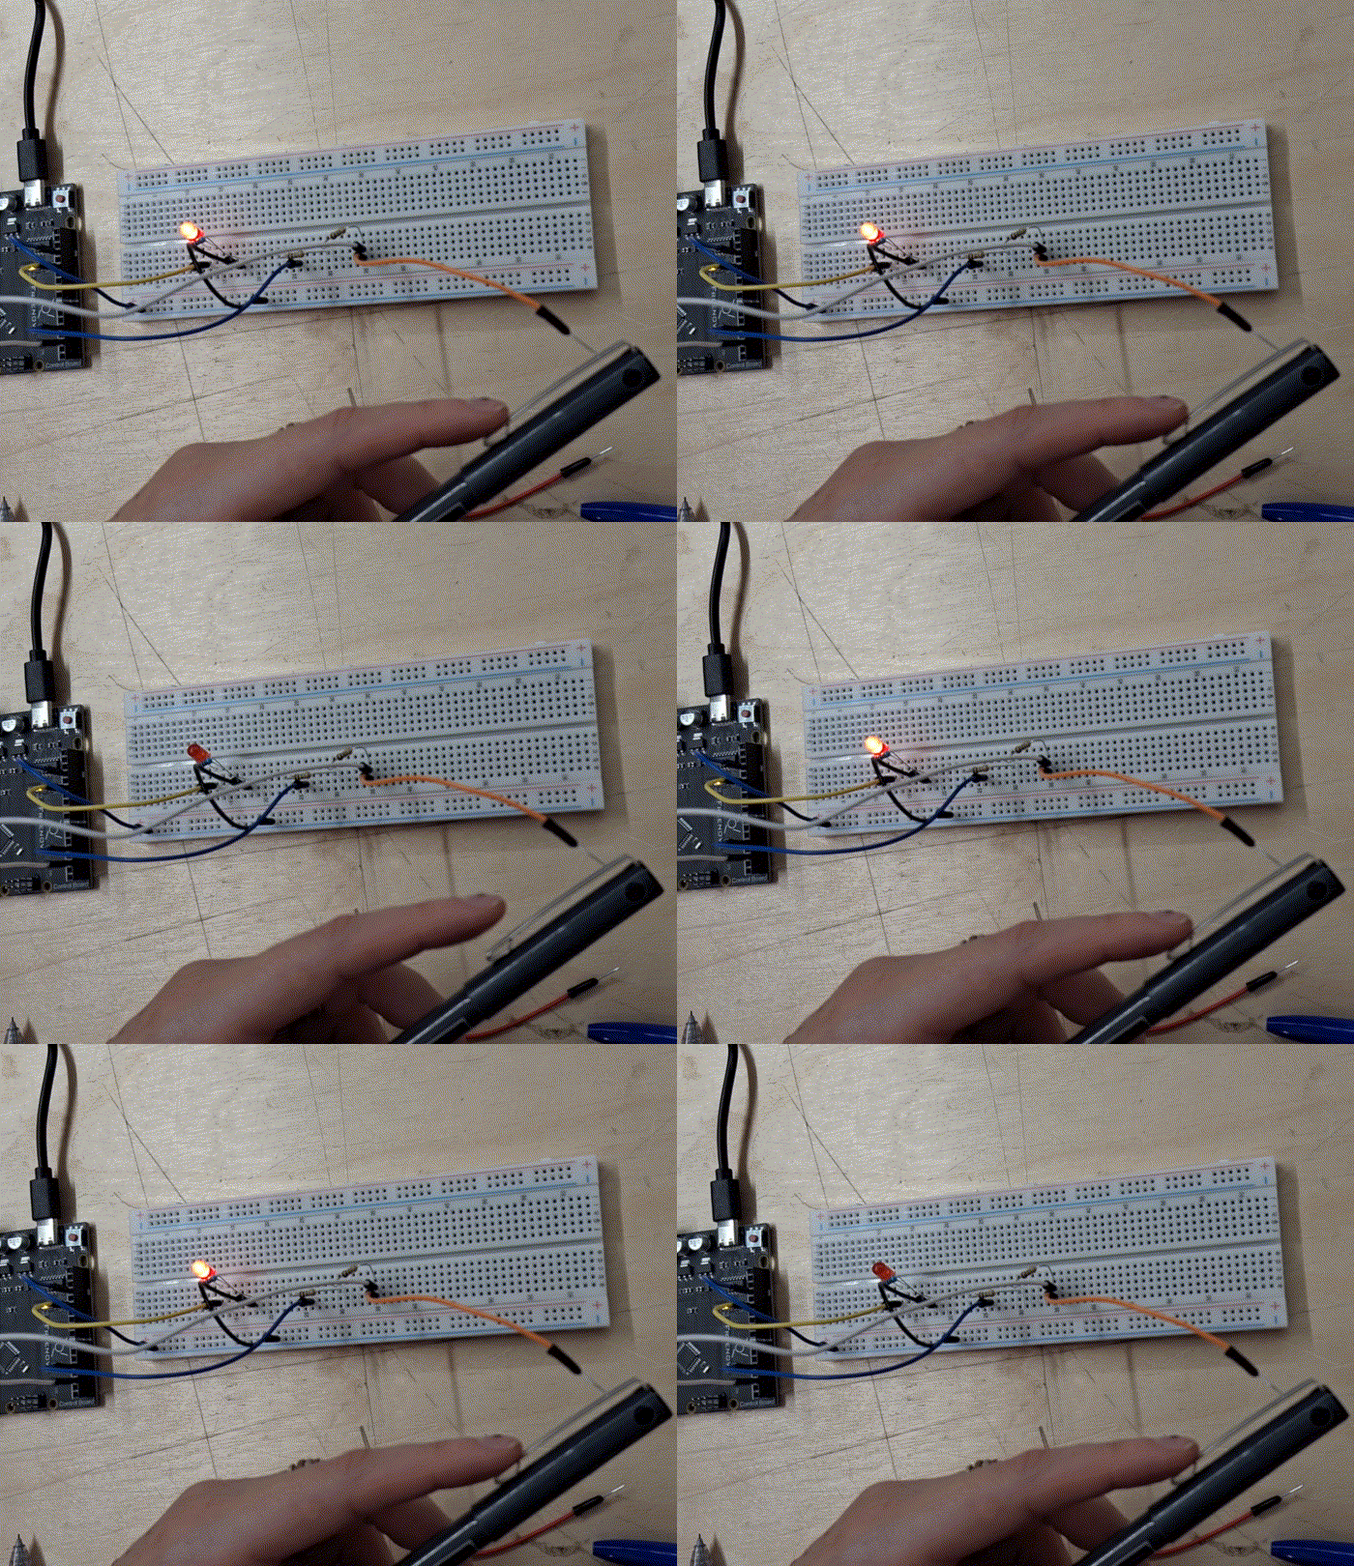
When we actually built the circuit it was a lot more finicky and temperamental than expected. Initially the led would only turn on when Cat touched the wire.

To manage this we added an open ground wire, and so if you held both wires the led would turn on. Strangely, if you held the exposed wire and someone else held the ground wire the led would also turn on.

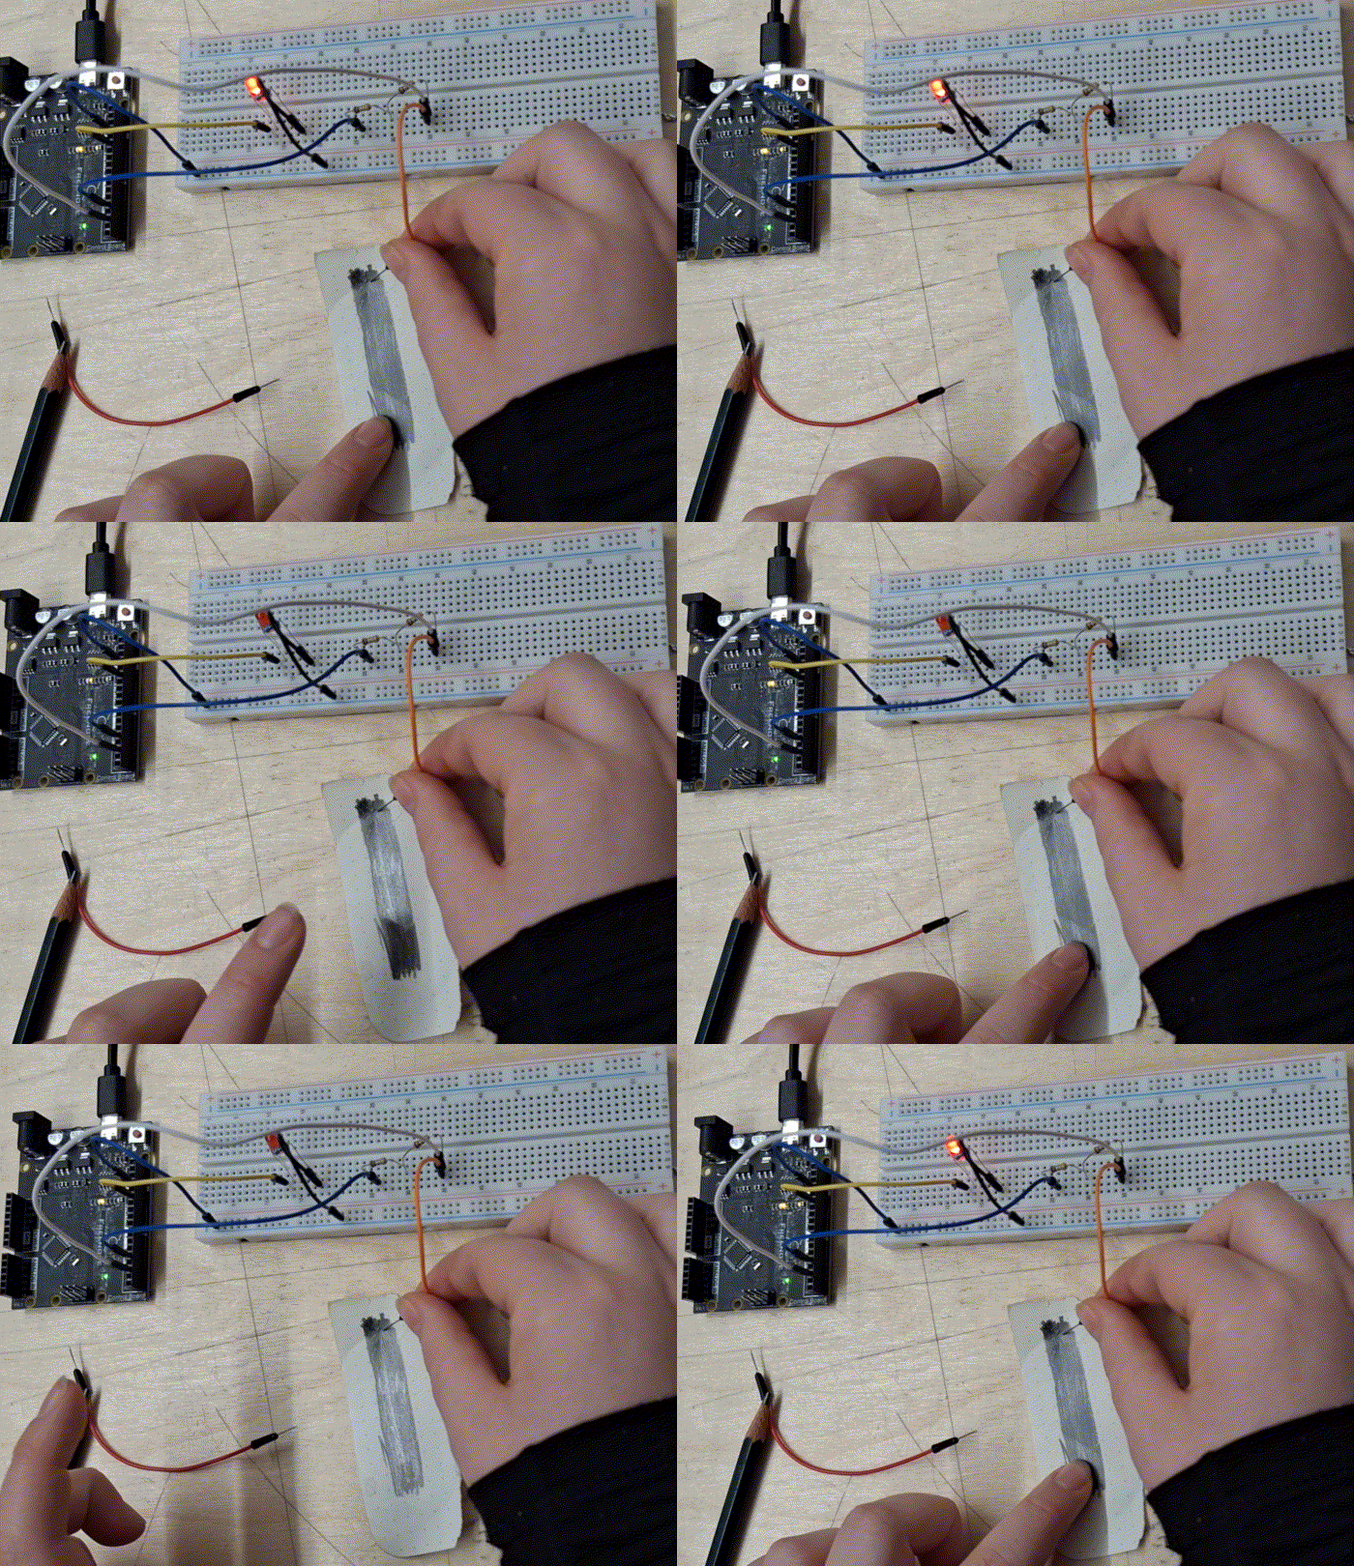
We played with other ways to ‘touch’ the exposed wire, through the metal on a pen lid and even through a line drawn in lead pencil. It could be a really engaging interaction to touch a drawing and have something occur.


.
.
.
.
.
.
.
.
.
.
.
.


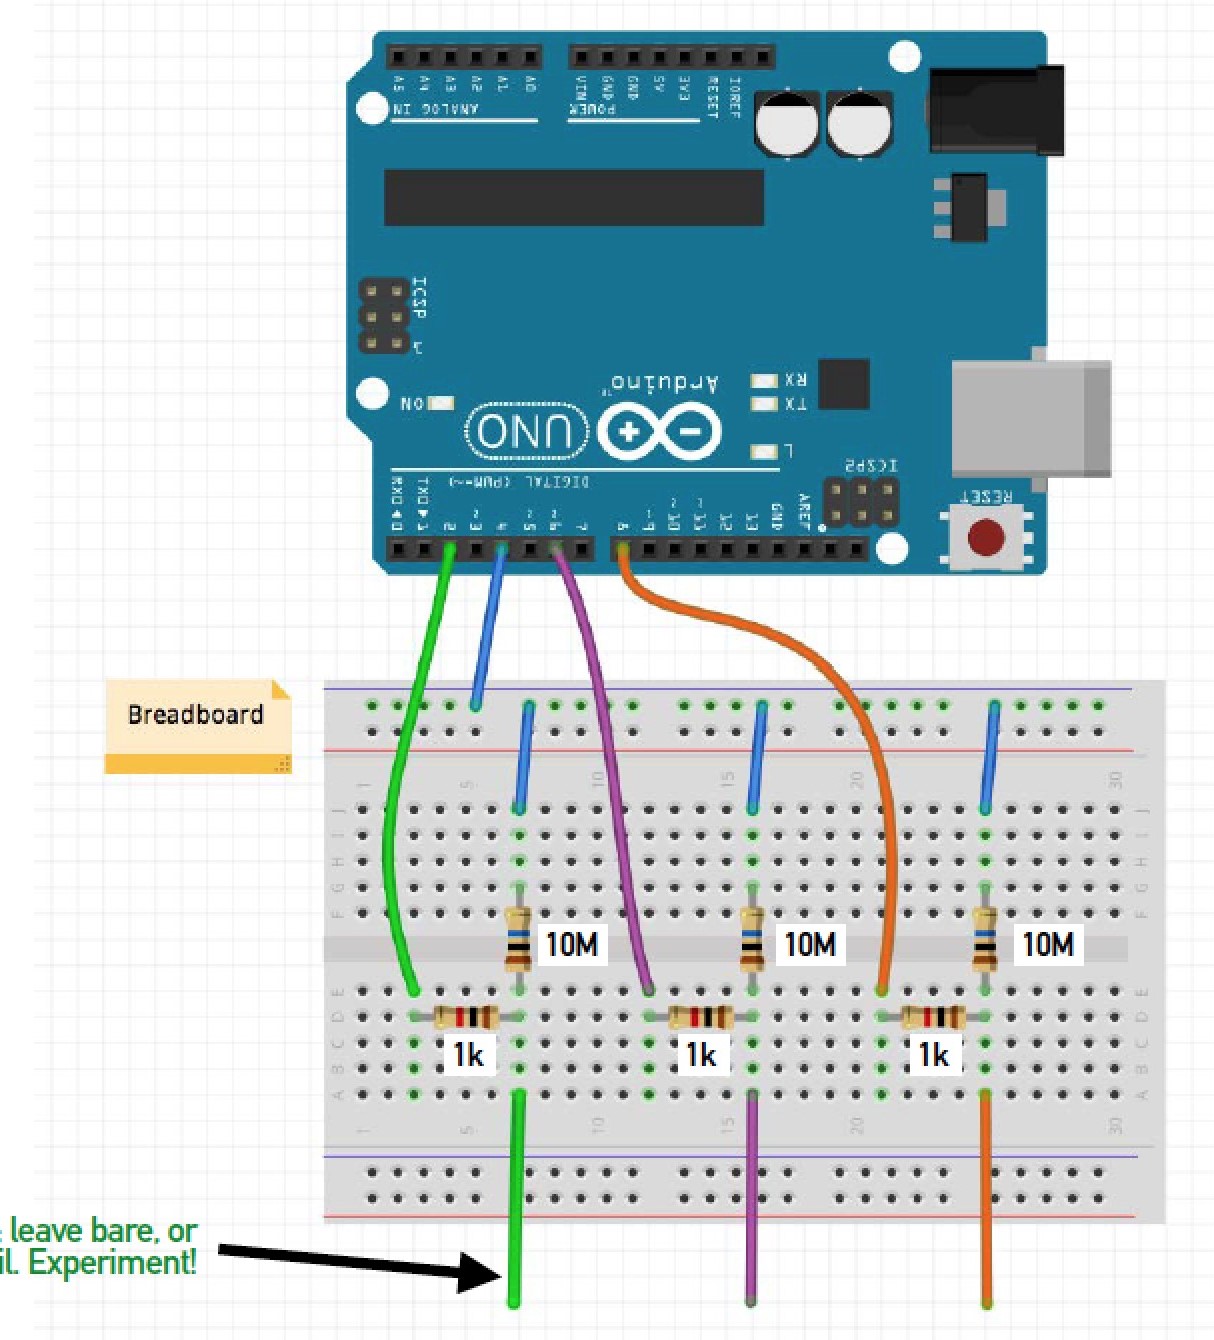
Feeling confident we moved onto the second example circuit with three exposed touch responsive wires. The diagram for this is to the right, and as we can see now doesn’t actually include anything for these sensors to trigger. So after we could detected input from the serial monitor we added two separate leds to the board.

Finding the relevant code for this circuit was also a challenge. The code was supposedly in a linked file, but the file actually contained the code for the githup page that contained the Arduino code. What we had to do to find it was copy the code from the linked file, run it in VScode to launch a locally hosted github page, and then copy the code from that page into the Arduino IDE. Simple right?  >: (

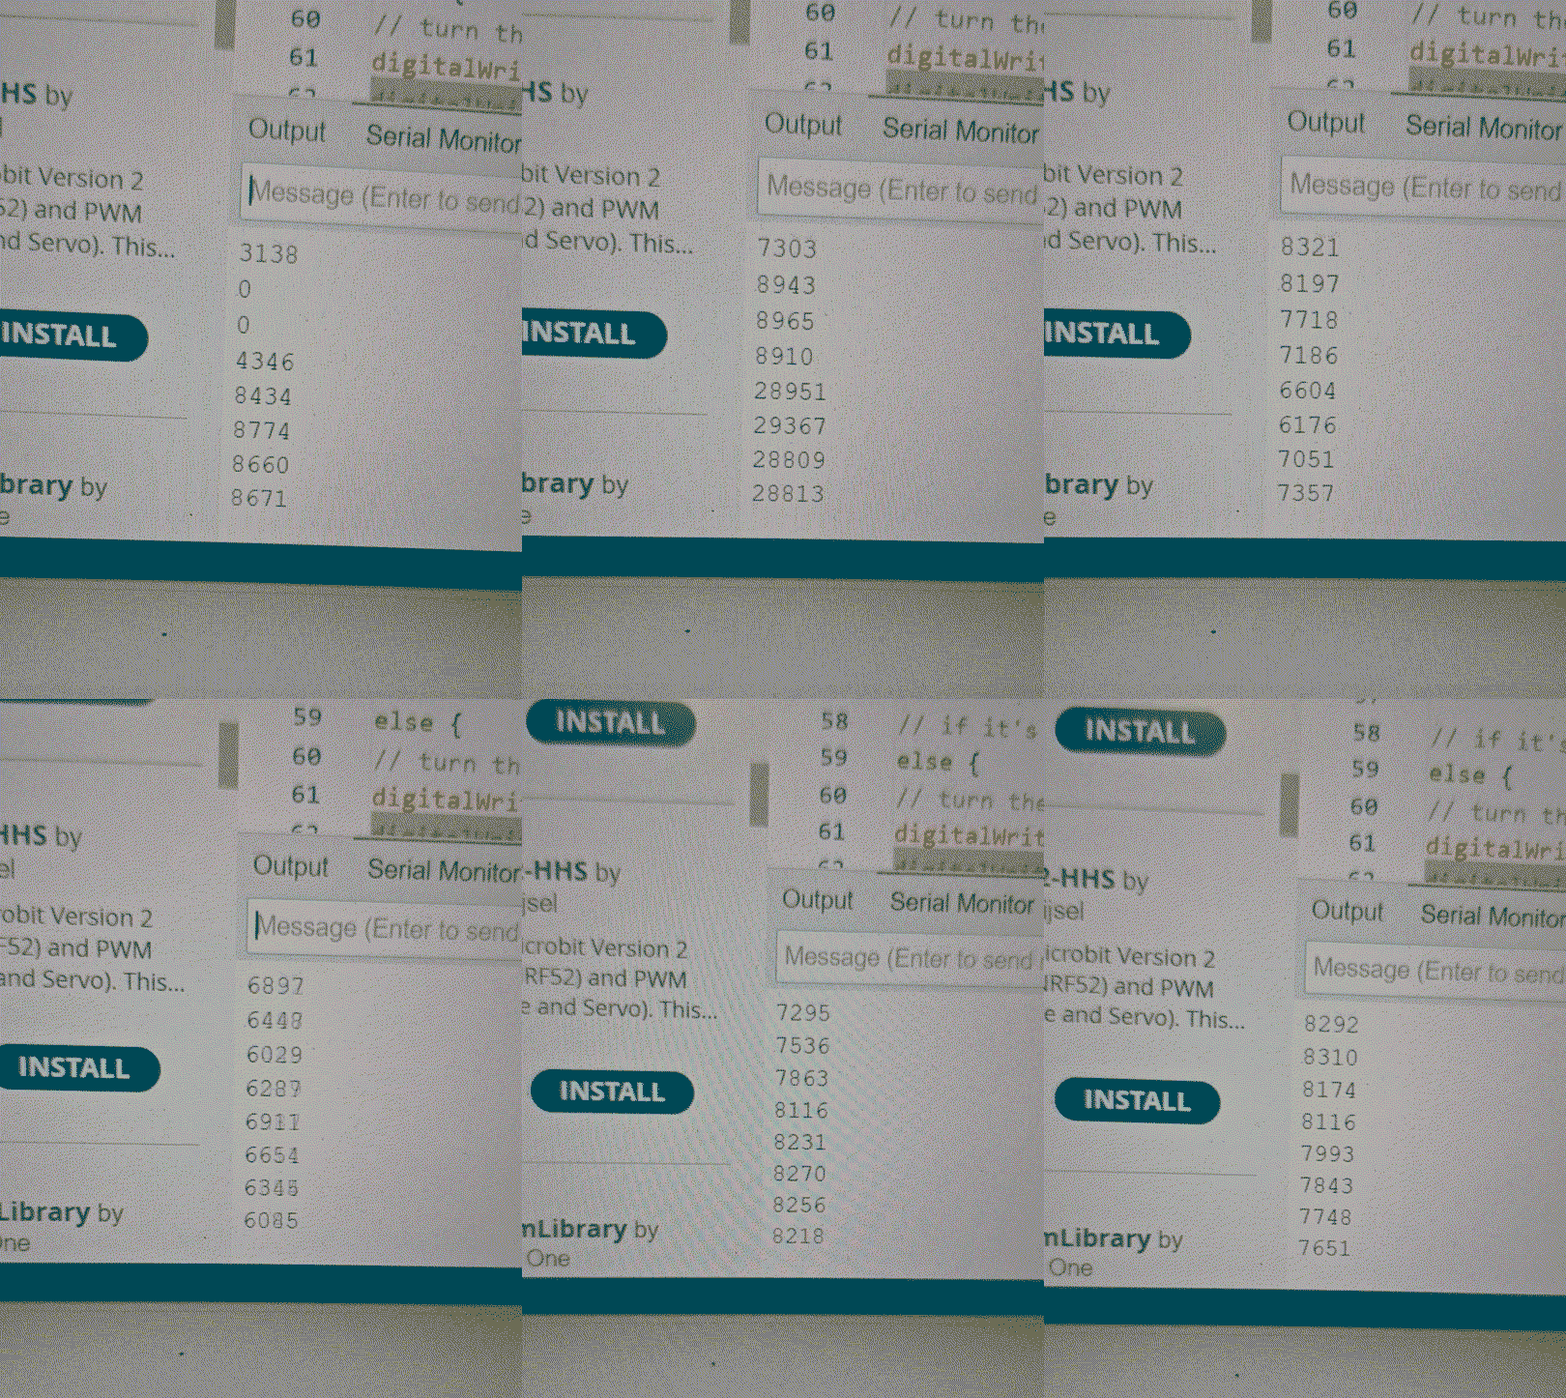
Eventually we got all the components in place, modified the code with 'if' statements to trigger the added leds (a high value turned blue on, and a lower value would trigger red) and it worked! Sort of. The three different exposed wires sent different values back to the Arduino when touched, but those values would fluctuate. And sometimes even the base value for when no one was touching anything would rise dramatically high. Starting from 0 it would spiral up to 1500 or sit stead at just under 8000. Other times it would sit at 4000. As such what happened when we actually touched any of the wires was extremely unpredictable.


|
|
|
|
|
|
|
|
|
|
|
|
|


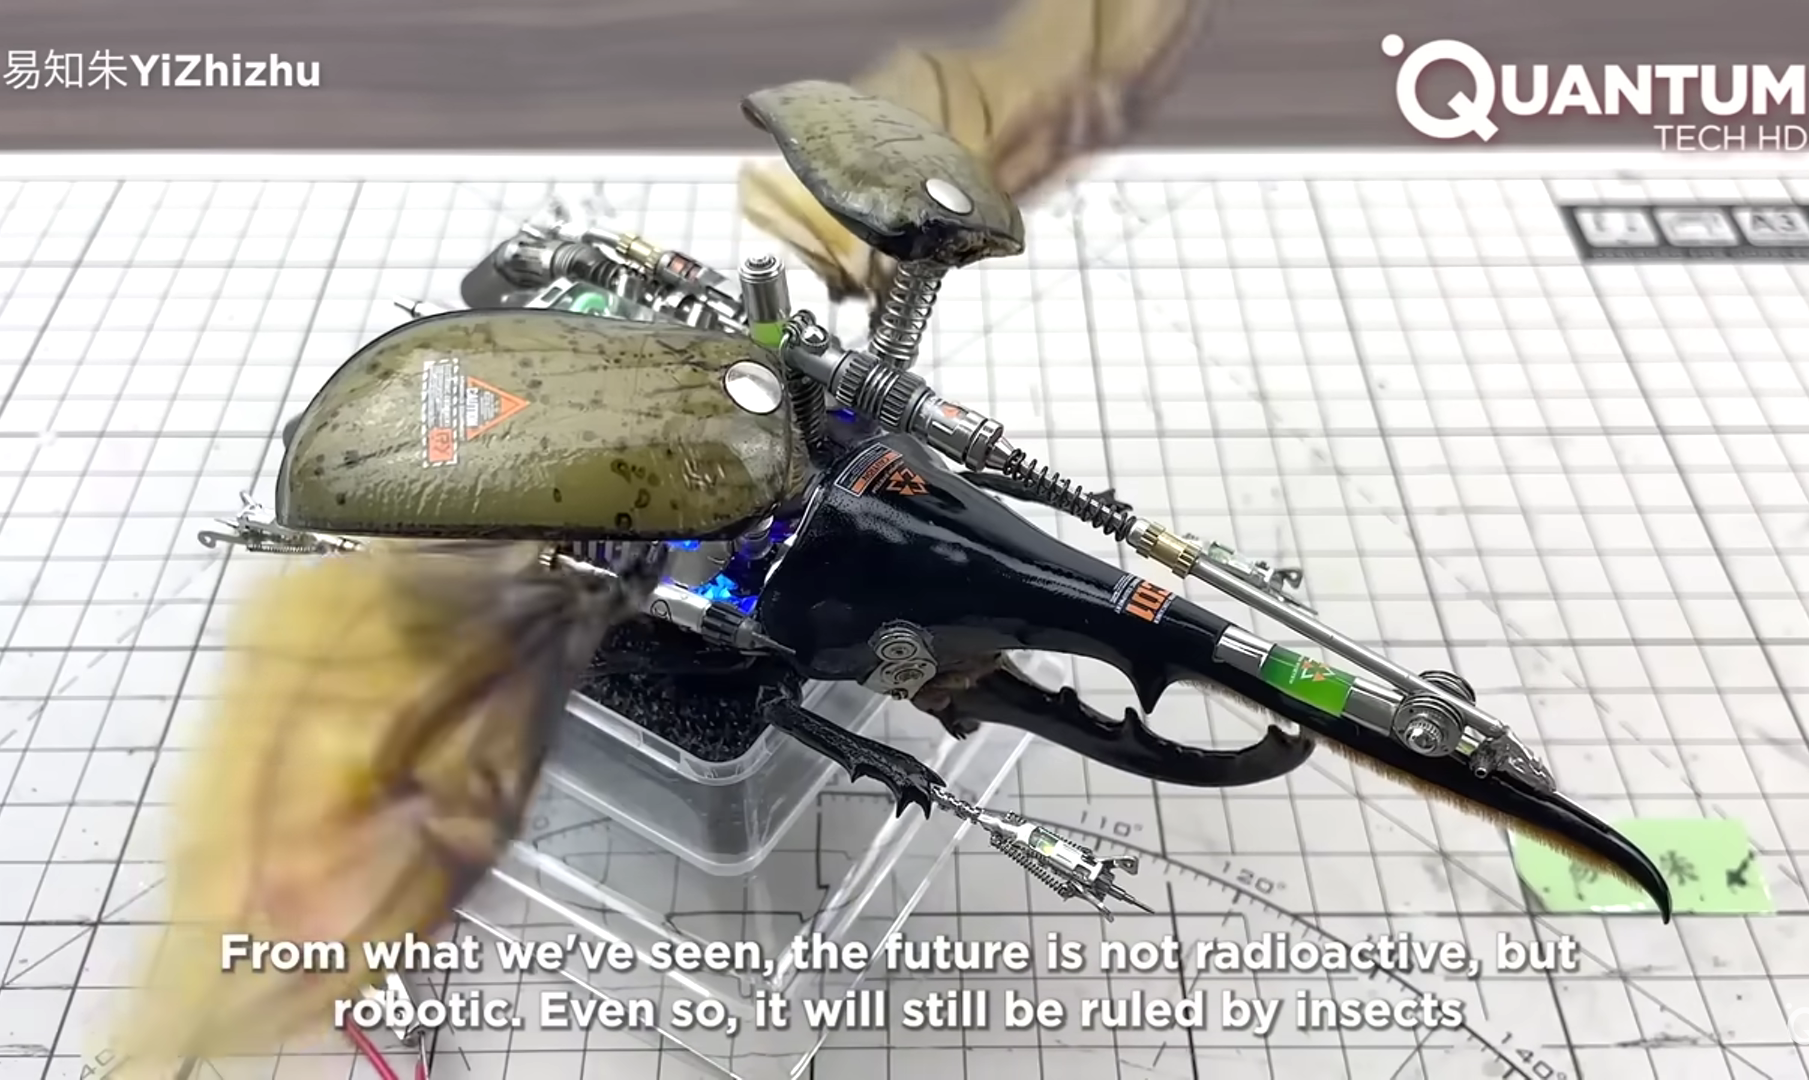
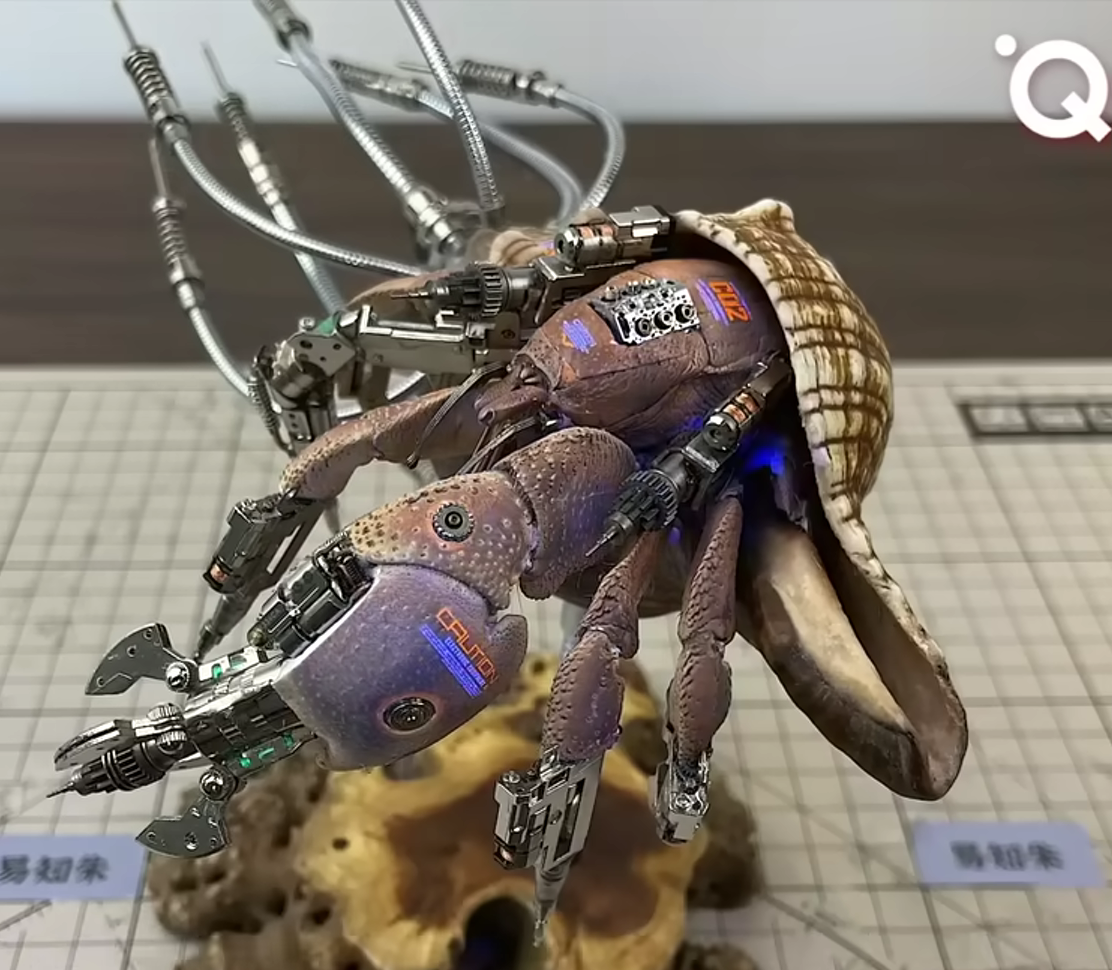
You can always count on the youtube algorithm to find something slightly f*cked for you. Which is what I think of these robotic sculptures made from dead insects/crustaceans. The robotic action on these is very restrained, amounting to moving a claw and flapping wings. Even with this limited action you can see a Frankenstein vision of the future. Would it just be another version of taxidermy? If your pet died would you get it robotically reanimated? Probably not, but what would we bring back?

Video Link:
https://www.youtube.com/watch?v=kMIvYBAsgz4


|
|
|
|
|
|
|
|
|
|
|
|
|


Finally this week I touched up this website a little before final submission. On tutor feedback I increased the text size of the menu bars a little. I think they look better small, and because this site’s design is driven aesthetically, I only increased text sizes them the tiniest amount.

A bigger change was to play with the button behaviour. When there where only 3 weeks it was interesting for the button of the week you selected to disappear. Clicking ‘week 2’ when the week 2 content is already visible was pointless, so I just removed the button. Now with 9 weeks and longer entries it makes more sense to leave the button highlighted as a quick way to cheek which week is selected.

I also brought back the ‘home’ button in this row as a ‘hide entry’ button. This button appears only after an entry is selected, and disappears when clicked. I added this back in just to give another chance to show off the funky animation I have running in the background : )